Crochet Baby Cardigan (0-3 Month)
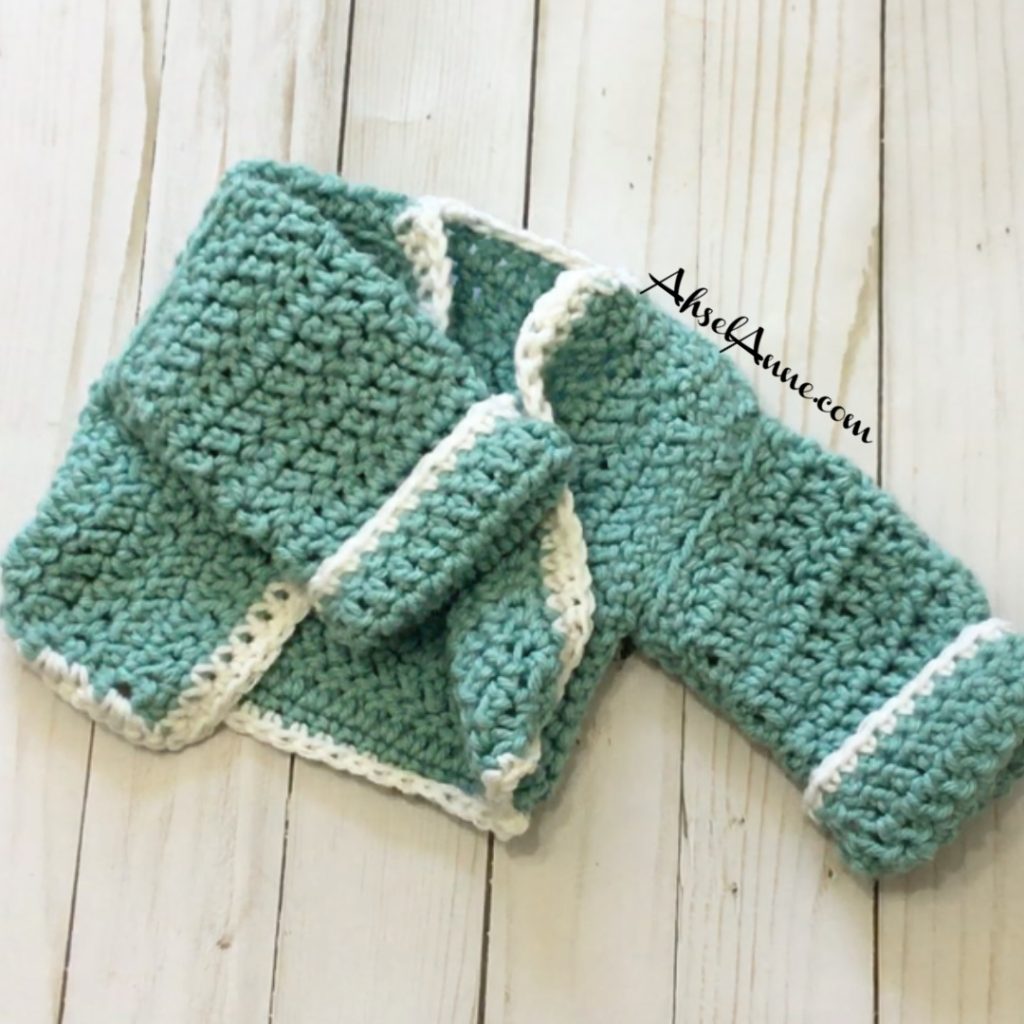
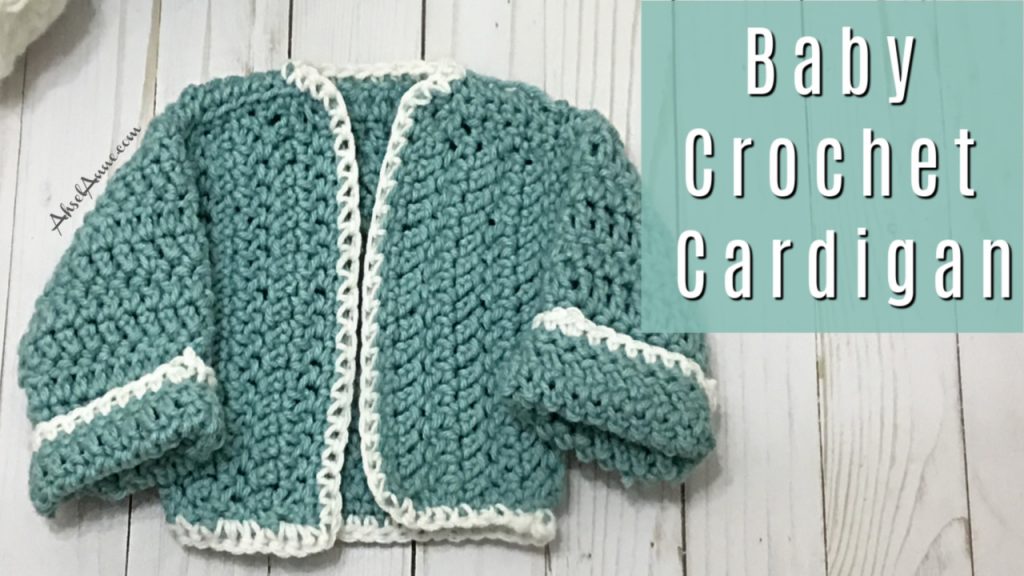
This crochet baby cardigan is not only fun to create but it is an easy to follow design which makes it a perfect cardigan for your little one or to give as a gift to a special baby. The crochet baby cardigan works up quickly and can be created for a boy or a girl.
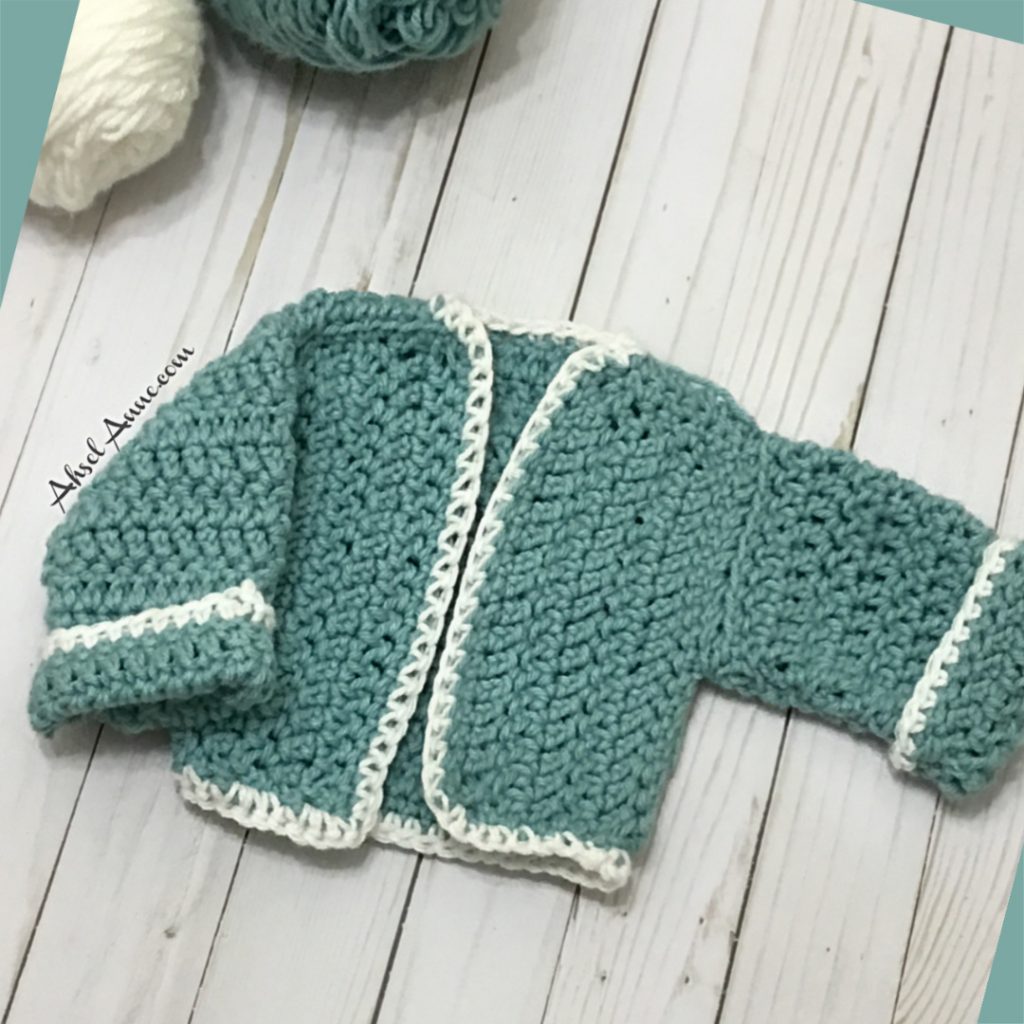
A perfect gift because it’s not only quick to make but it’s easy to design makes it a perfect project for beginner crocheters. It’s worked using a herringbone double crochet stitch, but if this is a new stitch for you, a double crochet stitch can be substituted.
This is a free pattern and there is an instructional video below
Note:
This pattern is written in US terms and there is a key provided, to help with any abbreviations. Also, there have been Notes placed throughout the pattern to provide additional help. There are a few pictures and along with the instructional video.
Yarn Closer Look
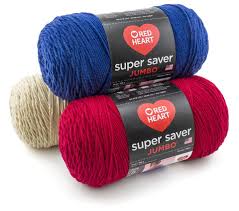
I used Red Heart Super Saver’s yarn. It comes in a variety of colors and it’s an economical choice for crocheting and knitting clothes, home decor and other craft projects. The Red Heart Super Saver yarn is acrylic with traces of fibers. The yarn has a density too it that makes it a little stiff but it’s durable and can hold up well with many washes.
As with many of my projects, creating can be done in many different ways. Learning how to crochet should be a relaxing process but it can take time to develop a technique that works best for you. My goal is to show you how to create beautiful crochet projects from a beginner’s perspective.
MATERIALS NEEDED FOR CROCHET baby cardigan
Yarn Suggestion- 4 weight yarn
Hook- 5.5 mm
Yarn Needle
Scissors
Abbreviations (US Terms)
ch- chain
dc- double crochet
hbdc- herringbone double crochet stitch
sc- single crochet
sl st- Slip Stich
tw- turn work
In addition to this beginning a relatively easy crochet project, the crochet cardigan can be customized to fit anyone.
To Adjust the Size:
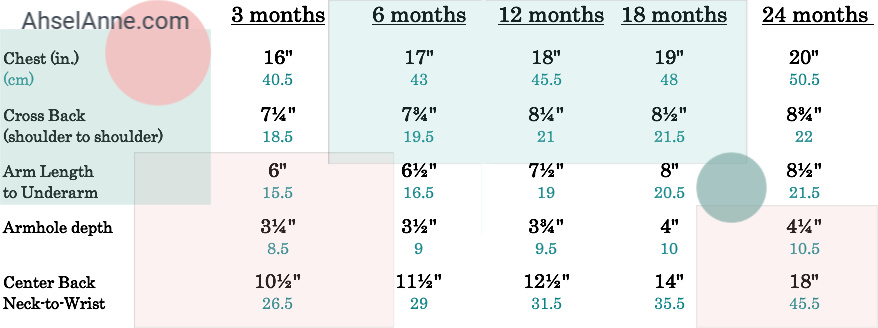
NOTE:
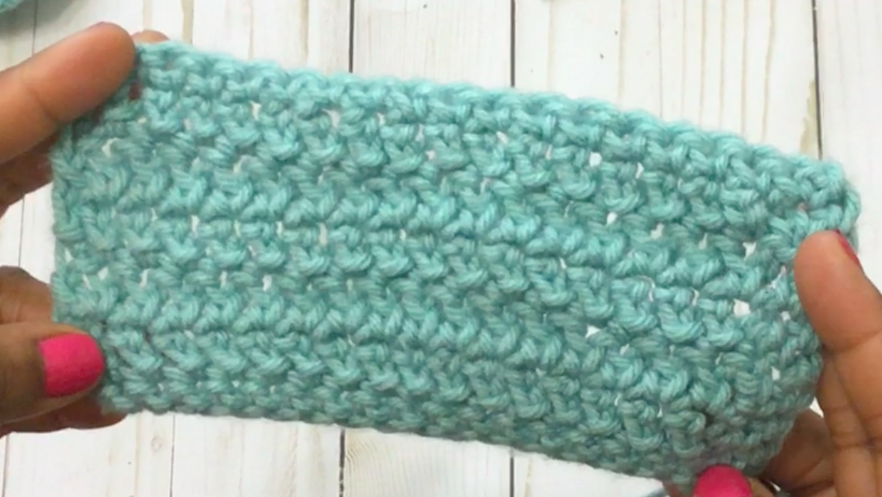
To complete a Herringbone Double Crochet Stitch (HBDC). This is a unique stitch that starts off like a double crochet stitch, but it’s worked a little differently. This stitch will lean or tilt to the side, giving the project a more textured, herringbone look.
1. Yarn over. Insert your hook into the next stitch.
2. Yarn over. Pull a loop through the stitch and through the first loop on your hook. You will have 2 loops left on your hook.
3. Yarn over. Pull this loop through the next loop on your hook, you’ll only pull through one loop, not both loops. You will have 2 loops left on your hook still.
4. Yarn over. Pull this loop through both loops on your hook to finish the stitch.
Pattern Crochet Baby Cardigan
Get the ad-free, printable pdf pattern HERE.
This pattern is broken down into 3 components, Lapel (2), Back Panel and Sleeves (2)
Back Panel
Ch 20+1
1. Row 1: SC in 2nd ch from hook and in each stitch across. Ch 2, tw.
2. Row 2: HBDC in each stitch across, (19), in last stitch place DC, Ch 2, tw. (20)
3. Row 3: DC in each stitch across, Ch. 2 tw
4. Row 4: HBDC in each stitch across, (19), in last stitch place DC, Ch 2, tw. (20)
5. Row 5: DC in each stitch across, Ch. 2 tw
6. Row 6: HBDC in each stitch across, (19), in last stitch place DC, Ch 2, tw. (20)
7. Row 7: DC in each stitch across, Ch. 2 tw (20)
8. Row 8: HBDC in each stitch across, (19), in last stitch place DC, Ch 2, tw. (20)
9. Row 9: DC in each stitch across, Ch. 2 tw (20)
10. Row 10: sc in 2nd ch from hook and in each stitch across. Ch 2, tw (20)
11. Row 11: HBDC in each stitch across, (19), in last stitch place DC, Ch 2, tw. (20)
12. Row 12: DC in each stitch across, Ch. 1 tw (20)
13. Row 13: HBDC in each stitch across, (19), in last stitch place DC, Ch 2, tw. (20)
14. Row 14. SC in each stitch across.
Leave a long tail, cut, and fasten off.
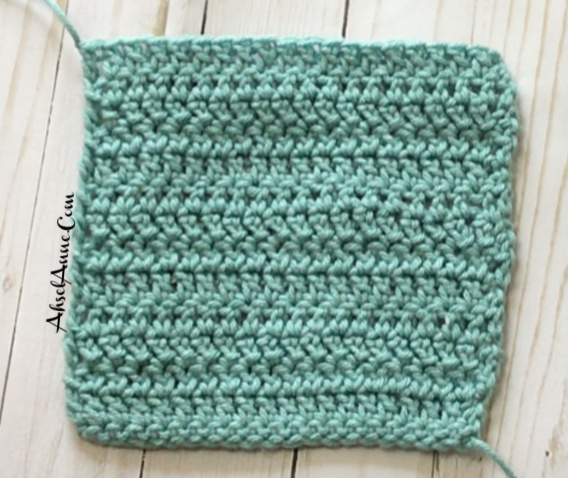
Lapels
Note: Make 2 lapels (Right and Left). This will be worked horizontally but you’ll turn to the side to attach. Attached along the top and along the side to the back panel.
Ch 20
1. Row 1: SC in 2nd ch from hook and in each stitch across. Ch 2, tw.
2. Row 2: HBDC in each stitch across, (18), in last stitch place DC, Ch 2, tw. (19)
3. Row 3- 5 HBDC in each stitch across, (18), in last stitch place DC, Ch 2, tw. (19)
4. Row 6: SC in each stitch across.
5. Row 7: turn panel and then single crochet along the raw edge of the short side of the panel (9).
Note
I had a total of 9 stitches along the raw edge, but if you get a different number be sure to note the number you get so that the opposite panel will have the same number of stitches.
Remember you will create two lapels. Make sure they are opposite when you crochet along the raw edge. Ensure you align this edge to the top of the back panel.
Sleeves
Ch 20+1
1. Row 1: sc in 2nd ch from hook and in each stitch across. Ch 2, tw.
2. Row 2: HBDC in each stitch across, (19), in last stitch place DC, Ch 2, tw. (20)
3. Row 3: DC in each stitch across, Ch. 2 tw.
4. Row 4: HBDC in each stitch across, (19), in last stitch place DC, Ch 2, tw. (20)
5. Row 5: DC in each stitch across, Ch. 2 tw.
6. Row 6: HBDC in each stitch across, (19), in last stitch place DC, Ch 2, tw. (20)
7. Row 7: DC in each stitch across, Ch. 2 tw (20)
8. Row 8: HBDC in each stitch across, (19), in last stitch place DC, Ch 2, tw. (20)
9. Row 9: DC in each stitch across, Ch. 2 tw (20)
10. Row 10: sc in 2nd ch from hook and in each stitch across. Ch 2, tw (20)
11. Row 11: HBDC in each stitch across, (19), in last stitch place DC, Ch 2, tw. (20)
12. Row 12: SC in each stitch across.
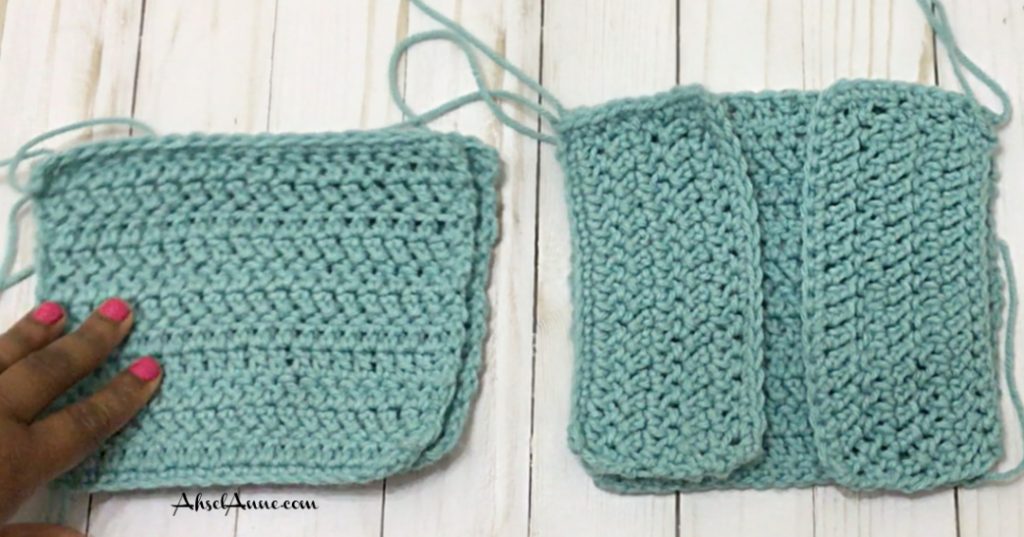
Leave a long tail, cut, and fasten off.
Note:
The sleeves and back panel are the same, with the exception of the sleeves being a couple of rows shorter.
Construction:
Sleeve:
Fold the sleeve in half, the raw edges should meet. Using a yarn needle and the long yarn tail, sew along the raw edge to create the sleeve. Complete this step for both sleeves. Then place the sleeves to the side for later.
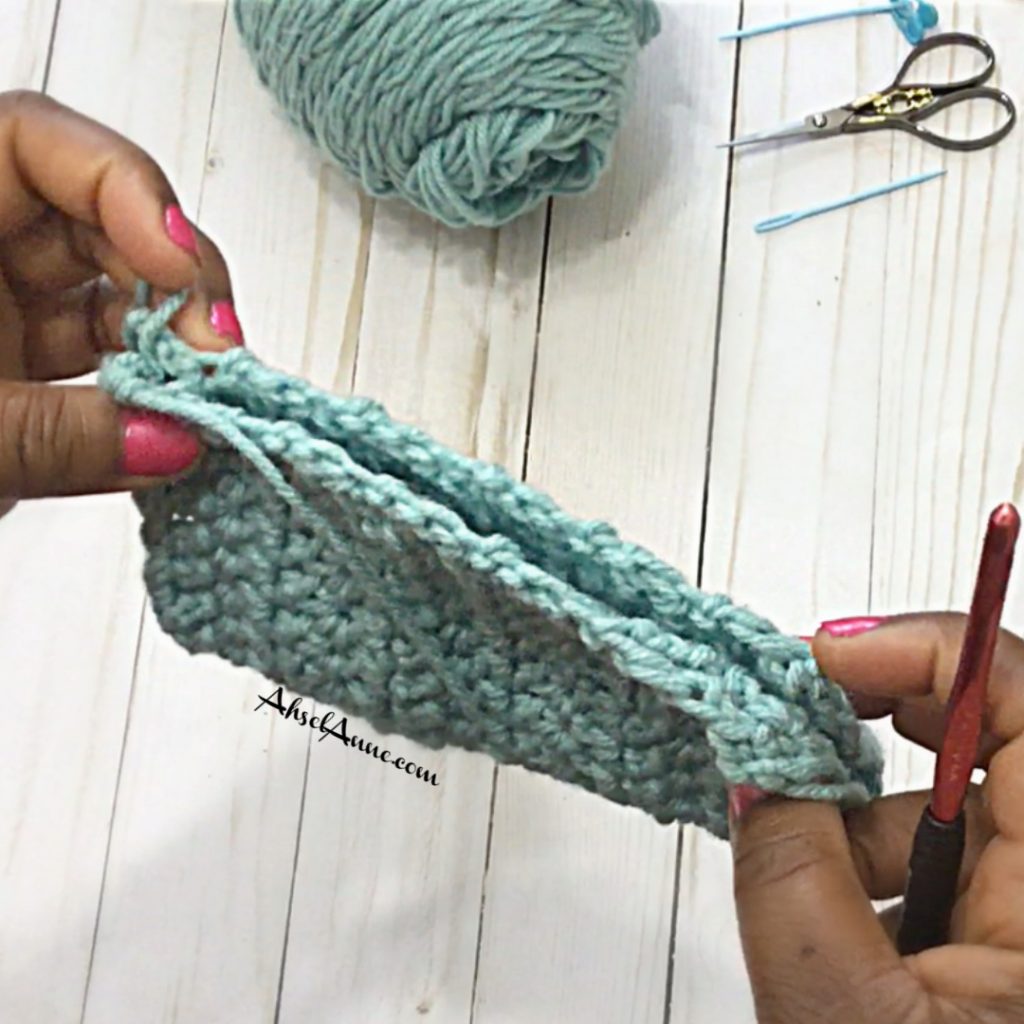
Lapels:
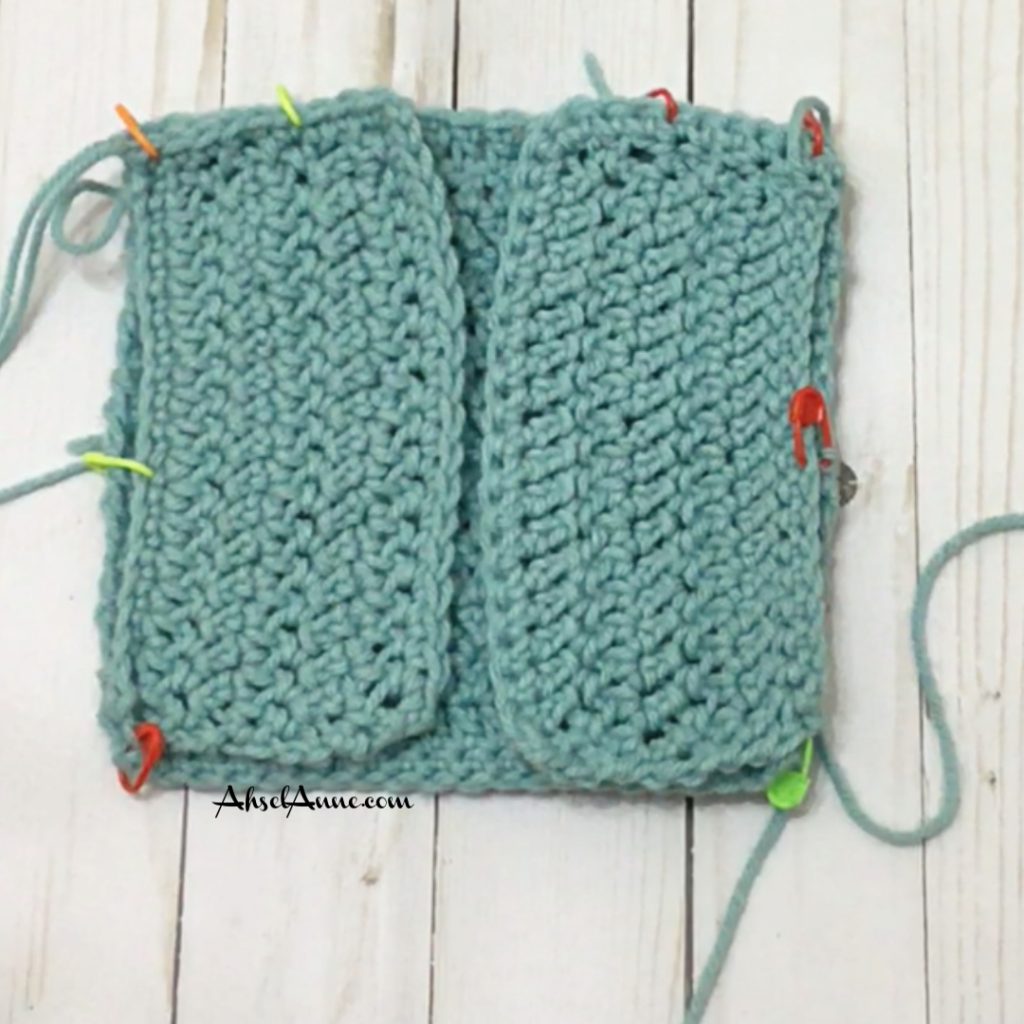
1. Place lapels on top of the back panel
2. Using stitch markers, temporarily attach the top edge of the lapel to the back panel. Secure the lapel along the sides, leaving an opening for the sleeves to be attached.
3. Using the long tail from the sleeve, sew along the top edge, shoulder area, starting at one end to secure the first lapel. Repeat this same process with the other lapel, starting from the opposite side, sewing along to top edge.
4. After the lapels have been attached, attach the sleeve by aligning the sleeves with the opening on the cardigan.
Using a yarn needle and the long tail, from the sleeve. Sew each sleeve to the arm opening, and whip stitch around the sleeve opening to attach.
Repeat the process with the opposite sleeve.
Sleeve
After the lapels have been attached, attach the sleeves, using a yarn needle and the long tail. Sew each sleeve to the arm opening, by aligning the sleeves up with the opening. Whipstitch around the edge, ensuring to attach the sleeve to the cardigan.
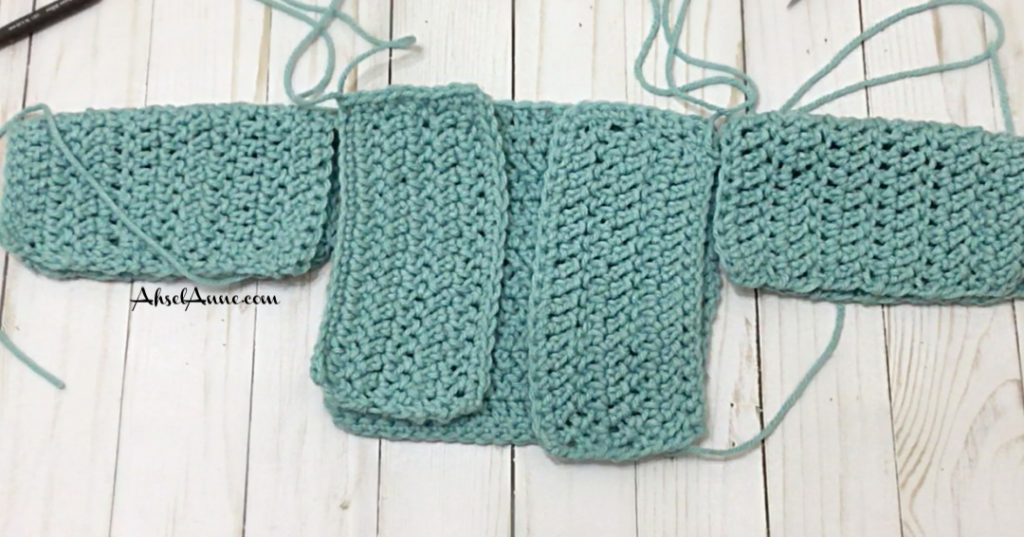
Weave in any loose ends, cut off the extra yarn.
Optional:
Go around the bottom, lapel, collar, and sleeve with contrast color, I used white 4 ply yarn to line the project using a single crochet stitch to add a pop of color.
Attach the contrasting yarn to the bottom corner of the constructed cardigan. SC stitch around the cardigan until you reach the other side. Going around the bottom edge, lapel, collar, opposite lapel.
