
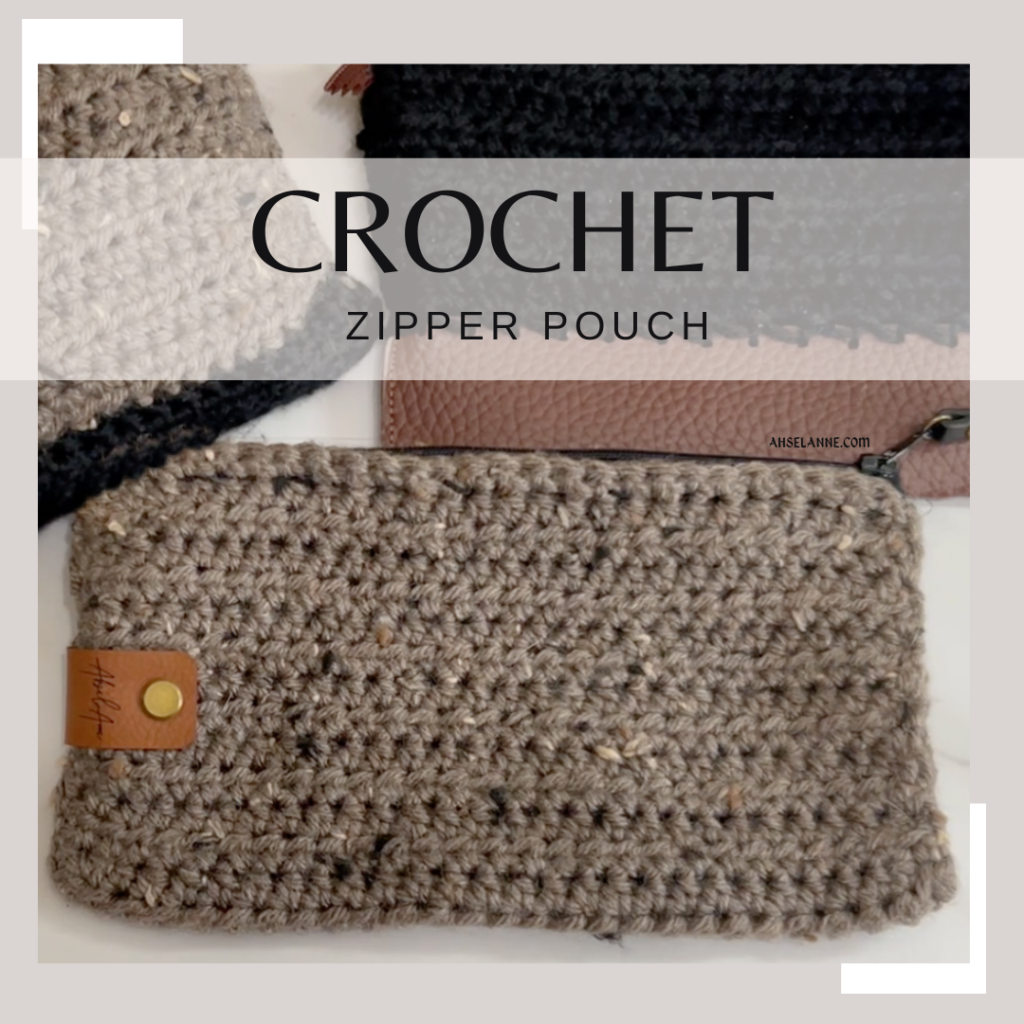

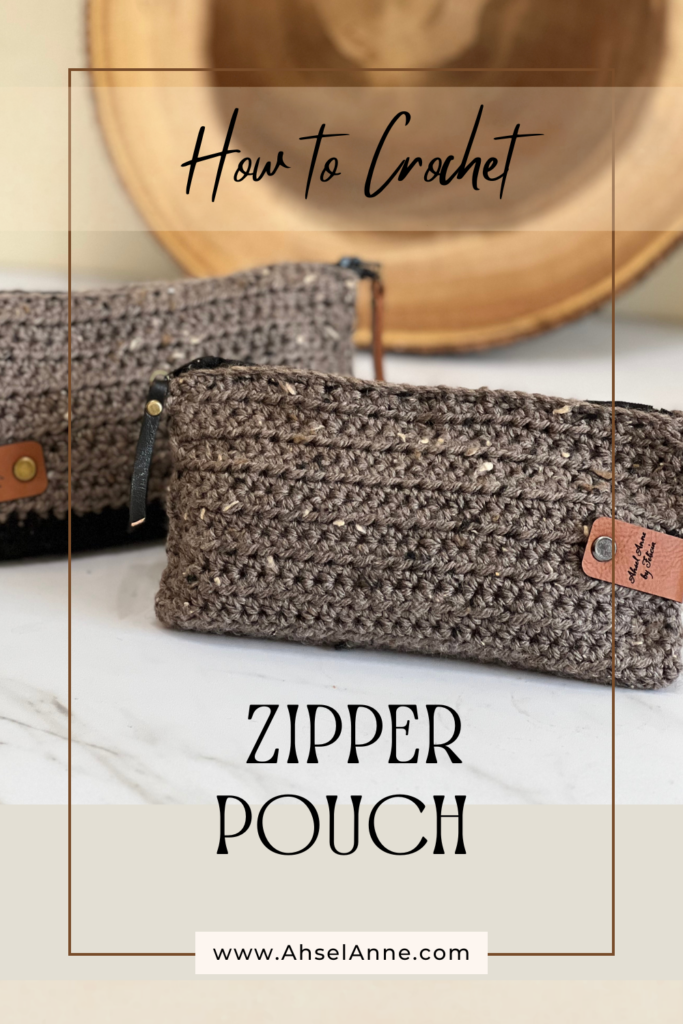
Crochet Zipper Pouch
crochet zipper pouch. Do you ever need a small and secure bag to hold your essentials? Crocheting a crochet zipper pouch is a perfect solution! This practical and versatile project can be completed with simple materials and basic crochet skills. This tutorial will guide you through the step-by-step process of creating your own custom pouch, complete with a zipper for added security.
Whether you’re a beginner or an experienced crocheter, this project is perfect for anyone looking to add a personal touch to their everyday items. Get ready to unleash your creativity and learn how to crochet a pouch with a zipper in no time!
Scroll down and I’ll share with you my easy-to-follow pattern. There is also a video tutorial available to help.
I absolutely love Learning, Creating, and Sharing. Check out my Disclosure for the details
YARN
Type of Yarn:
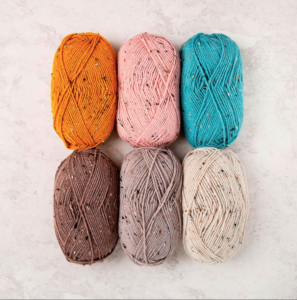
Acrylic Yarn- Brava Tweed
Yarn Characteristics:
Brava Tweed is a premium acrylic yarn, enhanced with flecks of Viscose Tweed to add depth to the projects. The added enhancement does not take away from the durability of the yarn.
97% Acrylic 3% Viscose
100g
218 Yards
Colorway:
Mink
Yarn Needed:
Approx. 60 yards, 4-weight
Yarn Substitution:
Any 4-weight acrylic yarn would work for this project.
YARNSUB.COM is a resource to find yarn substitutions.

For an Ad-Free PDF Version of this Pattern Click Here, Etsy
For an Ad-Free PDF Version of this Pattern Click Here, Ravelry
VIDEO TUTORIAL
A video tutorial is available for this pattern; scroll down to see the tutorial.
PATTERN DETAILS
Skill Level
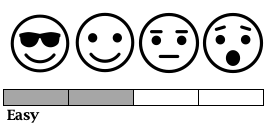
For a better understanding of skills, and learning Click Here. You’ll be led to the Craft Yarn Council for a deeper dive into skill levels.
This is a project for the advanced beginner. If you are new to crocheting you need to be comfortable completing a single crochet, half double crochet, and basic sewing skills.
NOTES
• This pattern is written in US terms and a key is provided, to help with any abbreviations.
• Additional NOTES are placed throughout the pattern, for additional tips and instructions.
• There are hyperlinks included, within this pattern. If viewing, on an electronic device, you can click on the link(s), and you will be taken to the products used and helpful instructional video(s).
• Chain (ch) 1 does not count as a first stitch.
• [ ] denotes the stitch count at the end of the row.
• Running Stitch- basic sewing technique where the sewing needle moves back and forth, along the fabric to make a straight line of stitches.
MATERIALS
Yarn
Approx. 60 yards, 4-weight
Hook
• Crochet Hook- US I/9 (5.5mm)
Notions
• Yarn Needle
• Sewing Needle
• Scissors
• Zipper – 7” inch
• All-Purpose Sewing Thread
• Glue -Fabric, Hot Glue Gun (Optional)
Finished Measurement
Approx. 8”in/20cm (width)
Approx. 5”in/12.7cm (height)
GAUGE
Ensure the foundation chain is the length of the zipper, used.

PATTERN ABBREVIATIONS (US Terms)
English (US) Terms
ch(s)– chain(s)
hdc- half double crochet
sc– single crochet
st(s)– stitch(es)
R– Row


For Ad-Free Version of this Pattern Click Below:
WRITTEN PATTERN FOR ZIPPER POUCH
NOTE: The ch.1 will NOT count as the first stitch in the round.
Foundation: Ch 28
Note: This chain should measure the length of the zipper.

R1: 1 sc in 1st st from the hook; 1 sc each ch st across [27], ch1; tw.
R2: In ch1 st [first st] hdc, hdc in each st across [27]; ch1; tw.
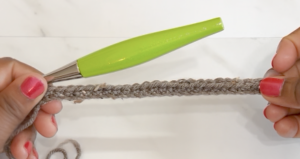
R3-R29: In ch1 st [first st] hdc, hdc in each st across [27]; ch1; tw.
R30: sc each st across [27] Finish off, leaving a long tail (approx. 20 inches) to sew along the raw edge.
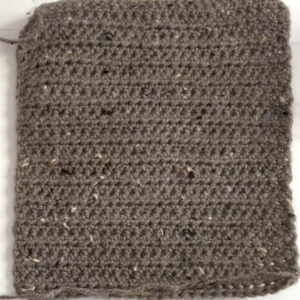
CONSTRUCTION
Attaching the Zipper
Fold the crochet fabric in half. (The bottom edge should align with the top edge of the fabric).
The zipper will be attached in between the crochet fabric, along the top edge.
Add another easy crochet project to your list? Try this next:
Using the sewing needle and sewing thread attach the zipper to the top of the back.


If additional instructions are needed: CLICK HERE for the video tutorial: How to Attach a Zipper.
Sewing Pouch
Using the long tail, created after finishing the crochet fabric; sew along the raw edge of the left of the pouch.
Note: Sew down from the top and back up again to ensure the pouch is securely closed. Repeat on both sides.
Using yarn from the skein, cut a piece of yarn, approx. 20-inch. Secure yarn to yarn needle, and sew along the folded, opposite raw edge to close the pouch (right side of pouch).
Secure and weave in loose tails, clip any thread.
VIDEO TUTORIAL
Check out the video for visual instructions. Enjoy your Crochet Zipper Pouch pattern!