
How to Crochet a Patch Quilt Blanket
I love learning, creating, and sharing. Check out my Disclosure for the details.
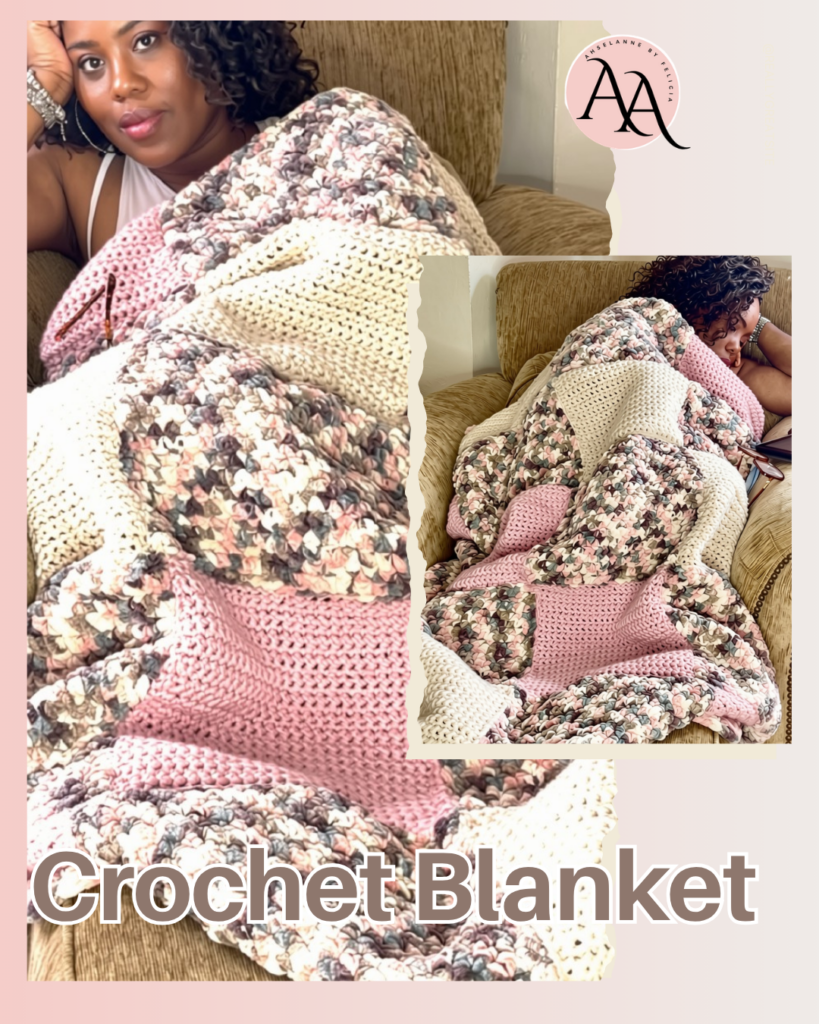
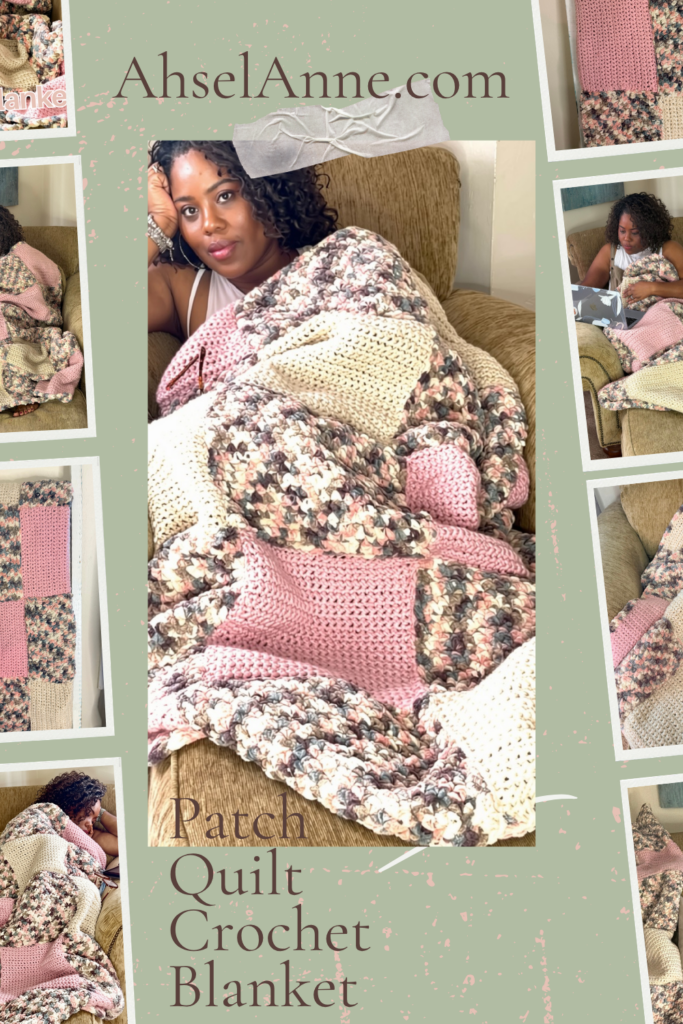
Learn how to crochet a blanket with a charming patch-quilt design. Follow the pattern to create a cozy, colorful heirloom! I will guide you through the crochet process to create this crochet quilt-style blanket. This crochet blanket is designed so beginners can make it with confidence.
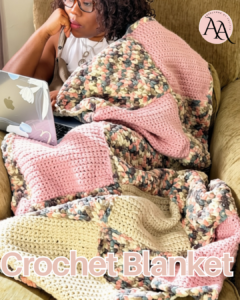
Made with a single crochet stitch and a yarn needle, follow this easy-to-follow pattern and video tutorial to create a cozy, textured patch-quilt crochet blanket. So grab your favorite 10mm crochet hook and lots of yarn, and let’s get started!
Type of Yarn & Colorway:
-Red Heart Super Saver- Aran- Color A
-Big Twist Value- Light Rose- Color B
-Lion Brand Cover Story- Emery- Color C
Yarn Characteristics: The Red Heart and the Big Twist yarn are acrylic worsted-weight yarns. It’s durable, machine washable, dryable, and comes in an array of colors.
The Cover Story Yarn is a super bulky chenille yarn. It has a soft, fluffy feel and adds coziness to the blanket.
Red Heart Super Saver- 2 skeins- Color A (Aran) 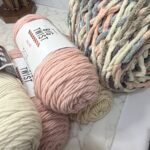
100% Acrylic Yarn
198g
364 yd
Big Twist Value– 2 skeins- Color B (Light Rose)
100% Acrylic Yarn
170g
380 Yards
Cover Story Yarn (Emery)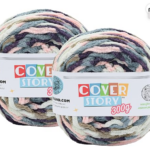
100% polyester
547 yards/1000g, the larger size skein.
164 yard/ 300g, the smaller size skein (can be found on the Lion Brand Yarn website)
Yarn Needed
Approx. 4 skeins of acrylic yarn (2 of the same color) (Big Twist or Red Heart) and 1 skein 574yd/1000g Cover Story.
(Optional-to create a border. An additional smaller skein of Cover Story yarn (164yd/300g) is needed).
Yarn Substitution:
Any 4-weight soft yarn would work for this project, and any extra bulky size 6 weight or 7 weight chenille yarn.
YARNSUB.COM is a resource to find substitution for yarn.
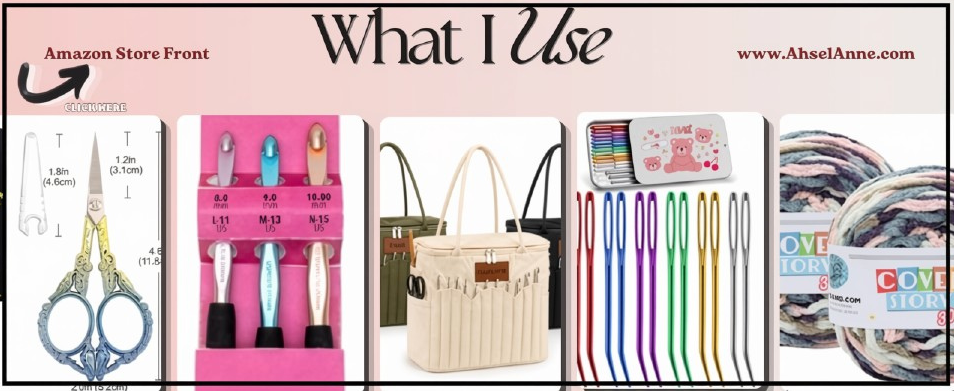
MATERIALS
- Yarn – Approx. 1450yds, 4-weight (4 skeins- 2 in one color and 2 in another) Big Twist Value or Red Heart Super Saver
- Cover Story -Lion Brand Extra Bulky 6-weight
Total of 1300g/820 yards (5 small skeins or
1 large skein and 1 small skein - Crochet Hook- US N/10.0mm
- Yarn Needle
- Scissors
- Stitch Markers/Sewing Clips (optional)


VIDEO TUTORIAL
A video tutorial is available for this pattern; scroll down.
NOTEs
• This pattern is written in US terms, and a key is provided to help with any abbreviations.
• Additional NOTES are placed throughout the pattern for additional tips and instructions.
• There are hyperlinks included within this pattern. If viewing on an electronic device, you can click on the link(s), and you will be taken to the products used and helpful instructional video(s).
• Chain (ch) 1 counts as a sc stitch.
• [ ] denotes the stitch count for the row.
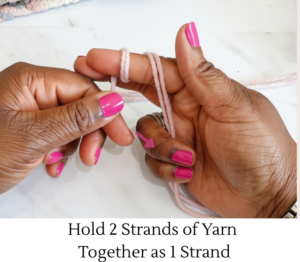
• This project is worked using two strands of yarn held together

ABBREVIATIONS
English (US Terms)
ch(s)- chains
sc-single crochet
sl st- slip stitch
st(s)-stitches
R- row
tw-turnwork

Here’s a Fun Project to Create:
Two-Toned Crochet Zipper Pouch

Skill Level
For a better understanding of skills, and learning Click Here. You’ll be led to the Craft Yarn Council for a deeper dive into skill levels.This is a project for the advanced beginner. If you are new to crocheting, you must be comfortable completing a chain, single crochet stitch, and working with two strands of yarn held together. In addition, a minimal knowledge of hand sewing is needed for this project.
STITCHES
SINGLE CROCHET (sc): Insert your hook, yarn over (yo), and pull up a loop; yo, then pull through two loops.
PATTERN DETAILS
GAUGE
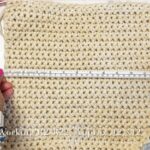
4”x 4” (10cm x 10cm):
9 sts and 10 rows of pattern
Using 10mm (U.S. 1/9) hook
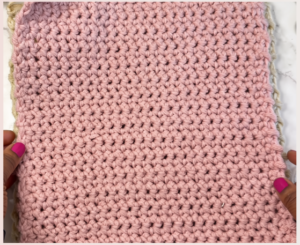
Each completed crochet patch measures approx. 12”x12”.
WRITTEN PATTERN
Note: The blanket uses two different types of yarn when using the 4-weight yarn two strands will be held together, when using the 4-weight yarn.
FINISHED MEASUREMENTS
Approx. 48” (width) x 63”(length) in/121.9 cm x 160 cm with Border/Trim
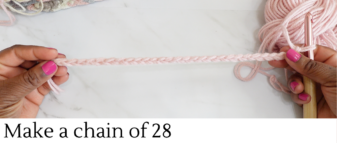
Foundation: ch. 28 (27+1)
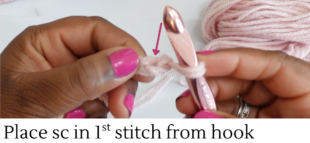
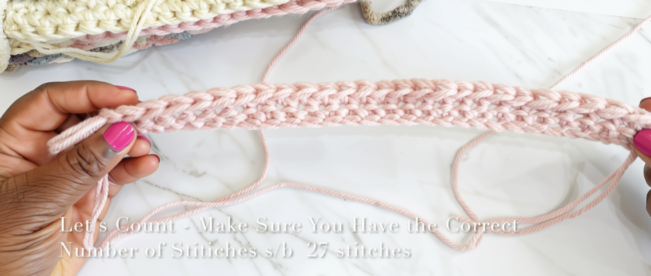
R1– sc in 1st from hook, sc into each stitch across; ch 1 tw [27].
R2– Place sc in 2nd st from hook, sc in each st across; ch 1; tw [27].
R3- R28- (repeat R2) sc in 2nd st from hook, sc ea st across; ch 1; tw [27].
R29- sc 2nd st from hook, sc ea st, across, fasten off, leave tail.
Note:
Make 5 patches in yarn Color A, make 5 patches in yarn Color B, a total of 10 patches using the 4-weight yarn (Red Heart/Big Twist yarn).
Patches Using the 6 Bulk Yarn (Cover Story)
Foundation: ch 20 (19+1)
R1– sc in 1st st from hook, sc into each stitch across; ch 1; tw (Note: ch 1 counts as the first sc stitch for the next row).
R2- place sc in 2nd st from hook, sc each st across; ch 1; tw [19].

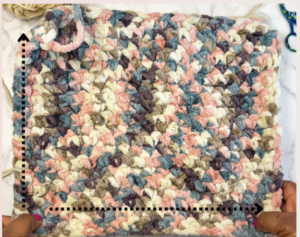
R3- R21 (repeat R2) sc in 2nd st from hook, sc ea st across; ch 1; tw [19].
R22– sc 2nd st from hook, sc ea st across; fasten off, leave tail approx. 9”.
Note: Make 10 patches in yarn Color C- Cover Story Yarn (Bulky Yarn).
CONSTRUCTING CROCHET PATCH QUILT BLANKET
Arrange the patches in a pattern. (Note: The pattern can vary based on preference).
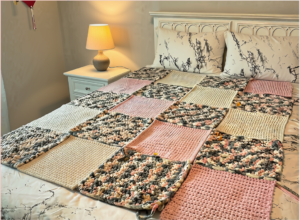
THERE WILL BE A TOTAL OF 20 PATCHES. 48”(W) x 63”(L)
10 PATCHES USING EMERY (BULKY)
5 PATCHES USING LIGHT ROSE
5 PATCHES USING BEIGE
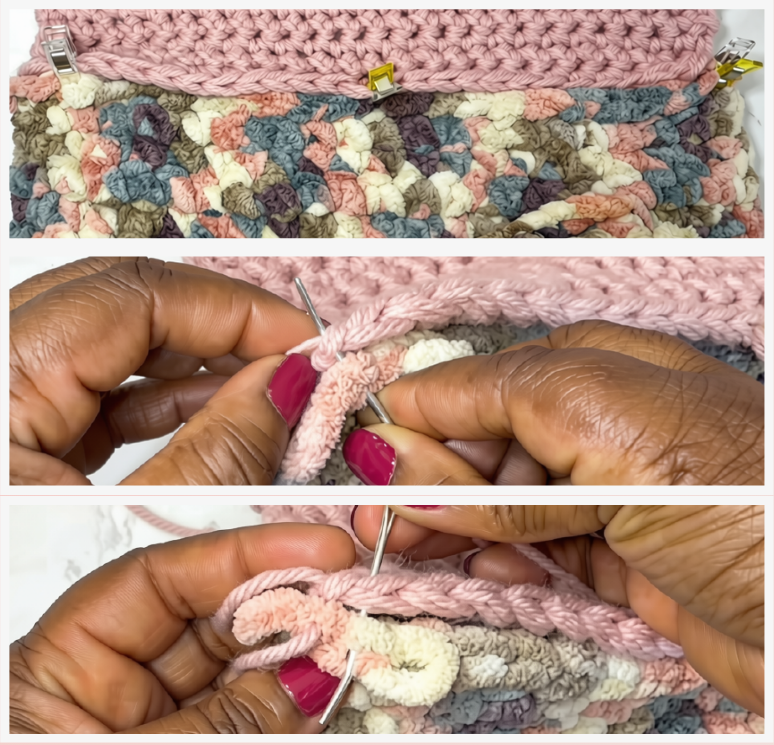
Step 1 (Optional)- Use clips or stitch markers to temporarily hold patches together.
Step 2-Using the 4-weight yarn, coordinating with the patch you are connecting, sew the edges together, i.e., soft pink yarn with a soft pink patch.
Note: Working either horizontally or vertically, sew the patches together. Then sew the created rows/columns together.
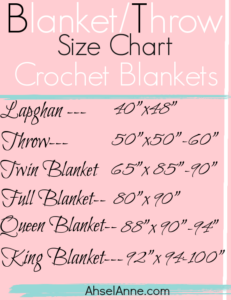
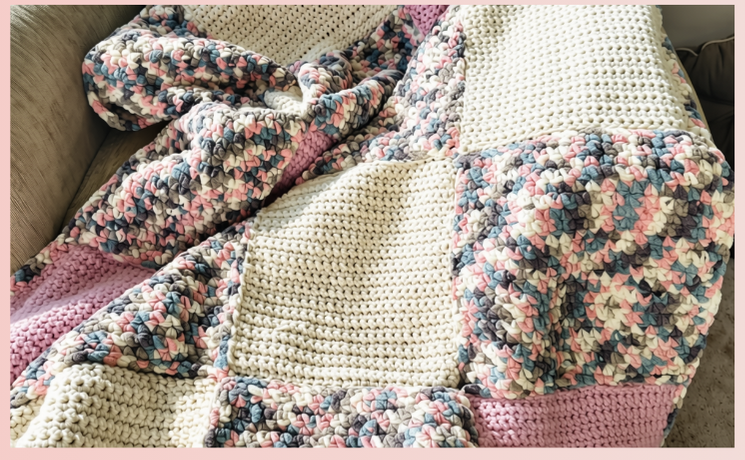
By connecting all the patches, you will end up with something beautiful. A textured, cozy blanket that is perfect for cool nights. If you want to change the dimensions, making this larger, simply add 4 more patches. This will increase the size of the blanket to approx. 60″ x 60″.
OPTIONAL- BORDER
Using the bulky yarn (Color C), attach the yarn to the corner of the blanket using a knot.
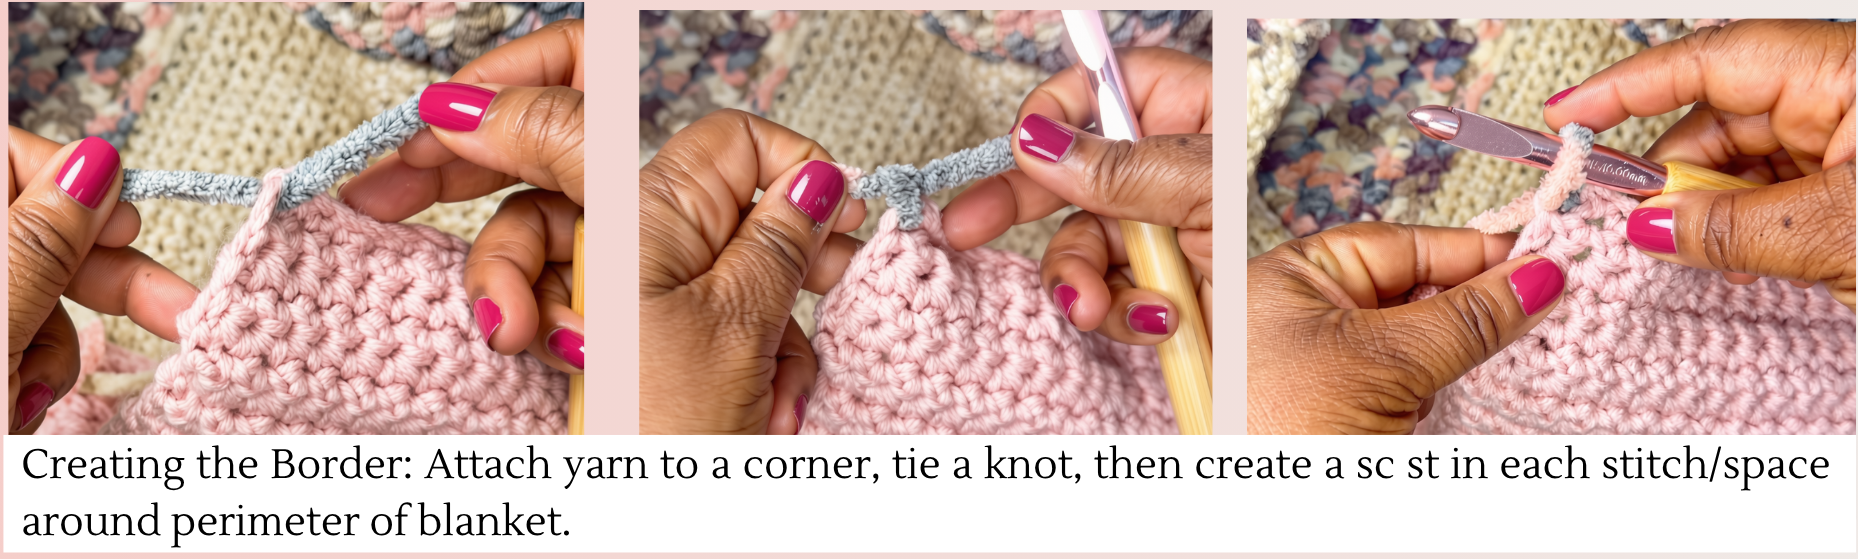
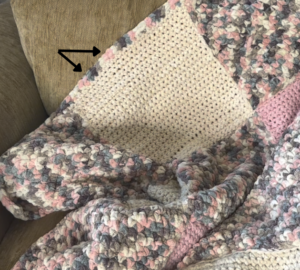
Create a sc st around the perimeter of the blanket.
Note: There are approx. 90 sts along the top and 90 sts along the bottom [180]. There are approx. 120 sts along each side [240].
ROUNDING THE CORNERS
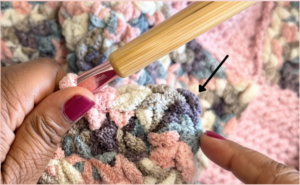 In each corner, complete {sc, ch, sc } in the same stitch. Continue sc each st across until arriving at next corner; repeat {sc, ch, sc}, repeat in remaining corner. At last corner, sl st into 1st st and fasten off. (See video linked below for example).
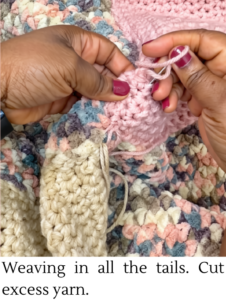
WEAVING IN THE ENDS AND CUTTING THE EXCESS YARN
VIDEO TUTORIAL
A video tutorial is available with this pattern:


