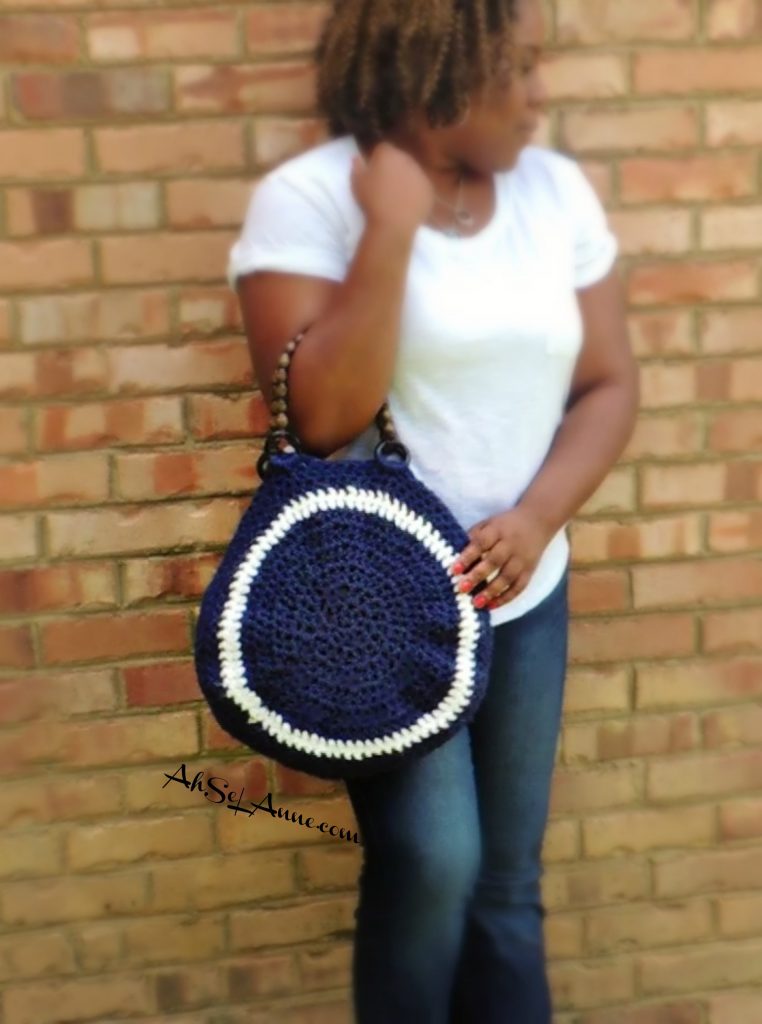
Create your style around this easy to follow crochet design. This is an easy crochet pattern, worked in the round to create a trendy fashionable purse. This bamboo handled, crochet purse is easy to recreate and can add flair to your favorite outfit. This circular purse is fun to create and is fashionable. The design is so easy to make that you can create a crochet purse in every color.

Materials for Round Crochet Bag
- Yarn Suggestion- 2 Skeins of Red Heart Super Bulky Yarn or 5 Bulk Yarn
- Wooden Handles
- Hook Size – 8.0 mm*
- Scissors
- 7” Zipper (preferably to match the yarn)
- Measuring Tape
Abbreviations (US Terms)
- CH- Chain Stitch
- SC- Single Crochet
- DC-Double Crochet
- HDC- Half Double Crochet
- SL ST-Slip Stitch
- TW- Turn Work
For Ad-Free Written PDF Pattern Click Here
NOTE:
These instructions were created for the beginner crocheter. These instructions may not read like a traditional pattern because I wanted to make sure the beginner crocheter understood the written process.
The crochet bag pictured uses two colors, making a color change at Round 7. It switches back to the original color at Round 8 and throughout the remainder of the project.
The color change is an optional step.
Written Instructions- Circular Panel 1
1) Round 1: Make a magic circle. CH 3 (this will serve as your first DC stitch) complete 7 additional DC stitches, into the circle. Using the tail end, of the magic circle, pull the circle together until the hole become smaller. SL ST, 8th stitch to the 1st stitch (creating a circle).
2) Round 2: CH 3 create a total of 16 DC Stitches (2 DC stitches in each stitch around). Remember, the ch 3 will count as the first DC stitch so you will create an additional 15 stitches. SL ST the last stitch to the first stitch to join the round.
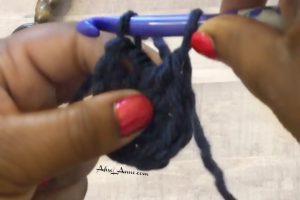
3) Round 3: CH 3 create a total of 32 DC Stitches (2 DC stitches into each stitch around) Remember, the CH 3 will count as the first DC stitch, create an additional 31 stitches. SL ST the last stitch to the first stitch to join the round.
4) Round 4: (increase round): CH 3, place 1 DC in the same stitch (this will give you 2 DC stitches in the same space) and then 1 DC in next stitch, 2 DC into next stitch,1 DC in next stitch Repeat* [ 1 DC, 2 DC,1 DC] around (total of 48 stitches). SL ST the last stitch to the first stitch to join the round.
Note: End round with 1 DC
5) Round 5: (increase round): CH 3, place 1 DC in the same stitch (remember the CH 3 counts as a DC stitch, this will give you 2 DC stitches in the same space), and then [1 DC in next stitch, 1 DC in next stitch, 2 DC into next stitch (this is the pattern)], [1 DC, 1 DC , 2 DC ] repeat into each stitch around (total of 64 stitches). SL ST the last stitch to the first stitch to join the round.
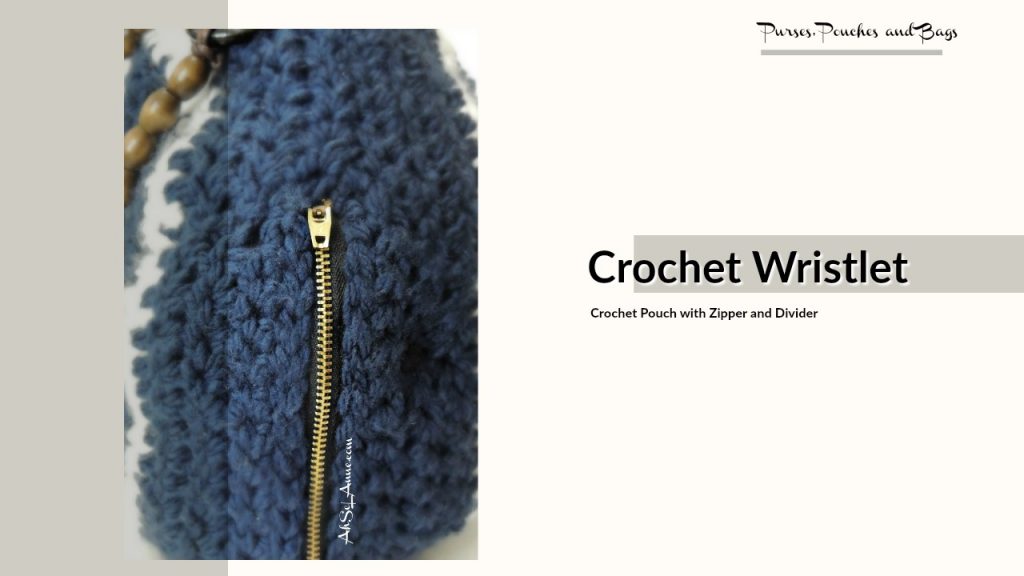
Checkout Zipper Pouch Tutorial and Free Pattern:
6) Round 6: (increase round): CH 3, place 1 DC in the same stitch (remember the CH 3 counts as a DC stitch, this will give you 2 DC stitches in the same space) and then [1 DC in next stitch, 1 DC stitch in next stitch, 1 DC in next stitch, 2 DC into next stitch] (this is the pattern) [1 DC, 1 DC, 1 DC, 2 DC] repeat into each stitch around (total of 80 stitches). SL ST the last stitch to the first stitch to join the round.
Color Change Round
7 ) Round 7-10 (repeat rounds) Change yarn, CH 3, place 1 DC in each stitch around (you should have a total of 80 stitches, the same amount of your previous round), SL ST last stitch to the first stitch.
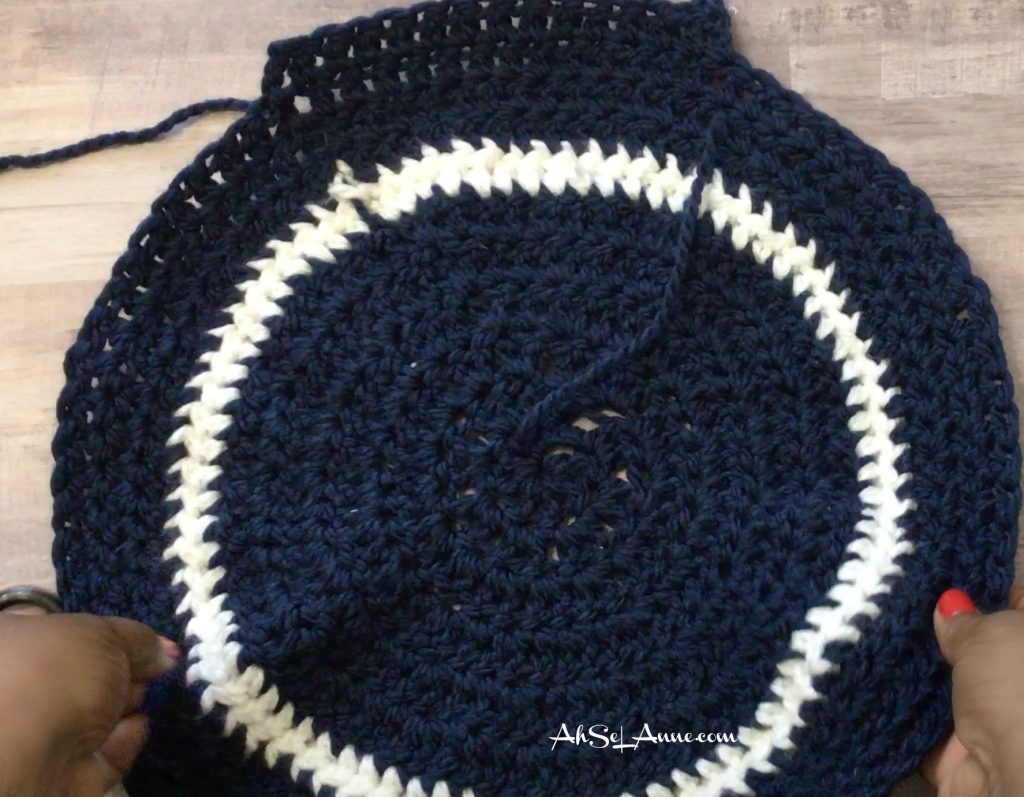
8) Round 8: CH 3, place 1 DC in each stitch around (you should have a total of 80 stitches, SL ST last stitch to the first stitch.
9) Round 9: CH 3, place 1 DC in each stitch around (you should have a total of 80 stitches, SL ST last stitch to the first stitch.
10) Round 10: CH 3, place 1 DC in each stitch around (you should have a total of 80 stitches), SL ST last stitch to the first stitch. CH 1, TW
Zipper Area
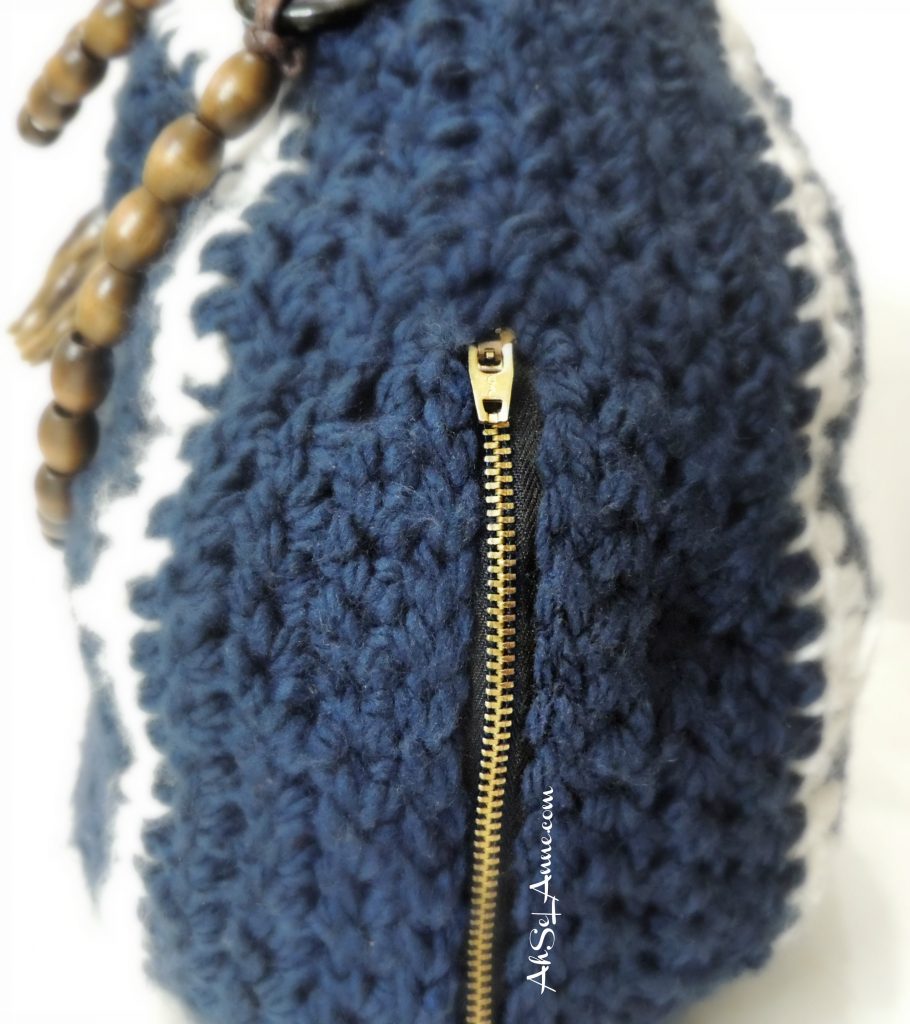
1) Row 1: Place 1 SC into 16 stitches across (this row should be approx. 1” longer than the zipper), CH 1, TW.
2) Row 2: Place 1 SL ST into each stitch across.
3) Finish: Tie off all the loose ends, weave in and cut excess yarn.

Circular Panel 2
Repeat steps above to make A second circular panel for the purse.
Attaching Zipper
With the zipper closed, align the zipper, along the designated zipper area, (created using the pattern above).
Using straight pins, temporarily attach the zipper to prepare for sewing.
Whip stitch along the back side of the zipper
Attaching Handles
Determine the placement of the handles
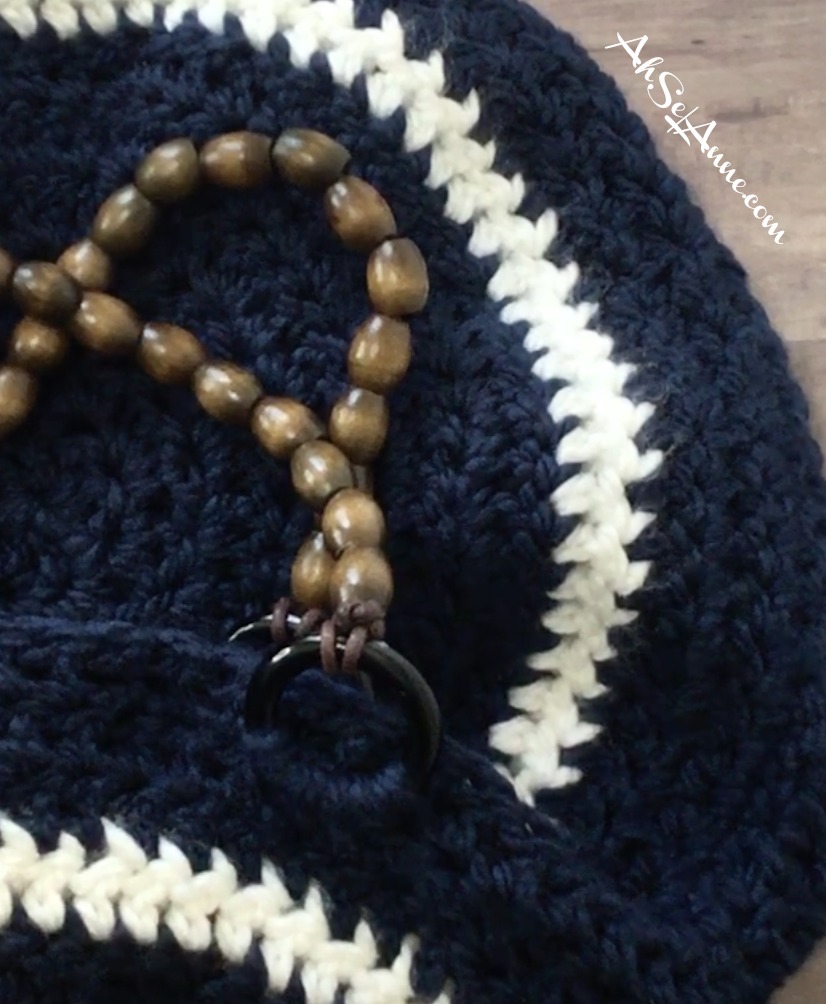
Use a whip stitch to attach the handles to the crochet purse. Use the yarn, from the project for a seamless blend.
Note: Attach the handles prior to sewing the crochet panels together to ensure the placement is accurate.
Ad-Free Pattern Click Here:
How To Series– How to Make a Magic Circle, How to Create Double Crochet Stitch
Click Below for the Video Tutorial:
Enjoy your trendy round crochet purse!



One thought on “Round Crochet Purse”