
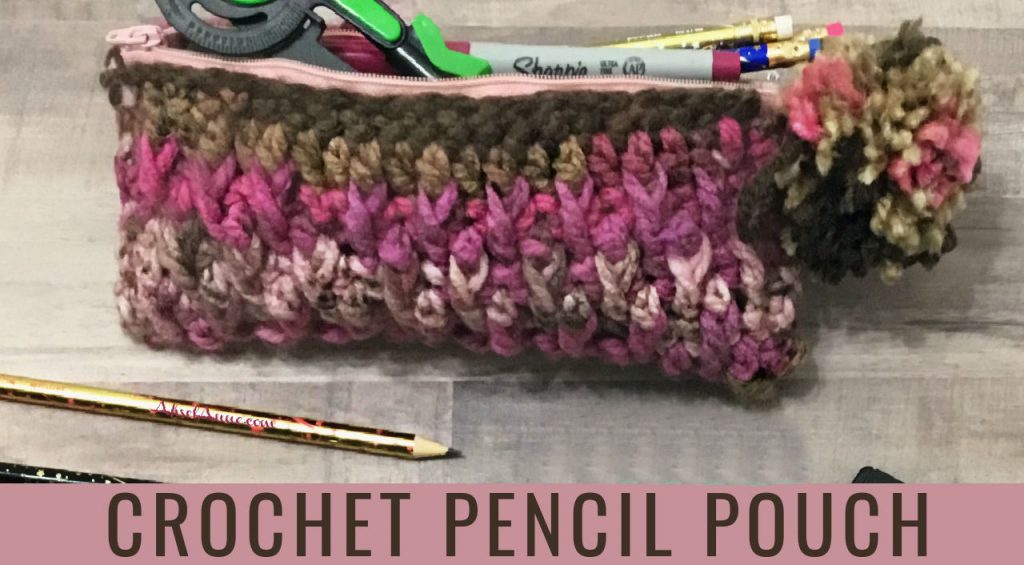

Crochet Pencil Pouch
Crochet Pencil Pouch can be used for school supplies, make-up, or for anything that you want to carry in a small bag. I used the Alpine Stitch which adds texture to the finished project. You can use any tightly created stitch to creat this crochet pouch.
Also, a sewing machine is not necessary but if you have any seamstress skills, then that would move the project along a little quicker.
Free Pattern and Video Tutorial scroll down:

I used Charisma yarn by Loops and Threads. Charisma is a soft, bulky weight yarn in a variety of solids and prints. This 100% acrylic yarn is easy to use and works up quickly.

As with many of my projects, creating can be done in many different ways. Learning how to crochet should be a relaxing process but it can take time to develop a technique that works best for you. My goal is to show you how to create beautiful crochet projects from a beginner’s perspective.
PATTERN
Get the ad-free, large print, printable PDF pattern HERE
PIN this pattern to your Pinterest boards for later HERE


NOTE
This pattern is written in US terms and there is a key provided, to help with any abbreviations. Also, there are a few pictures, scroll down there is an instructional video.
MATERIALS
– Yarn- Bulky Yarn
– Crochet Hook 6.0mm
– Yarn Needle
– Scissors
– Stitch Markers (optional)
– Liner for Pouch- Felt works well
– Glue Gun/ Glue Stick (optional)
– 7” Zipper
ABBREVIATIONS (US TERMS):
ch- chain
dc- double crochet
fpdc- front post double crochet
sc- single crochet
st(s)- stitch(es)
tw- turn your work
MEASUREMENTS:
- Zipper- 7” width
- *Crochet Fabric- 7.5” (width) x 9” (height)
*(The height can vary based on the depth you want your pouch. When folded over the pouch is approx. 4.5” deep. - Inside Liner- 6.5”x 8.5”
(Make a little smaller than the crochet fabric)
Customize Pouch- Determine the size of the bag by either measuring your zipper. The size of the zipper will determine the width of your bag.
PATTERN:
Start the Alpine stitch with an odd number.
Ch 23
- Row 1: In 2nd st sc, sc in every stitch across, ch 3, tw.
Note: The chain stiches will count as the first stitch on every row. - Row 2: dc in every st across, ch 1, tw
- Row 3: sc in each st across, ch 3, tw.
Note: Row 4 starts the pattern.
Working Front Post Double Crochets
Row four is row of double crochet, but instead of working the stitches into the top of the last row’s stitches, some of the double crochet stitches are worked as front post double crochets (fpdc). You work these around the double crochets (post) created in row two.
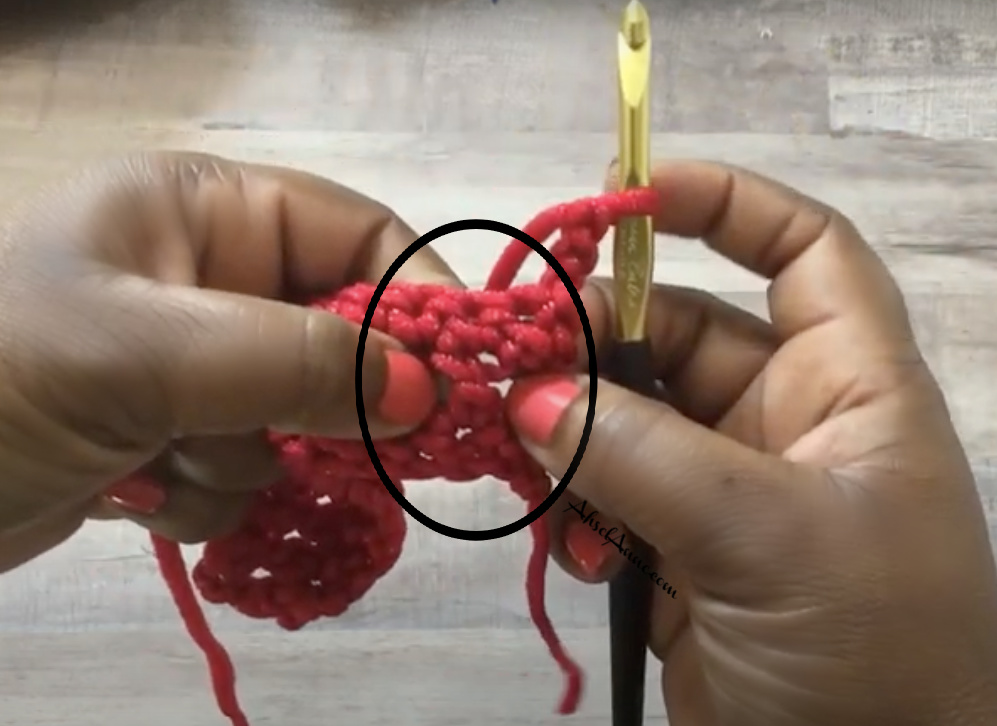
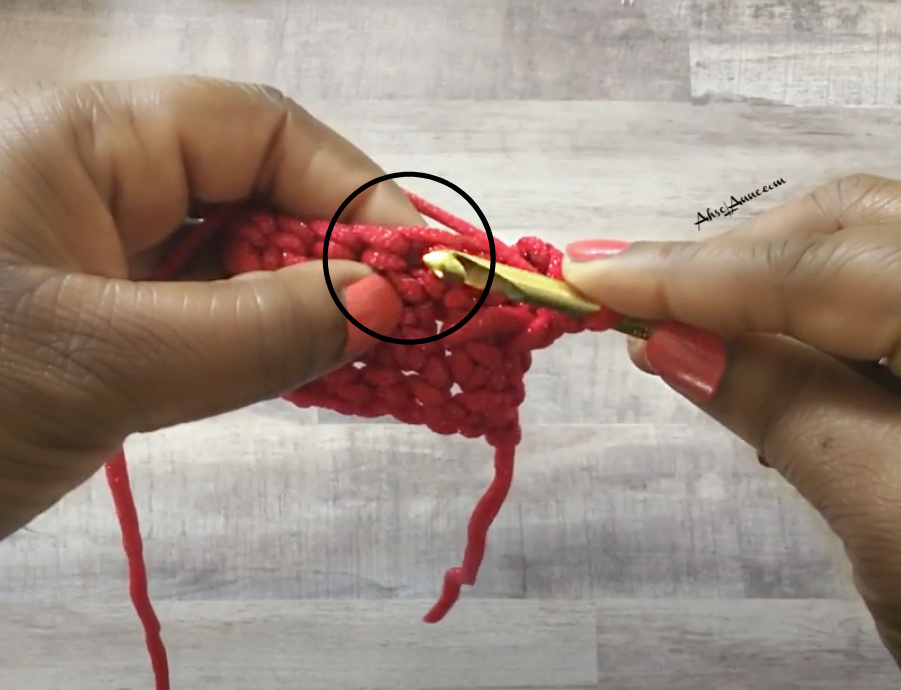
Front Post Double Crochet (fpdc) – Yarn over (yo) and insert your hook, between the posts of the first and second double crochet of the row below, front to back; the post should be pushed forward and the hook should be positioned horizontally behind the double crochet.
Yarn over and draw the yarn back through. You now have 3 loops on the hook. Pull up so that the stitch is the same height as the chain 3.
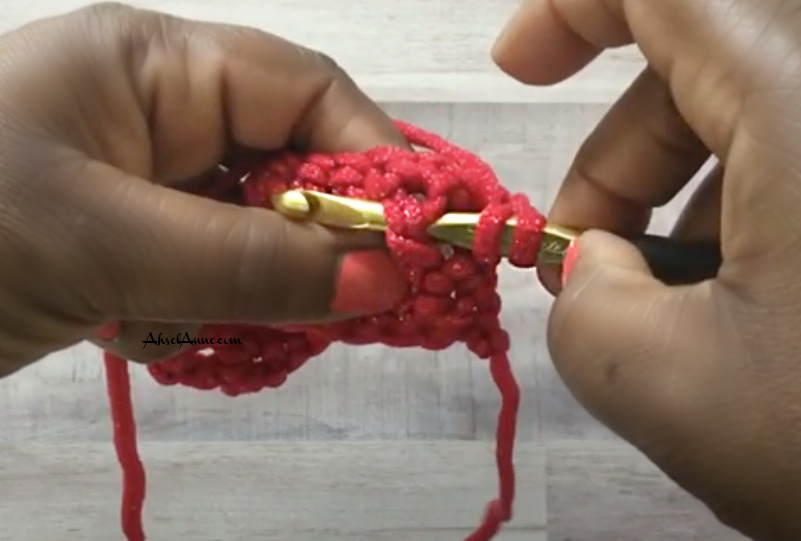
Yarn over and draw the yarn through the 2 loops on the hook, twice (completing a double crochet stitch).
One front post double crochet (FP dc) is complete.
Rows 4-5: (These are the repeater rows, throughout the project)
Every time you work a row with front post double crochets, you will work them on the previous row of double crochets. For instance, for row 4 you will use work on the dc post from row 2.
Row 4: The chain 3 will count as the first stitch, *FPDC, DC, FPDC (repeat this pattern) *front post double crochet, double crochet, front post double crochet), across the row. Should end with a DC, ch1, tw.
NOTE: The FPDC will be worked behind the dc post in row 2, the DC will be worked through the sc stitch, in line with the dc from the previous row (row 3).
Row 5: SC across, ch. 3 tw.
Rows 6-7: Repeat row 4 and 5
The next two rows are almost the same as the previous two, but here you work the front post double crochet stitches in the standard double crochets from row 4. This creates the alternating pattern of alpine stitch.
Row 6: The chain 3 will count as first stitch, *FPDC, DC, FPDC (repeat this pattern) *front post double crochet, double crochet, front post double crochet), across the row. Should end with a DC, ch1, tw.
NOTE: The FPDC will be worked behind the dc post in row 2, the DC will be worked on top of the sc stitch, from the previous row (row 3).
Row 7: SC across, ch. 3 tw.
Row 8-16– Keep working until you get to the desired size for your pouch. My pouch measured 7.5” width x 9” Height
Finish the crochet fabric, SL ST, fasten off
CONSTRUCTION OF POUCH W/ LINER AND ZIPPER
Measure and then cut the liner to approximately 1” smaller than your crochet fabric (the fabric you created using the above instructions).
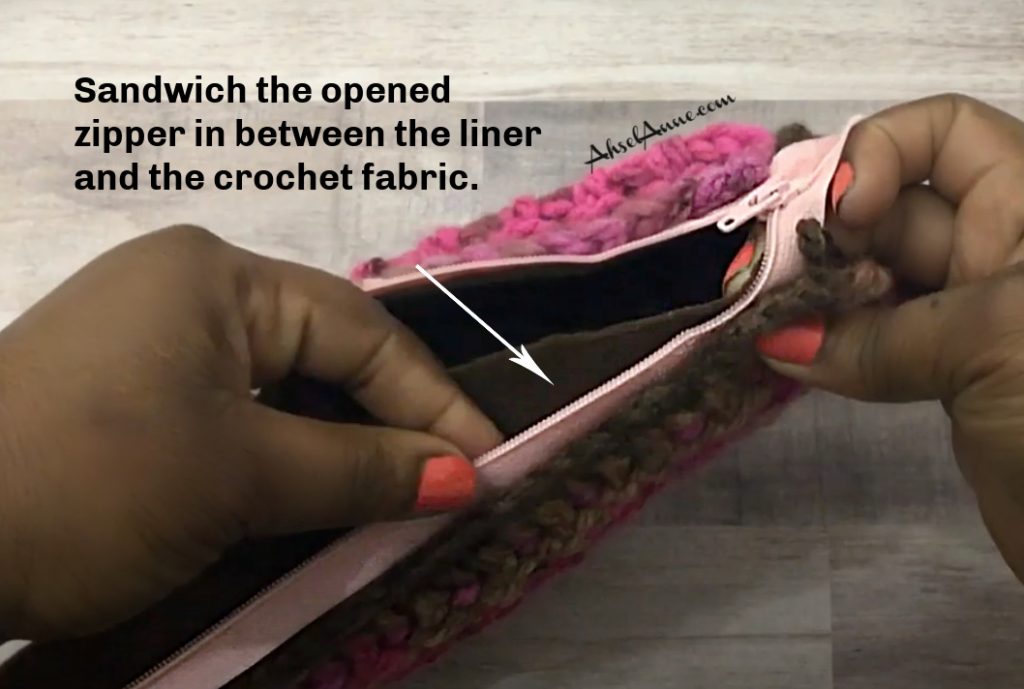
Place the OPENED zipper along the top of the pouch facing DOWN.
Lay the pre-cut fabric, with the right side facing up (this is the side you want to see when the bag is unzipped) over the zipper.
NOTE: The zipper should be housed between the crochet fabric and the liner. It should Make sure the Alpine stitch pattern is facing down.
Make sure the zipper sits just above the fabric.
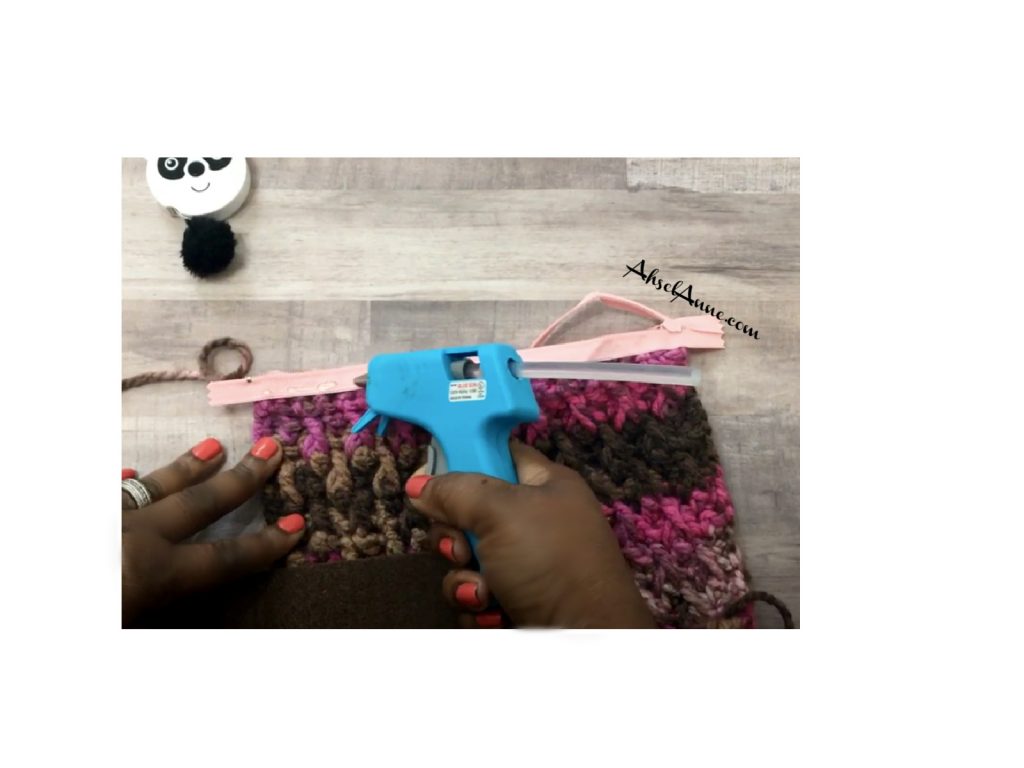 Using a sewing needle and heavy thread sew through the liner, zipper edging, and crochet fabric.
NOTE: I used a little bit of hot glue to lay between the fabric and the liner to ensure it did not move while I sewed it down. This is an optional step.
Use short stitches, preferably with a string that matches your yarn and liner to help mask the sewing.
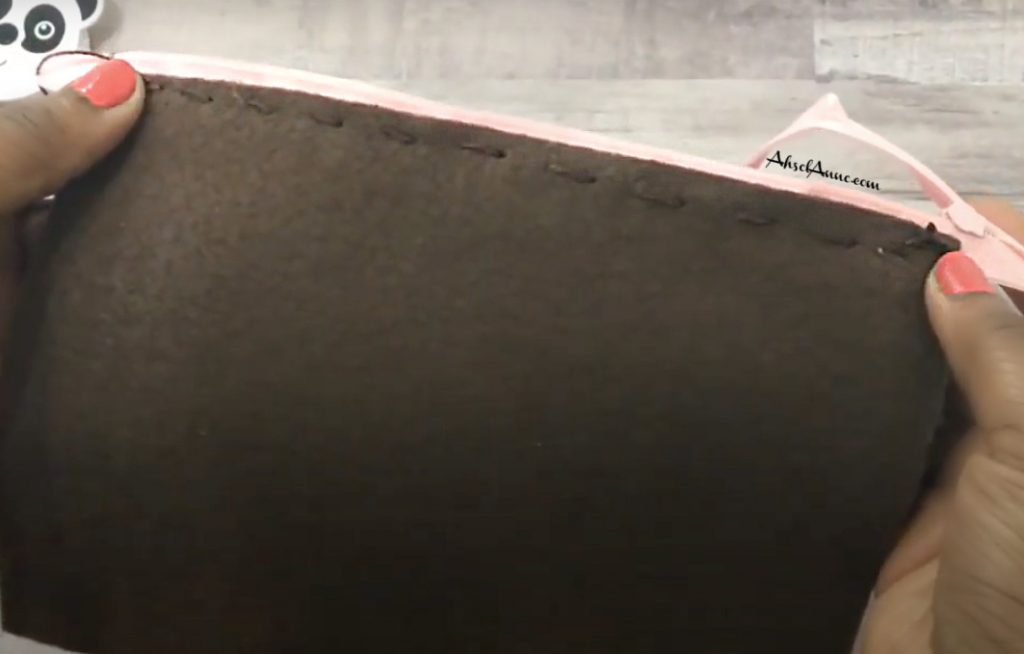
Using a piece of yarn and a yarn needle sew the edges of the crochet project together, along the sides.

NOTE: I found it easier to sew on the zipper first and then sew down the edges
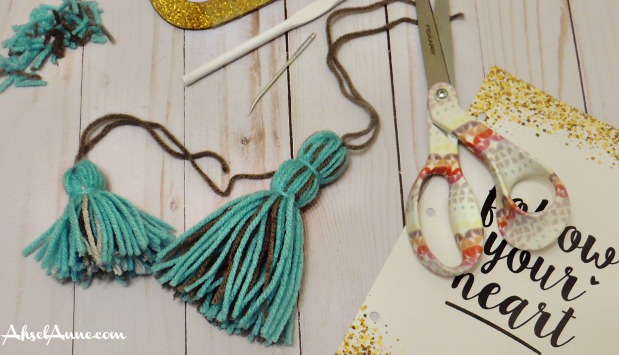
EMBELLISHMENT
Optional: you can add a pom, pom or tassel.
Check out the Video Tutorial Below: