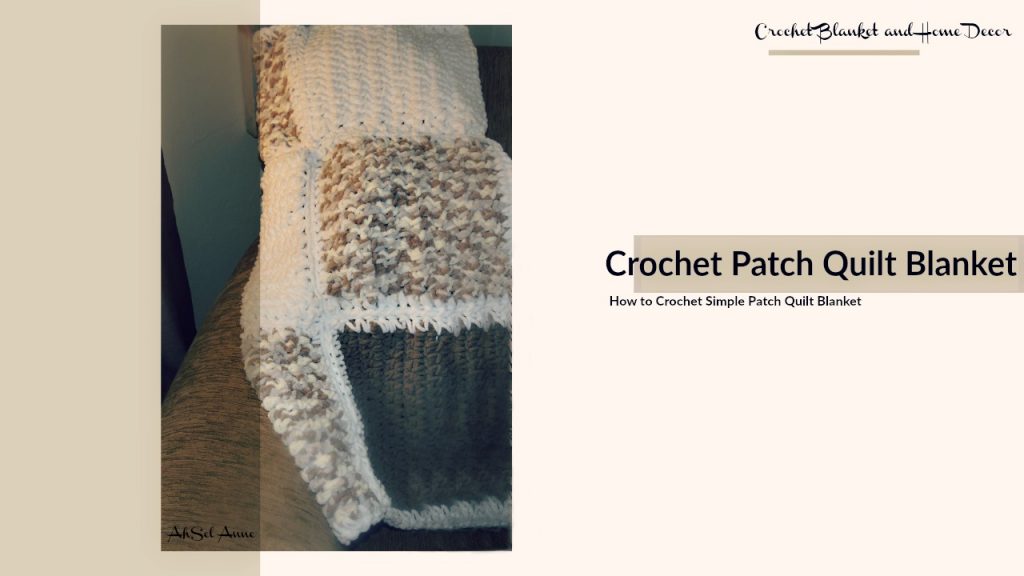
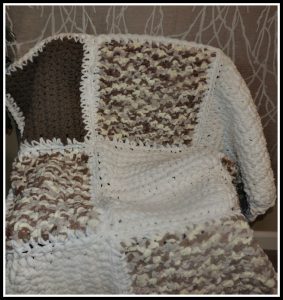
How to crochet a simple patch quilt blanket that will mimic the look of a patch quilt…This easy crochet project uses the half double crochet stitch and a 10mm crochet hook and will show you how to crochet simple patch quilt blanket
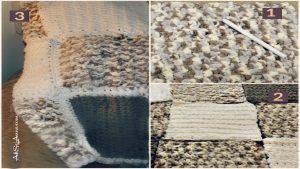
This is an easy crochet tutorial using the Bernat Blanket Yarn. The Bernat Blanket yarn is a bulky, chenille type yarn and it is really soft and cozy. This blanket is beginner friendly, it is worked in small sections and stitch together. The finish project will look like a patch quilt blanket.
Customize the Simple Patch Quilt Blanket
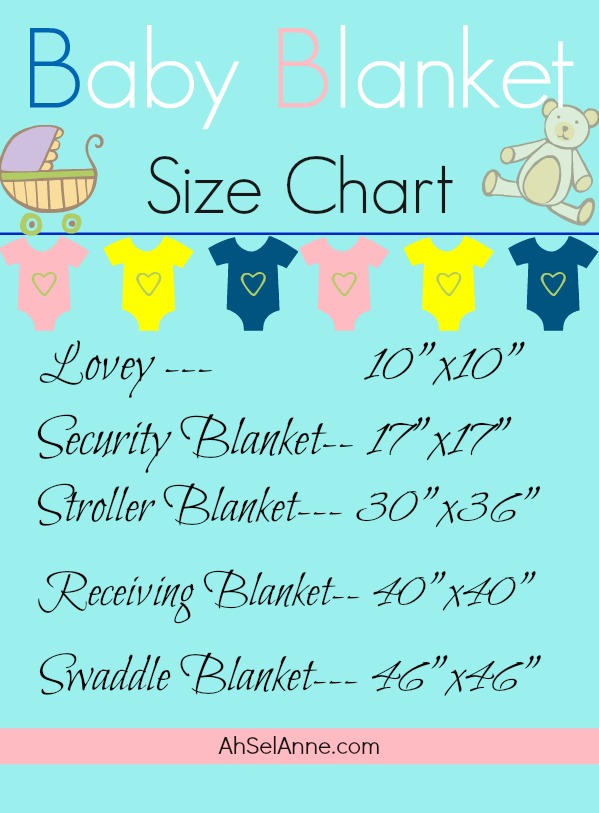
This simple ‘How to crochet simple Patch Quilt blanket’ can be customize to meet your personal needs; create a baby blanket, a throw or a larger blanket, it’s up to you.
This blanket can be modified by using an even number stitches in the foundation chain.
MATERIAL NEEDED FOR CROCHET PATCH QUILT BLANKET:
• Use 3 -4 skeins of the big balls of yarn, 300g, 10.5 oz, 258 yards, 234 Bernat Blanket Yarn ( this amount will vary based on the size of blanket)
• Size 10mm crochet hook
• Scissors
• Blanket measurement Throw- approx. 54″x66″ Baby Blanket approx. 29″x35″
Written Instructions- How to Crochet Simple Patch Quilt Blanket
1. Using the Bernat Blanket yarn make a slip knot. Tighten around the hook.
2. Chain 18 plus 2 for a total of 20. Be sure to not pull your yarn too tight around your hook or it will be difficult to work the stitches in the foundation chain.
3. Rows 2 – Ch 2 and place a Half Double Crochet (hdc) in 2nd chain from hook and repeat the hdc in each chain, all the way down the foundation chain. Remember to not pull too tight or your chain will become too tight to work into effectively
4. At the end of the row, chain (Ch) 2 and turn your work
5. Row 3-20 or (the height of your square) – HDC in the first stitch in the row, remember to skip the first chain from the hook, continue in each stitch. Be sure to complete a hdc in the last turning chain stitch.
6. Weave in all the ends
7. Arrange the patches in the design you want and then using the same yarn; sew the project together
Optional: Complete a SC stitch around each square to ensure all the squares are uniform. By completing the steps it adds approximately 6 inches to the blanket all the way around.
Determining How Many Squares:
The first thing you’ll need to decide is the size of the square patch. Using the written instruction above, create a foundation chain (this will be the length of your square) and then create your rows to the desired height. The patch size can be customize to your desire size.
Example: Baby Blanket (round up the 29″x 35″) 30″x 36″, assuming you create a 10 in square
Crochet Square
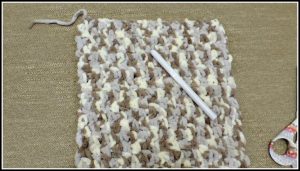
Example to create a Baby Blanket 30″ x 36″ (patch is a 10 inch square):
Divide 30 by 10 30/10=3
Divide 36 by 10 36/10=3.6 (round up or round down) = 4
Need to create 12 squares: 3 x 4=12 squares (You’ll need 12 squares to complete a blanket size 30×36)
Example: to create a Throw Size blanket-54″ x 66″ (patch is a 10 inch square):
If want to create a larger blanket then divide 10 (the size of your square) by the blanket measurement.
54/10=5.4 round up or down -I’ll use 5
66/10= 6.6 round up or down – I’ll use 6
Multiply 5×6=30 (You’ll need to complete 30- 10″ inch squares to complete a blanket size 54″x66″)
*Keep in mind the blanket will be bigger if you add a border around each square and if you add a border around the entire blanket.
Note and Tips:
- This blanket can be customized based on your needs.
- Take your time to count your stitches in each patch to ensure you have consistency throughout the blanket
- This project uses a Half Double Crochet (HDC) Stitch and a Single Crochet (SC) Stitch; you can use any stitch
Be sure to check out my YouTube video for a step by step tutorial on how to create this blanket.
The blanket in the video below started off 30″x30″ by the end it was 36″x36″ with the border



I like the article