
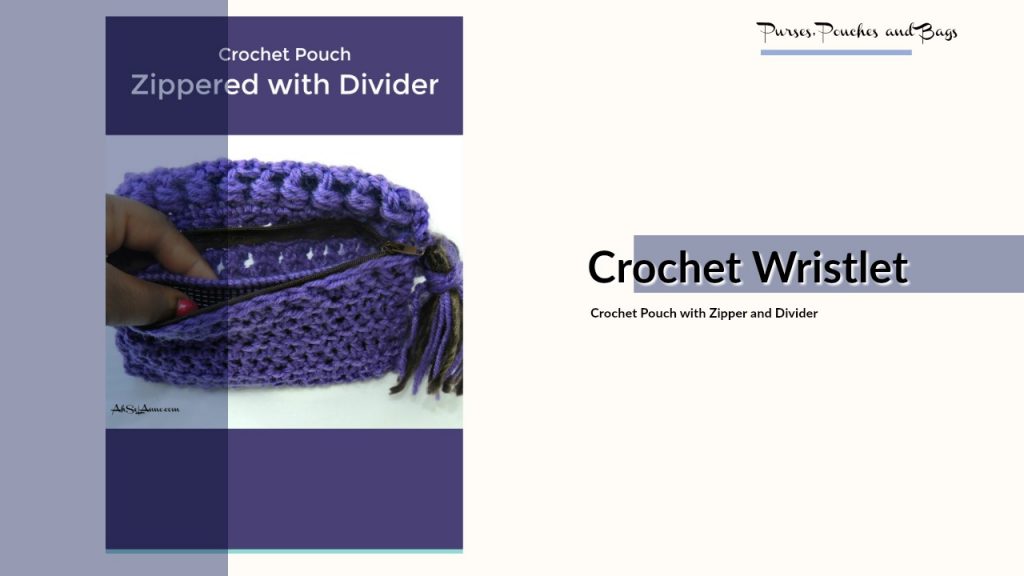

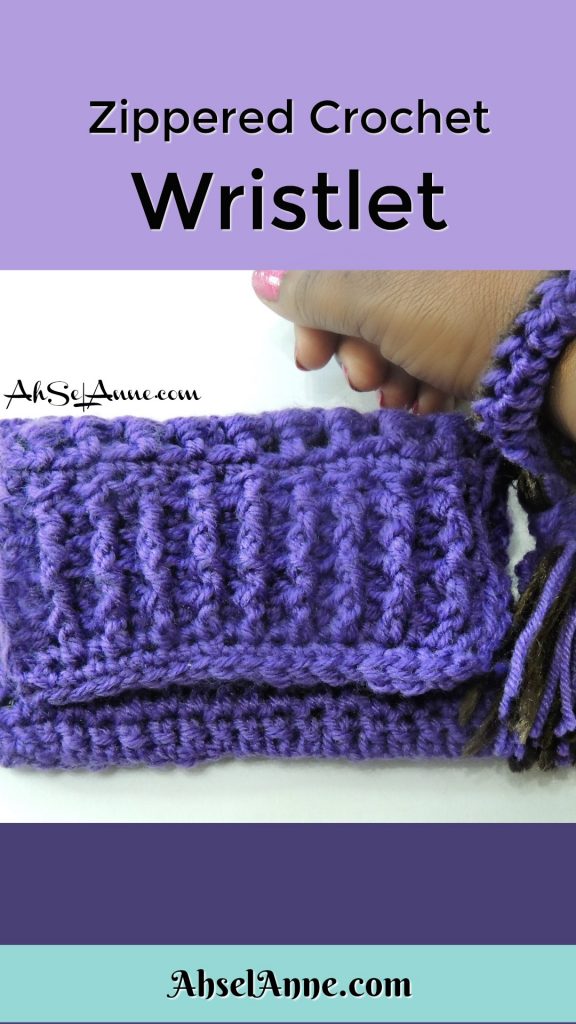
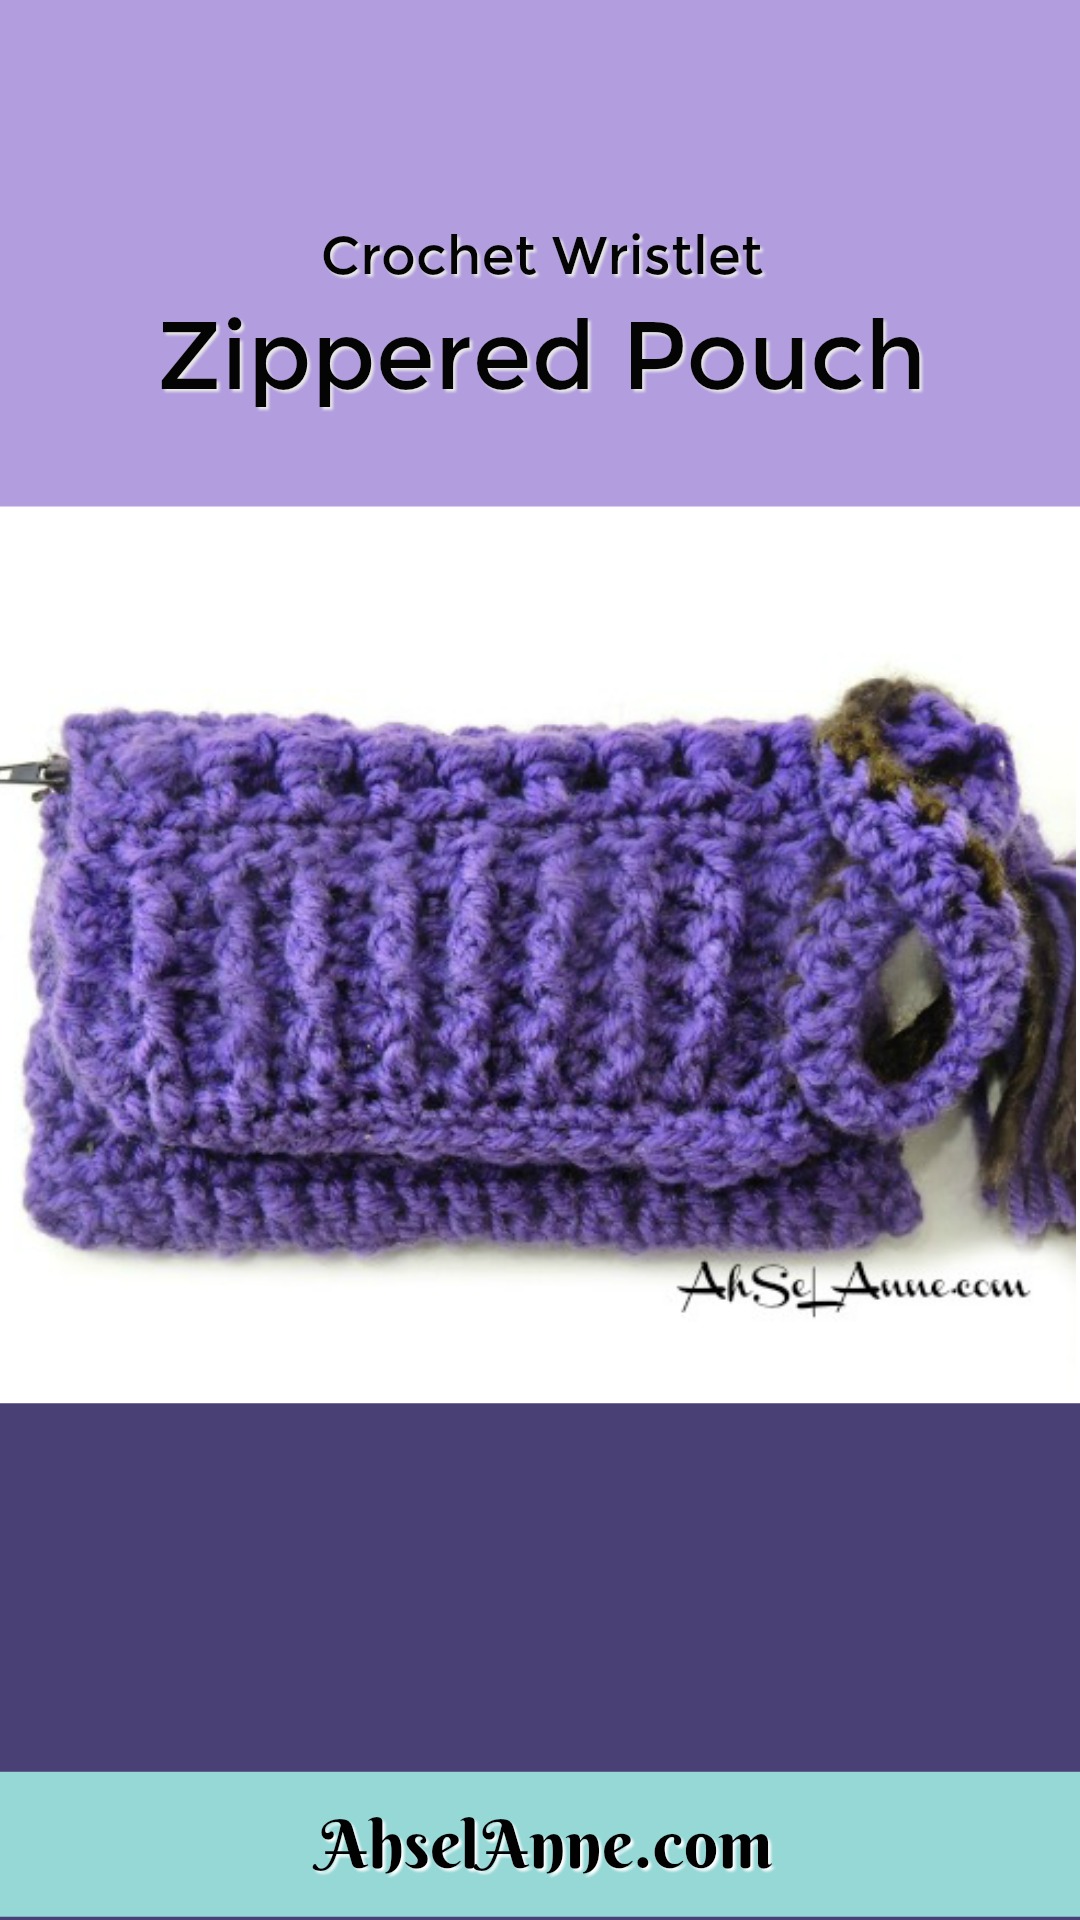
Crochet zipper pouch is a fun and simple storage solution. I love how easy it is to customize each pouch to fit your individual needs. The purple crochet zipper pouch I designed, has a strap that allows it to be worn as a wristlet. This project is easy to make and can be easily customized too. Whether you decide to create, as instructed below, or add a bit of flair; you’ll be able to create a new, trendy crochet pouch in no time. This crochet pouch is packed full, it has a flap, a zipper, a tassel, a wrist strap AND…A divider. Yep, this pouch has a zipper to close and a divider to help you better organize. I am sure you will love recreating this project, as it is written or change it up some to create your own style.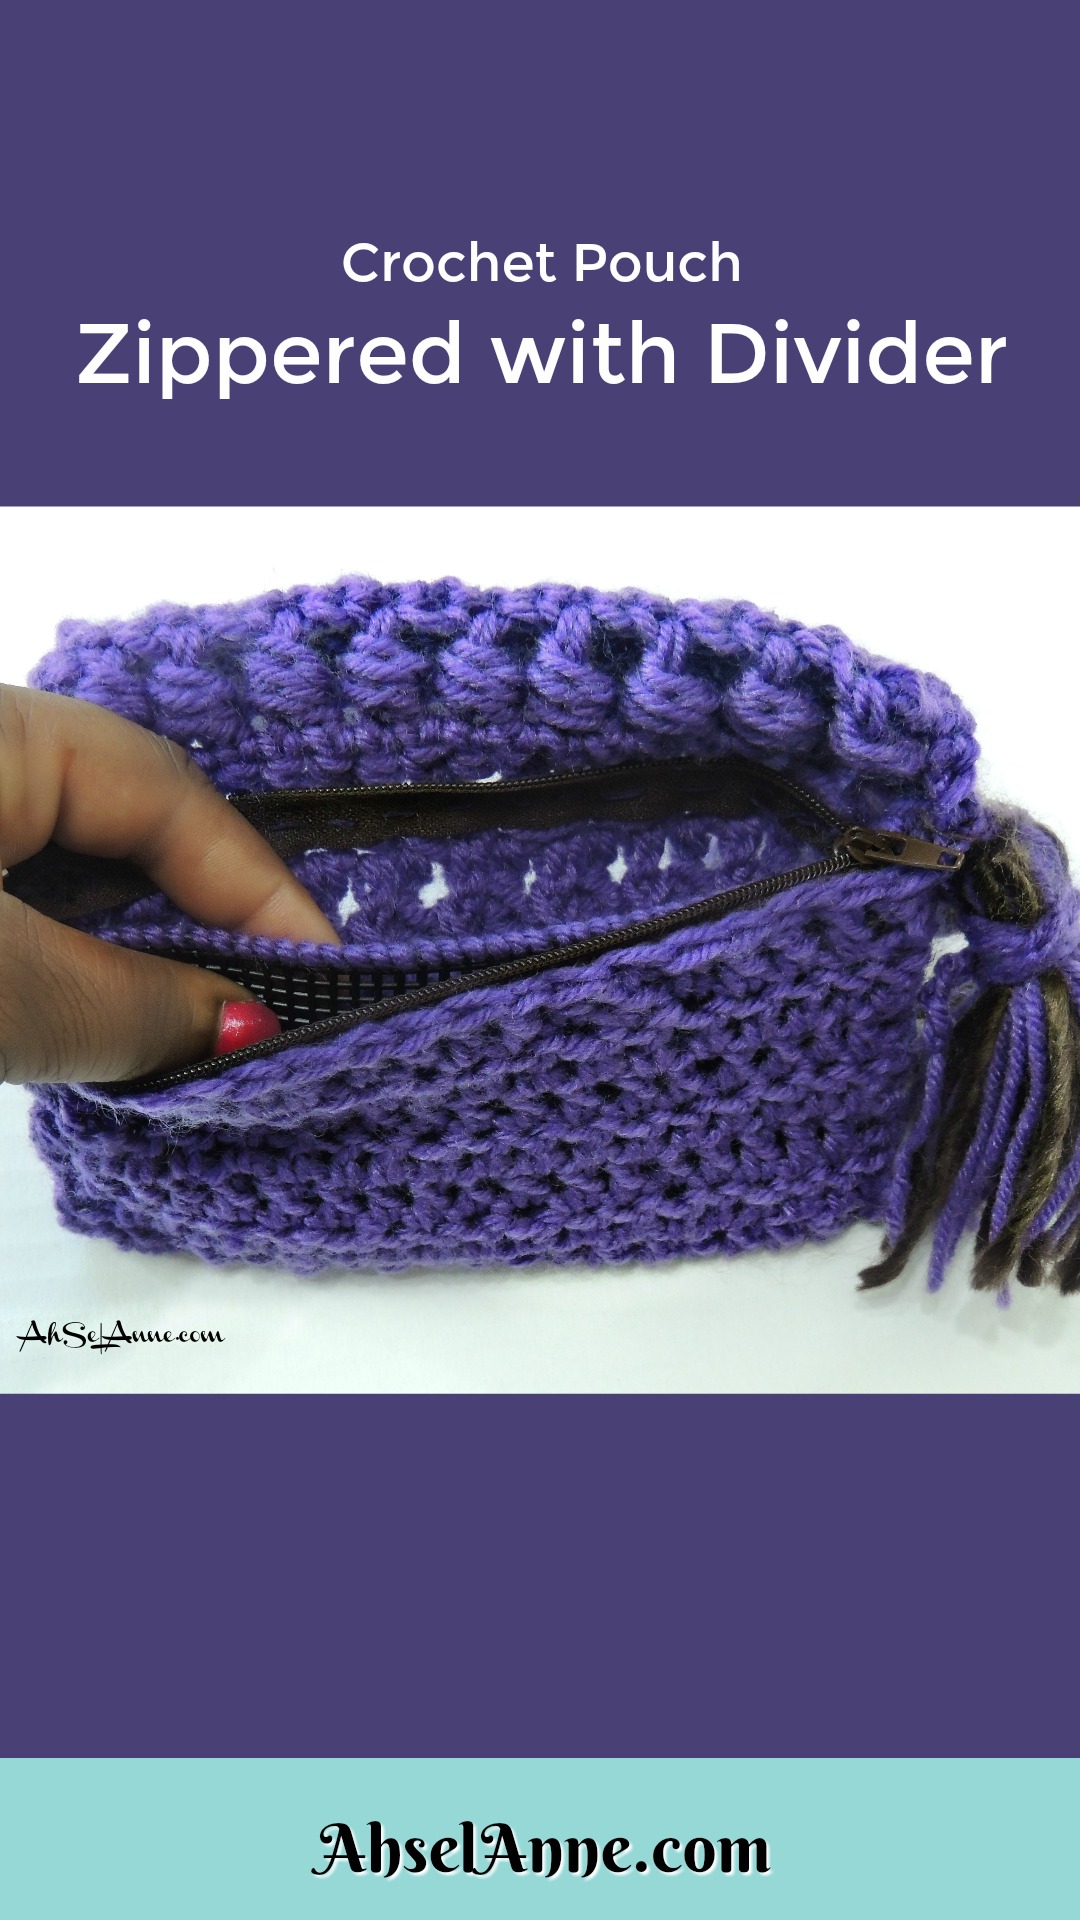
Below are some steps in my beginning crochet series to help you get started with this project:
Check out these beginner tutorials for additional help with the creating a slip knot, creating a foundation chain, single crochet stitch, double crochet stitch,
Material Needed for Crochet Zipper Pouch:
- Yarn Suggestion- 1 Skein – 100% polyester med. weight yarn
- Hook Size – 6.5mm
- Scissors
- Yarn Needle-
- Sewing Needle
- Thread
- Plastic Canvas Mesh
- 7” Zipper:
Ad-Free- Pattern Click Here:

Abbreviations (US Terms)
CH- Chain Stitch
BPDC- Back Post Double Crochet
DC-Double Crochet
FPDC Front Post Double Crochet
SC-Single Crochet
SL ST – Slip Stitch
Skst- Skip Stitch
TW- Turn Work
YO- Yarn Over or Yarn Over Hook
Written Instructions
Note: I’ve tried to make the instruction in as laymen terms as possible. This may not read like a traditional pattern because I wanted to make most beginner crocheter’s understood. There is a video, for visual learners below.
Creating the Pouch
These instructions are for a crochet zippered pouch, measuring approximately 7”x4”. However, you can vary the size by changing the zipper length, the foundation chain and the number of rows you create.
1. Create a CH 20 +3 (measure to ensure the chain is approximately 1” longer than the zipper)
2. Row 1- In the 3rd stitch, place DC stitch, place DC across the foundation chain (until you get to the end of the row), CH 3, TW
3. Row 2 –Alternate FPDC, BPDC, across. CH 3, TW.
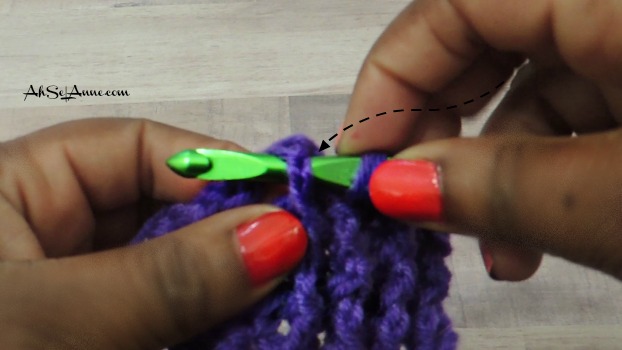
FPDC
1. Insert hook into hole next to the post,
2. Place the hook behind the post (pushing the post forward)
3. YO pull back through (behind post ) 3 loops should remain on your hook
4. Complete DC Stitch

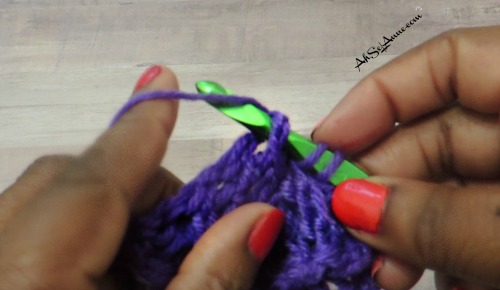
BPDC
1. Insert hook into the hole from behind the project,
2. Place the hook in front of the post (pushing the post back)
3. YO pull back through (3 loops should remain on your hook)
4. Complete DC Stitch
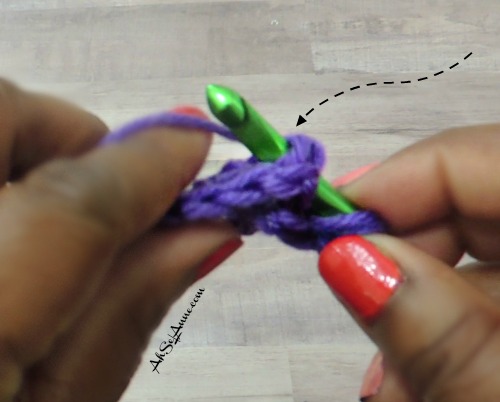
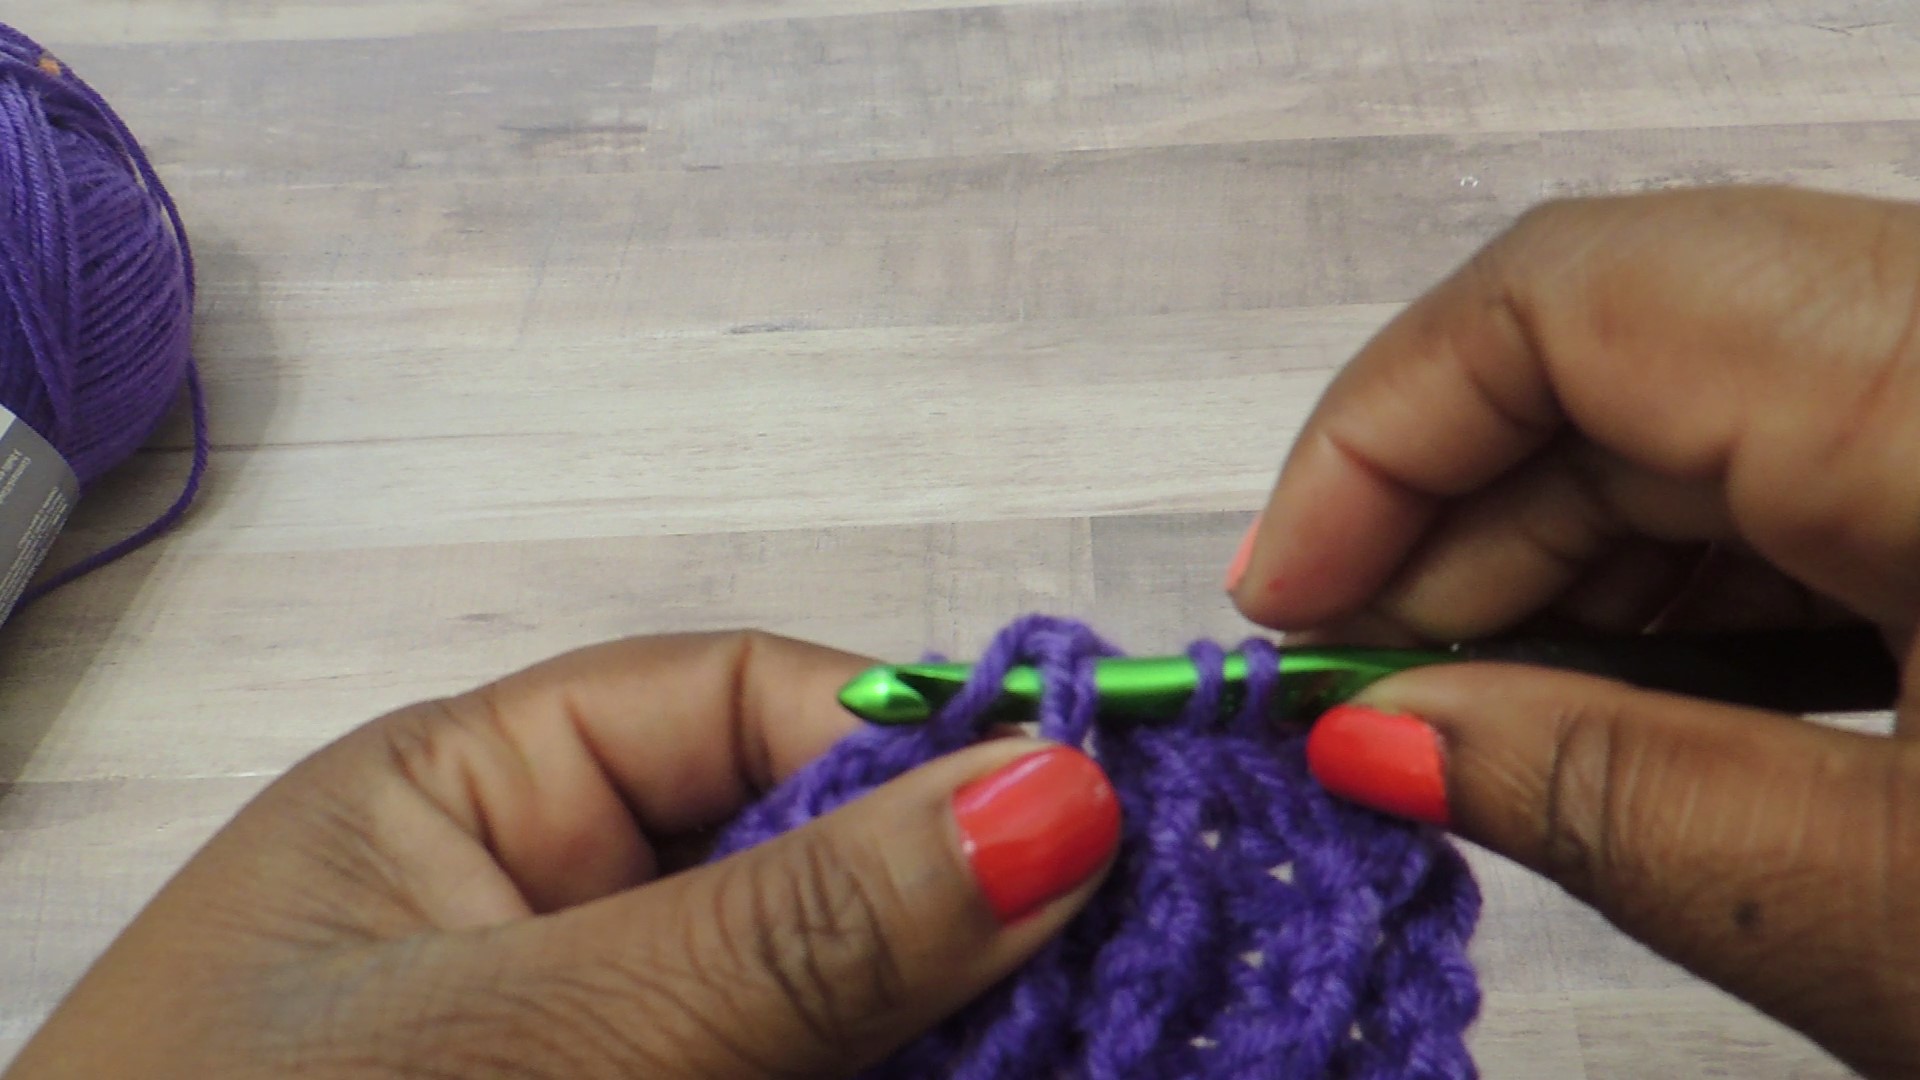
NOTE: The Front Post and Back Post stitch may require visual aid if you are unable to catch on with the written instruction or still shot. Please see the videos below.
How to Make a Front/Back Post-Double Crochet
How to Crochet a Bead Stitch
4. Row 3- Alternate FPDC, BPDC, across. CH 3, TW.
5. Row 4- Alternate FPDC, BPDC, across. CH 1, TW.
Note: End Rows 2-4 with DC Stitch
6. Row 5- SC across, ch 3, TW
7. Row 6 – Bead Stitch, Skst, Bead Stitch, Skst Repeat across, CH 1, TW.
Bead Stitch
1. DC in the next stitch
2. *YO, work around the post (the DC stitch you just created) Pull up a loop *This will repeat 2 more times
3. YO workaround same post, again, pull up a loop
4. YO workaround same post, last time, pull up a loop
5. YO, pull through the first 5 loops leaving 2 loops (the last loop and the YO loop)
6. YO, pull through last 2 loops, Skst Repeat bead stitch
Note: There is a skip stitch (Skst) between the bead stitches. There is also a row of SC stitches between the bead stitch rows.
8. Row 7- SC across, ch 3, TW
9. Row 8- Bead Stitch, Skst, Bead Stitch, Skst Repeat across, ch 3, tw.
10. Row 9- DC across, CH 3, TW
11. Row 10- alternate FPDC, BPDC, across. CH 3, TW
12. Row 11- alternate FPDC, BPDC, across. CH 3, TW
13. Row 12- alternate FPDC, BPDC, across. CH 3, TW
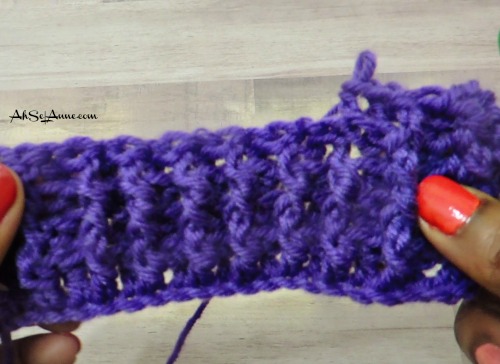
Double Crochet Section*
14. Row 13-23- Repeat DC across, CH 3 TW
15. Row 24- DC across, fasten off, cut yarn.
Construction Pouch, Divider, Zipper
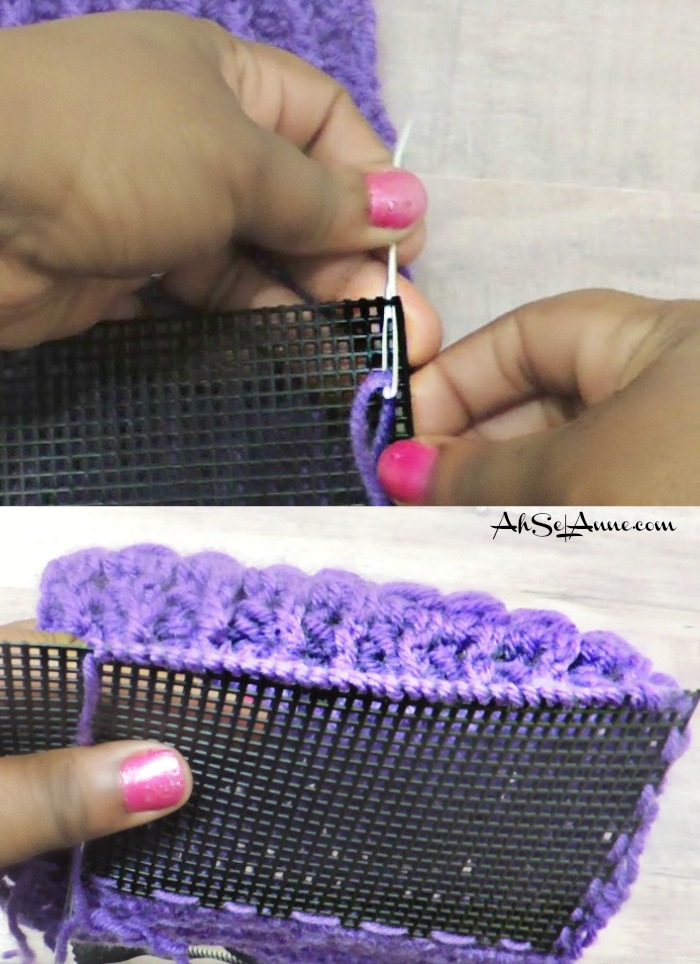
Step 1:
– Cut Plastic Mesh to the size of your pouch. Approximately, ¼” shorter than crochet fabric to ensure there is a seam allowance on both sides, to sew the pouch together.
– *Fold DC portion in half to determine the center
– Attach the plastic mesh to the center portion of the DC Section, using yarn and a yarn needle, start from the left or the right side, sew across (Note: a stitch does not have to be placed in each hole. Space the stitches evenly, along the bottom of the mesh.

Optional Step:
Sew along the top edge of the Plastic Mesh to create a border/edging.
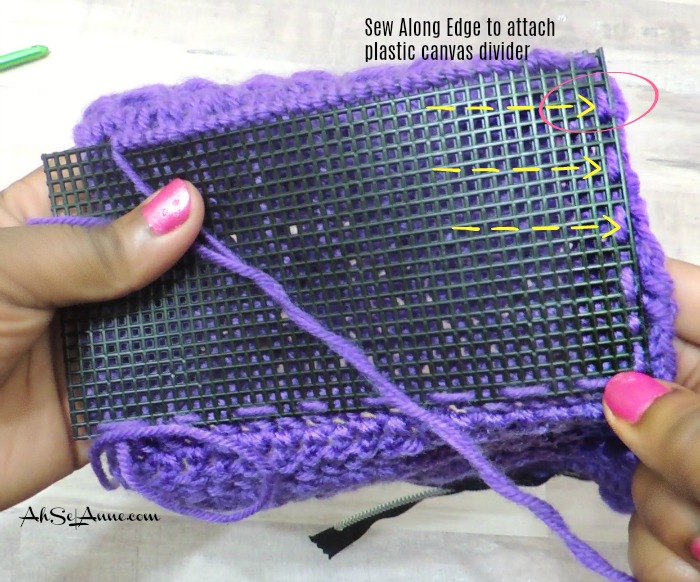
Step 2:
– Attach the plastic mesh divider along the side, using the yarn and yarn needle. Sew along the left and right side (leaving the top unattached).
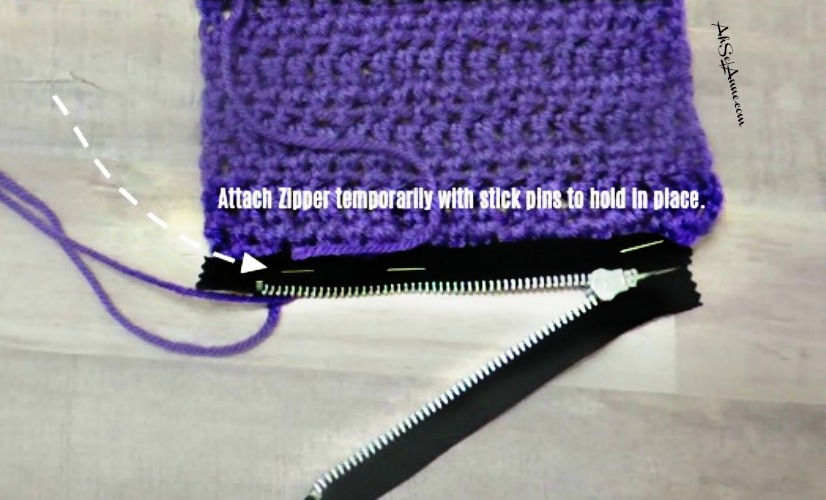
Step 3:
Attaching Zipper
– Lay crochet swatch flat, open the zipper and align it with the bottom section of the ‘Double Crochet Section’. Temporarily secure the zipper with straight pins.
– Fold the double crochet section over the plastic mesh, which should be attached to the center of the section.
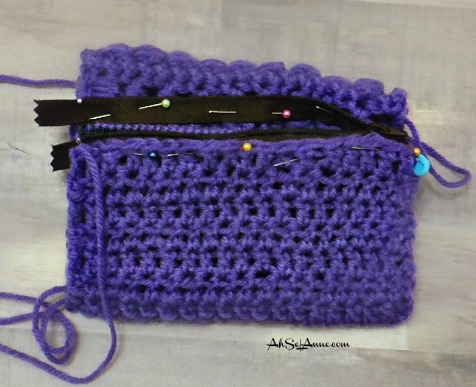
– Temporarily attach the opposite side of the zipper, using straight pins, to the center section of the crochet swatch (The zipper teeth from the bottom should line up with the zipper teeth at the center of the swatch).
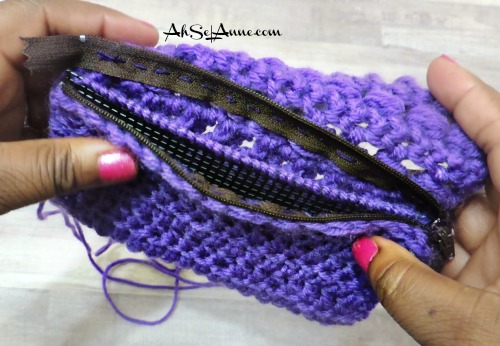
– Once the zipper is secured, it is ready to be attached to the crochet fabric.
– Using a sewing needle and thread, attach the zipper to the pouch, using a whip stitch and removing the straight pins, as you sew along.
Step 4:
Creating Pouch
– Sew along the left and right sides to create the pouch.
– Cut a spare piece of yarn twice the length of the project.
– Using a yarn needle and the Whip Stitch, sew along the right and left the side of the pouch.
– Stitch along the raw edge of the project, insert the needle through both loops from each side.
– Stitch until you reach the zipper area making sure you are matching up each stitch, as you go along.
Remember the top portion of the pouch will not be sewed, as it will serve as a flap to cover the zipper.
Step 5:
– After sewing, the left and right side, secure yarn and weave in any excess yarn.
How to Create a Tassel:
Optional Step:
Creating Wristlet
Create a foundation chain to Approximately 10″, ch 30+3, DC across. Fasten off. Leave a tail approximately 10″ to attach the wristlet to the pouch. Determine a place at the corner of the back fold wristlet strap in half. Use yarn needle and tail to secure the strap the corner of the pouch.
Ensure any excess yarn is weave in and cut. Enjoy your Crochet Zipper Pouch with Wristlet
For a Video Tutorial Click Below
One thought on “Crochet Zipper Pouch with Divider”