


Creating the Golden Crochet Cardigan can be done in several different ways. Learning how to crochet is fun process but it takes time to develop a technique that works for you. My goal is to show you how to create beautiful crochet projects from a beginner’s perspective. Simplifying the process so you can fall in love with the art of crocheting and later learn more complicated techniques, as you get better. This tutorial/pattern will allow you to create a cardigan using basic crochet stitches. It for the beginner/advance beginner.
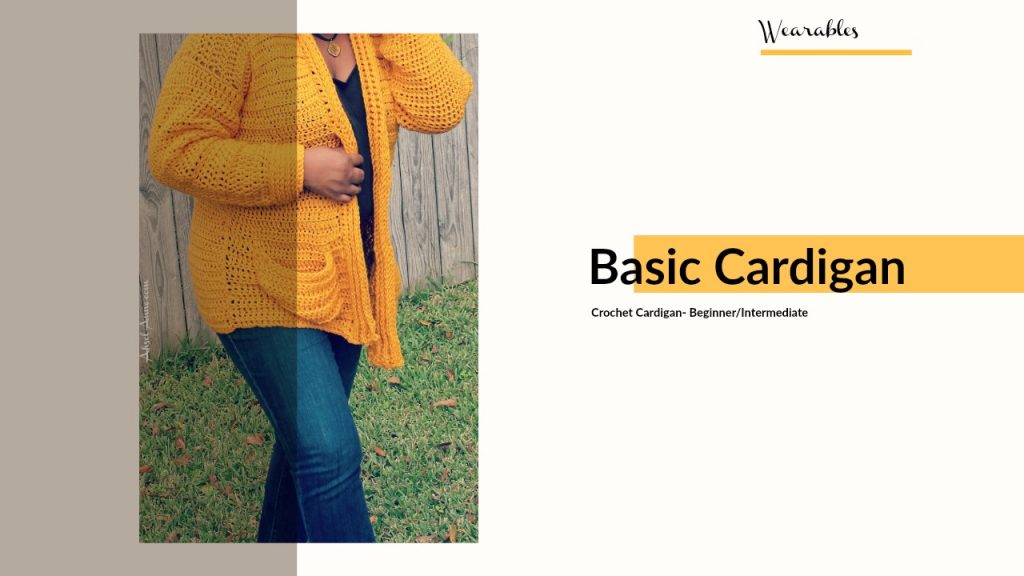
Golden Crochet Cardigan
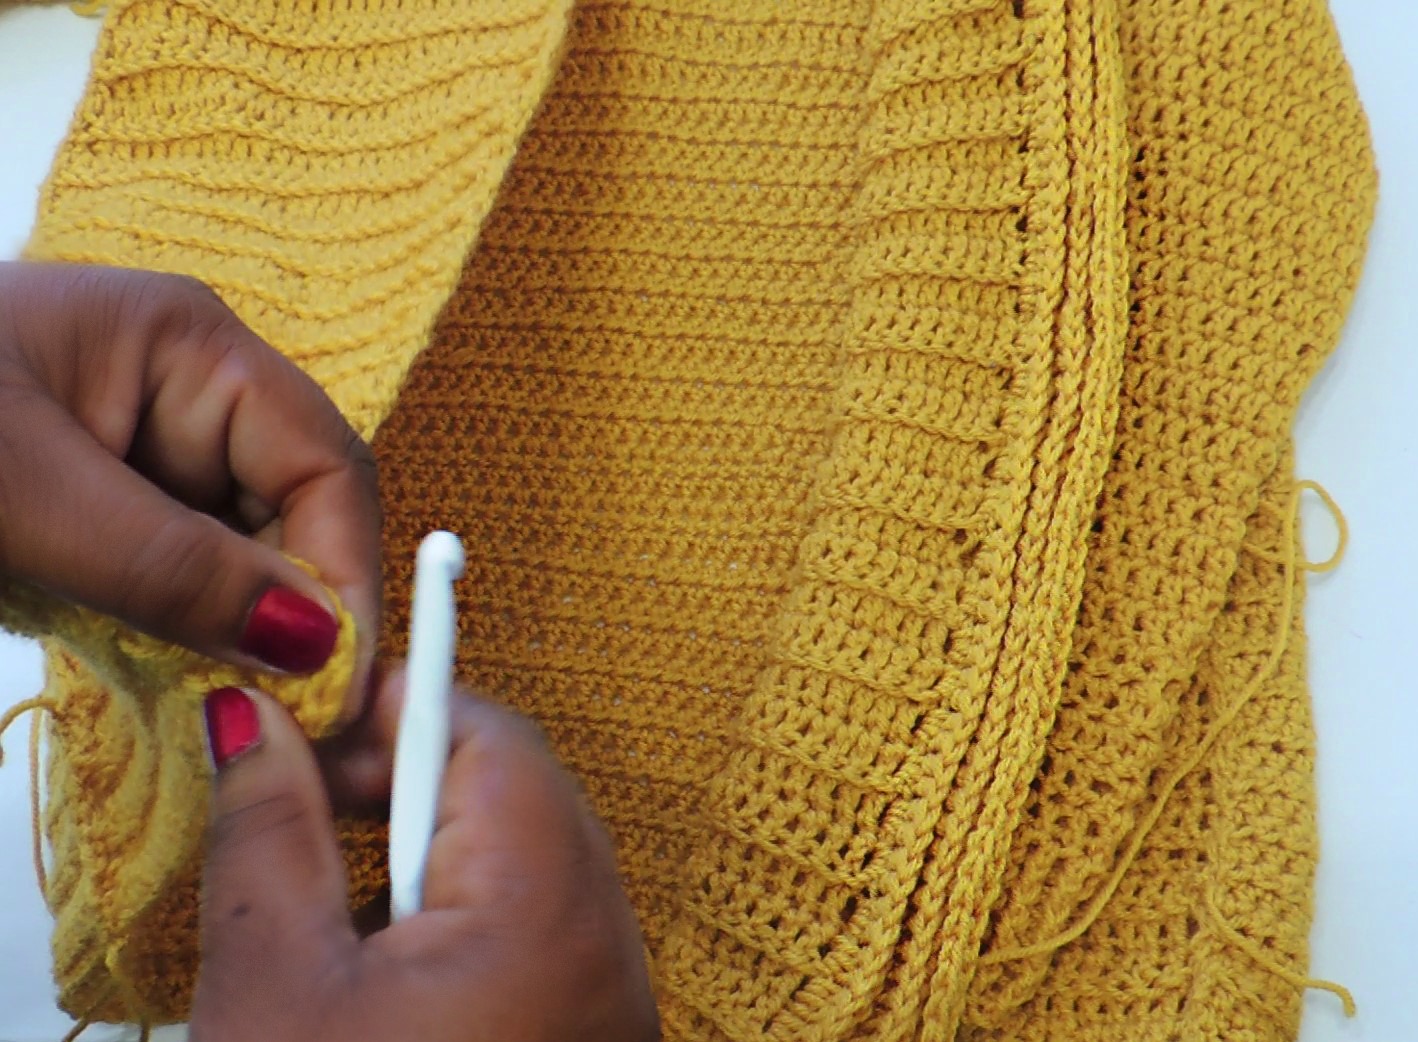
This pattern is written in basic terms, overall. There is a key provided, to help with any abbreviations. There have been Notes placed throughout the pattern to provide additional help. Along with a few pictures there is also attached an instructional video.
Materials Needed for the Golden Crochet Cardigan
- Yarn Suggestion- Red Heart Super Saver Yarn (Color- Golden)
- Hook- 6.5mm
- Measuring Tape
- Yarn Needle
- Stitch Markers
- Scissors
Legend:
ch- chain
blo- back loop only
dc- double crochet
fpdc -front post double crochet stitch
rnd- round
sc- single crochet
sl st- Slip Stich
tw- turn work
Note:
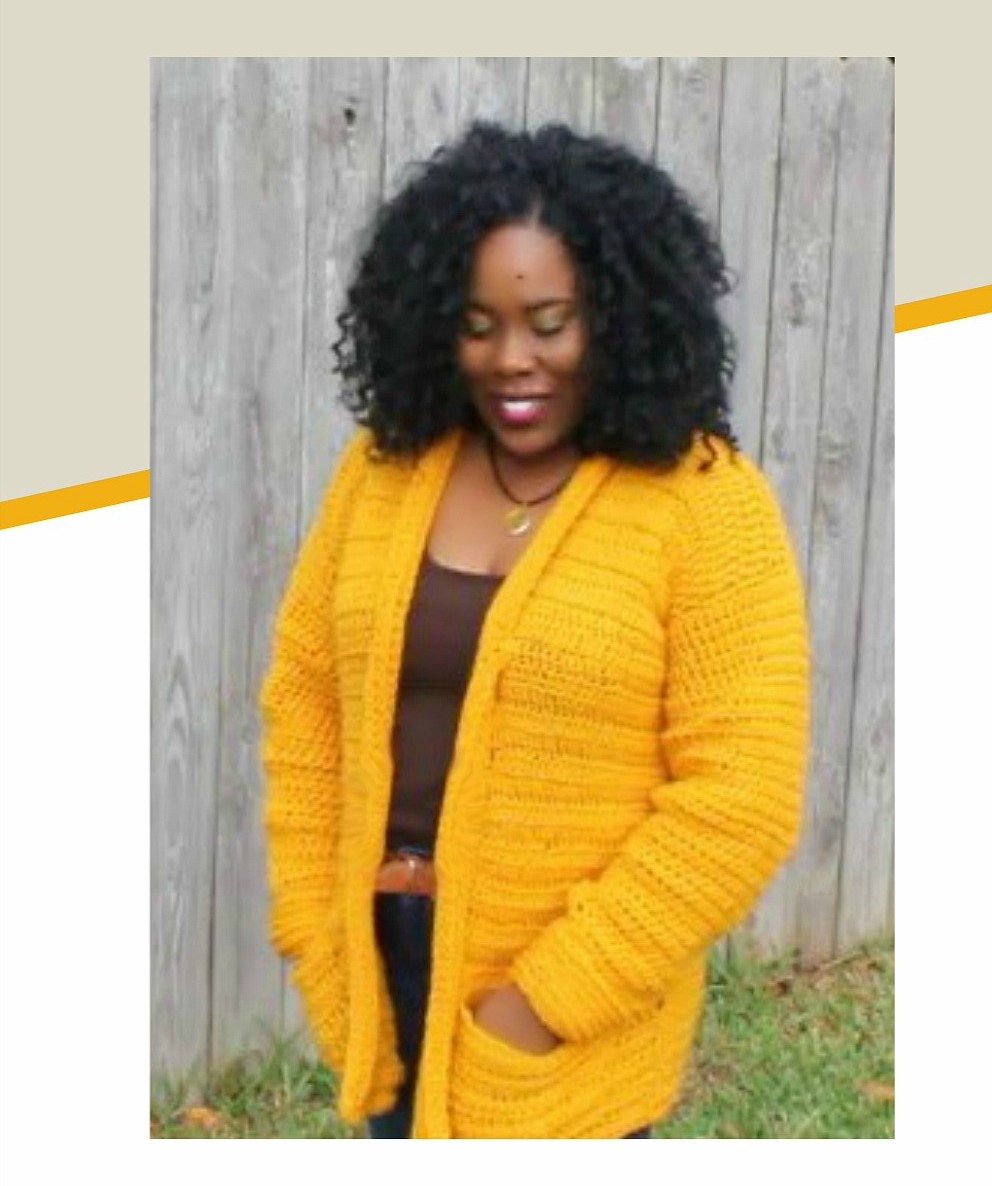
This Golden Crochet cardigan was created for person that is 5’5” with a Large/X-Large body size. Thus, these instructions have been written for a Large/XL. The goal was for the cardigan to be fitted with a bit of a slouch
The cardigan pictured is 25” length wise (36 rows)
This project can be customize to fit all sizes.
To Adjust Size:
Measure from shoulder to shoulder to determine the width. Create the back panel with a foundation chain a few inches longer.
When you work on the front panel follow the instruction as written for the front (right and left) panel.
The below size chart is an approximation:
Small- ch 50
Medium- ch 58
Large/XL- ch 66
Note:
Keep in mind, measure yourself (shoulder to shoulder) and then chain enough to cover the distance, plus a few more. If you are making for someone else use the above measurements as a template.
Check out this super cute Cocoon Cardigan
Written Instructions
BACK PANEL:
Make a slip knot. Tighten around the hook.
1) Row 1 -Ch 63 plus 3 (There will be 64 stitches in each row the turning chain will count as a stitch) chains. Be sure to not pull your yarn too tight around your hook or it will be difficult to work the stiches in the foundation chain.
2) Row 2 – DC into 3rd stitch from the hook. Dc stitch in the blo of the stitch, continue down the row. Ch 3 tw.(Place stitch in the turning chain stitch). repeat.
3) Row 3 –Row 36 or until the desired length is reach – repeat Row 2 (DC stitch in the blo of the stitch. Make sure you place a stich in the turning chain at the end of the row. Ch 3 and then tw start in the next row).
FRONT PANELS
Right Panel:
At the top of the panel. Measure across to determine the middle. L/XL will be around stitch 32. Place stitch marker.
Count over 4 stitches to the left of the middle, place stitch maker. Count over 4 stitches to the right of the middle, place another stitch marker. (This will leave the center section opened for the neck area (approx. 8 stitches).
1) Row 1: Join yarn to first dc stitch on the right, dc in 2nd stitch and then create first row using dc stitches until the first stitch marker is reached. Ch 3 tw.
Note:
ch 3 will count as the first stitch.
2) Row 2: dc in blo of the stitch down the row ch 3 tw.
3) Row 3– until the desired length is reached, repeat Row 2 (the row should match the back panel-36 rows)
Follow the instruction for the right panel.
1). Start at the stitch maker to the left of the middle stitch marker. Attach the yarn and work across the row. Create a row of dc stitches until you reach the end of the panel. Ch 3 tw.
2) Row 2: dc in blo of the stitch down the row ch 3 tw.
3) Row 3– until the desired length is reached (the row should match the back panel and the right panel) 36 rows
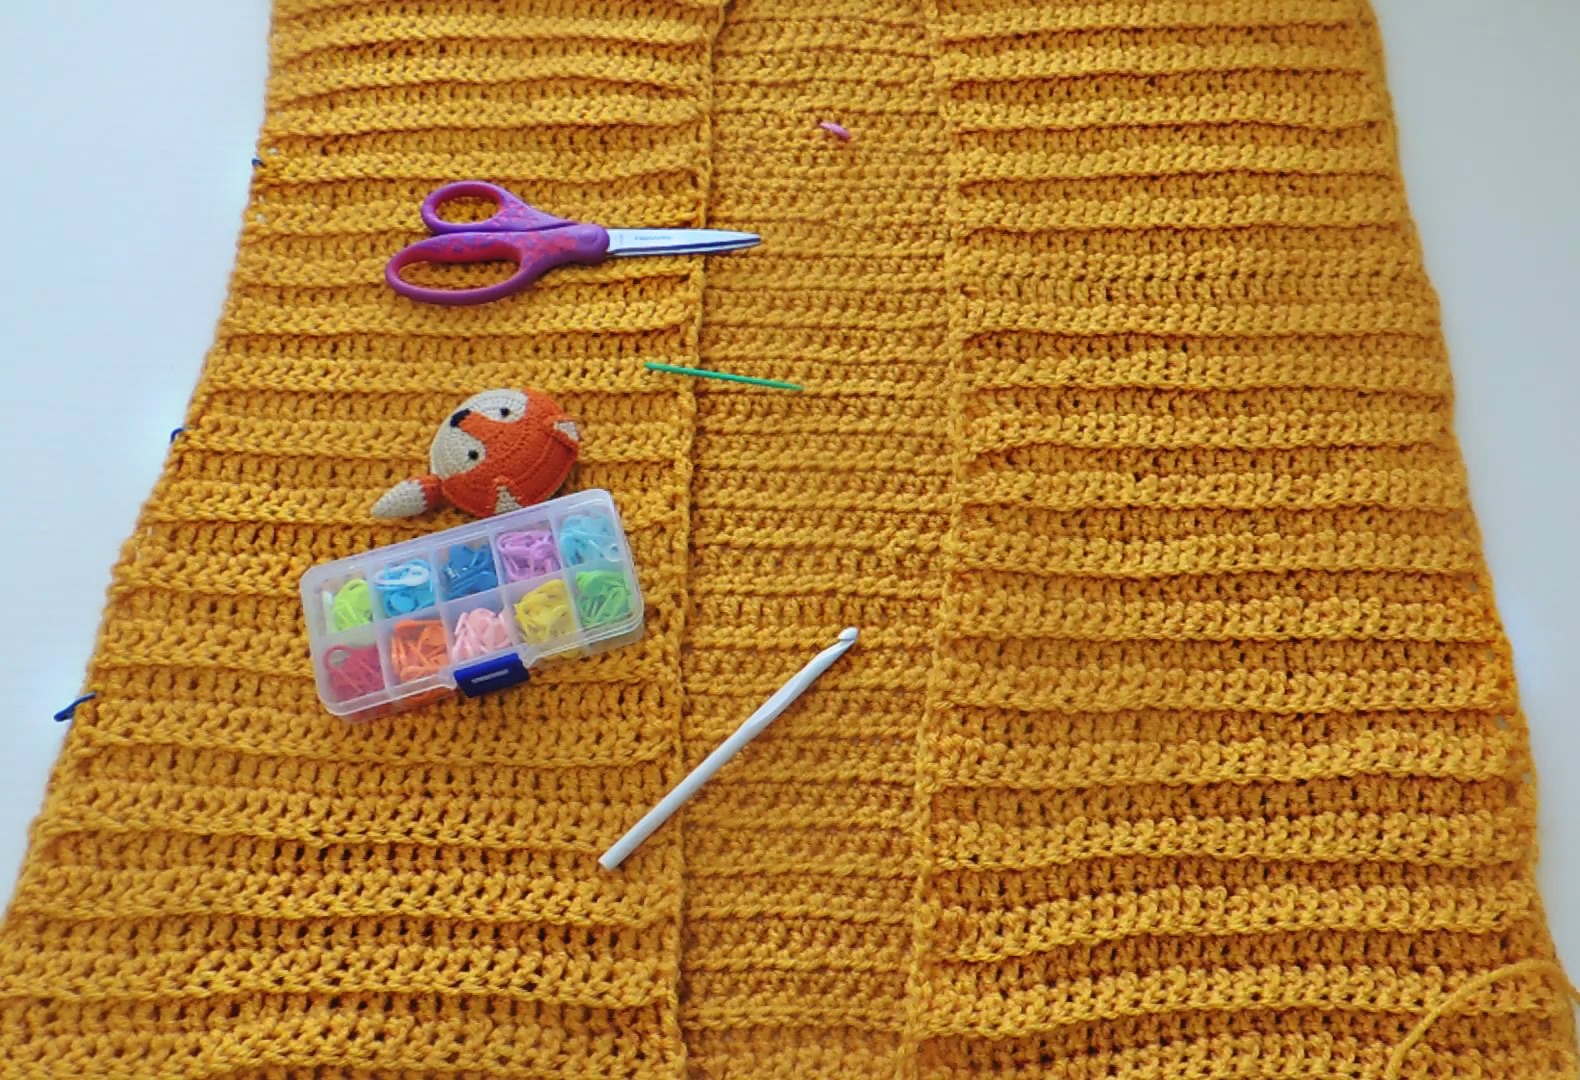
CONSTRUCTING CARDIGAN:
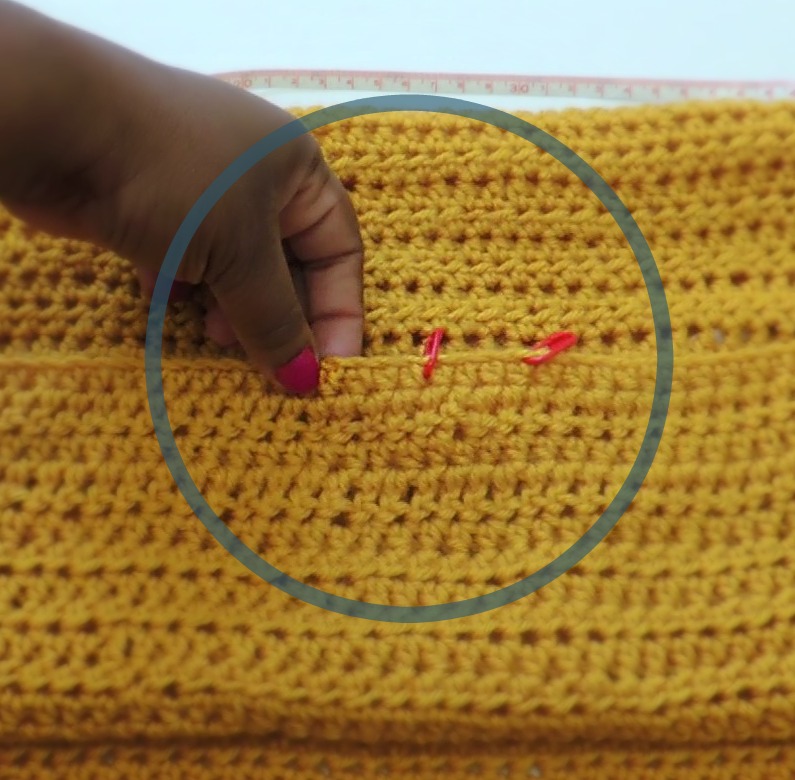
Align the front panels with the back panel and measure along the side, top to approx. 7” for the arm hole.
Place a stitch marker 7” down from the top. This will create the arm hole for the cardigan’s sleeve.
SLEEVE
Left Sleeve:
1) Round 1: Attach yarn at the underarm area of the sleeve, sc around the opening places 2 sc stiches into each space. (46 stitch around) sl st into first stitch. Ch 3 start round 3
Note:
The area around the sleeve will have a rough edge, some spaces may only need 1 sc stitch and some spaces may need 2 sc stitches. There should be a total of 46 stitches*.
*The stitch count may vary at this point, it’s based on the size of you sleeve area.
Make note of the number of sc stitches used, this will allow the sleeves to be symmetrical
Sleeve will measure approx. 19”
2) Round 2: dc in each stitch around (46 stitches) sl st into first stitch (ch 3) to join round. Ch 3
3) Round 3: repeat rnd 2 46 stitches
4) Round 4: repeat rnd 2 46 stitches
Start Decreasing Round:
5) Round 5: repeat rnd 3, skipping 1 stitch around (45 stitches) sl st into first stitch to join, ch 3
Note:
Follow the same steps as above creating a dc stitch into each st around. Skip a slip in each round to gradually decrease the sleeve
Skip the stitches in different spots along the sleeve, in each round, to create a random a pattern
6) Round 6: 44 stitches
7) Round 7: 43 stitches
8) Round 8-25: -continue to create dc stitches around skipping 1 stitch in each round, sl st into first stitch to join, ch 3
9) Round 26 – 29 stitches
CUFF:
Note:
Cuff will be approx. 4”. If arm is longer or shorter the number of rounds will vary. Stop the rounds once there is an approx. cuff area of 4’’
Round 27-31 create fpdc stich around sl st to first stitch, ch 3
Note:
Continue to create fpdc stitch around skipping 1 stitch in each round to continue to decrease the cuff area
Round 32: sl st around the cuff to finish sleeve.
Fasten off, weave in any extra yarn
Right Sleeve
Repeat above steps for left sleeve

COLLAR/NECK LINE (OPTIONAL)
Note:
As with the sleeve the first row is design to create even spacing. The stitch count will vary, the goal is to make sure the trim looks neat and consistent.
1). Row 1: Attach string to the bottom left corner of the front panel, dc into each stitch along the panel (approx. 74 stitches) until reaching the neck area, ch 3 tw
2). Row 2: fpdc down the row, ch 3 tw
3). Row 3-4 repeat row 2
Fasten off, weave in the yarn
POCKET(S) (OPTIONAL)
1) Row 1: Ch 23
2) Row 2: DC into 3rd stitch from the hook, continue down the row. Ch 3 tw. Place stitch in the turning chain stitch. Ch 3, turn work and repeat.
3) Row 3: DC stitch in the blo of the stitch. Make sure you place a stitch in the turning chain at the end of the row. Ch 3 and then turn your work start in the next row.
4) Row 4-until desire length repeat row 3
Note:
Pockets measure 10”x10”

Check out the below video to help with a visual construction of the Golden Crochet Cardigan.
One thought on “Golden Crochet Cardigan”