

Crochet Tissue Pouch, is an easy project that keeps your tissue clean and organized.
This project is relatively easy but you will need to be comfortable with making a single crochet stitch with a smaller crochet hookAs with many of my projects, creating a crochet tissue pouch can be done in many different ways. Learning how to crochet should be a relaxing process but it can take time to develop a technique that works best for you. My goal is to show you how to create beautiful crochet projects from a beginner’s perspective.
This tutorial/pattern will allow you to create a crochet slipper socks using a basic crochet stitches.
This pattern is written in basic terms, overall. There is a key provided, to help with any abbreviations. Notes have been placed throughout the pattern to provide additional help.
A few pictures along with an instructional video are attached.
Material Needed:
• Yarn Suggestion- 1 skein of Red Heart 4 worsted weight yarn (I used Red Heart- Icelandic )
• Hook- 6.0mm
• Yarn Needle
• Scissors
• Clip (anything that hold the pouch closed while you sew the sides together)
Legend:
CH-Chain
SC- Single Crochet
SL ST- Slip Stich
Written Instruction:
Using Red heart yarn make a slip knot
Create a CH 17 (this size can vary based on the size of the tissue pouch. To be sure, measure the length of your.
Note: Be sure to not pull your yarn too tight around your hook or it will be difficult to work the stiches in the foundation chain.
Row 1- place SC stitches in the first stitch from the crochet hook and continue a SC down the foundation CH until you get to the end of the row.
Row 2 -CH 1 turn your work (TW) place SC across (stitch down the row making sure to you place the same number of stitches into each row).
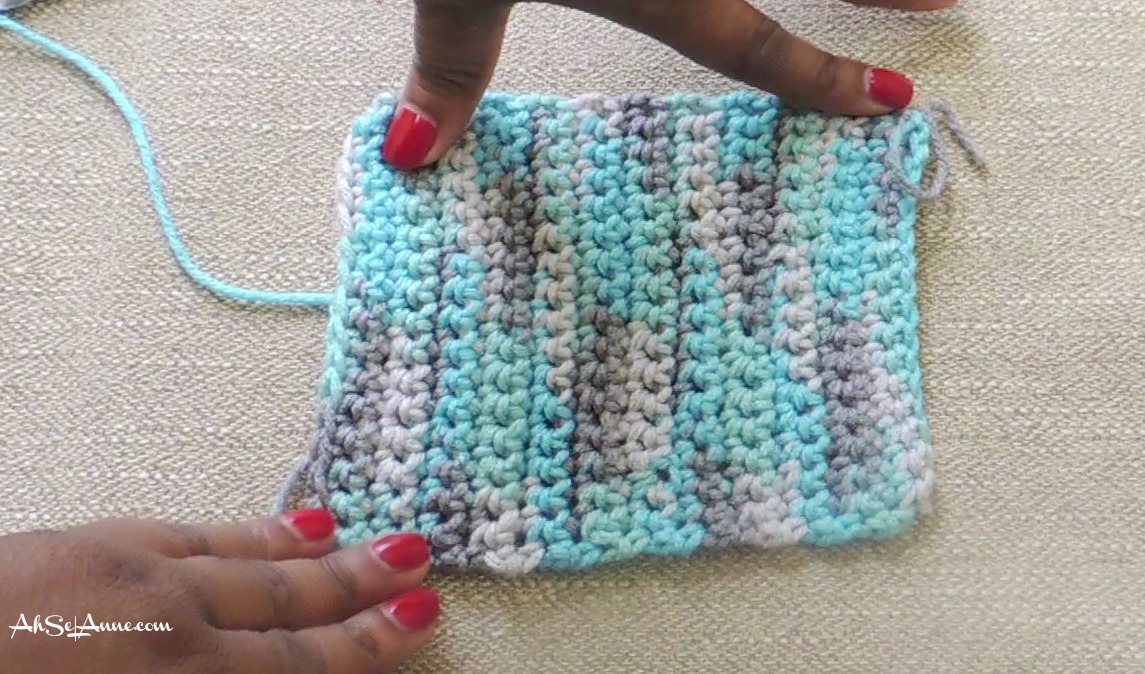
Row 3 -Row 21- Repeat Row 2 until you get a crochet swatch approx. 6”.
Row 22- CH 1 SC stitch down the row until the end SL ST, fasten off.
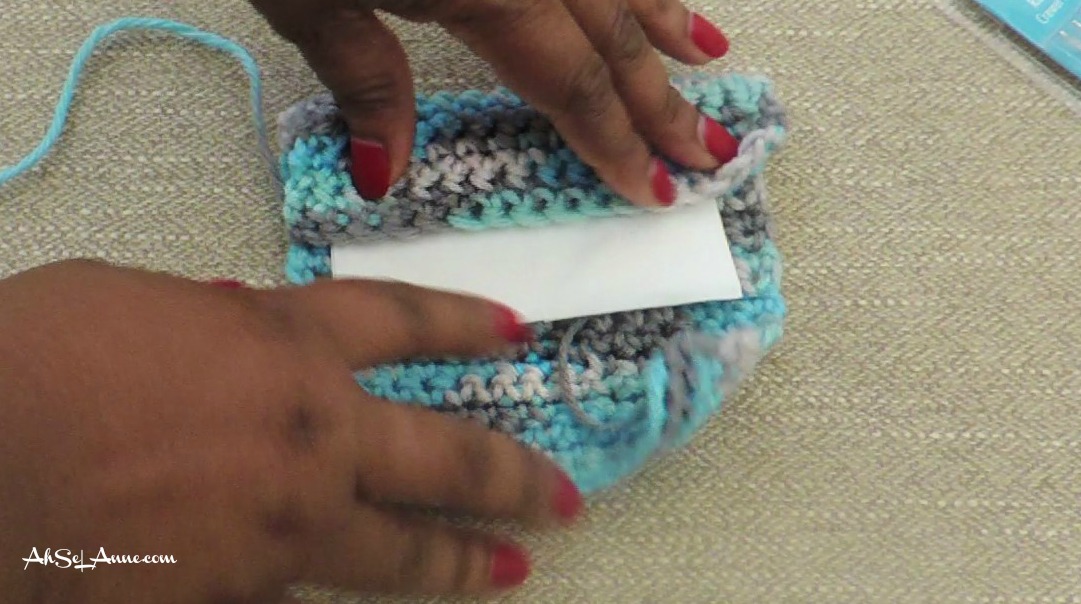
Constructing the Pouch
Place your tissue or tissue packet in the center of the crochet swatch and fold your fabric into thirds. This will leave a center opening for the tissue to pull through.
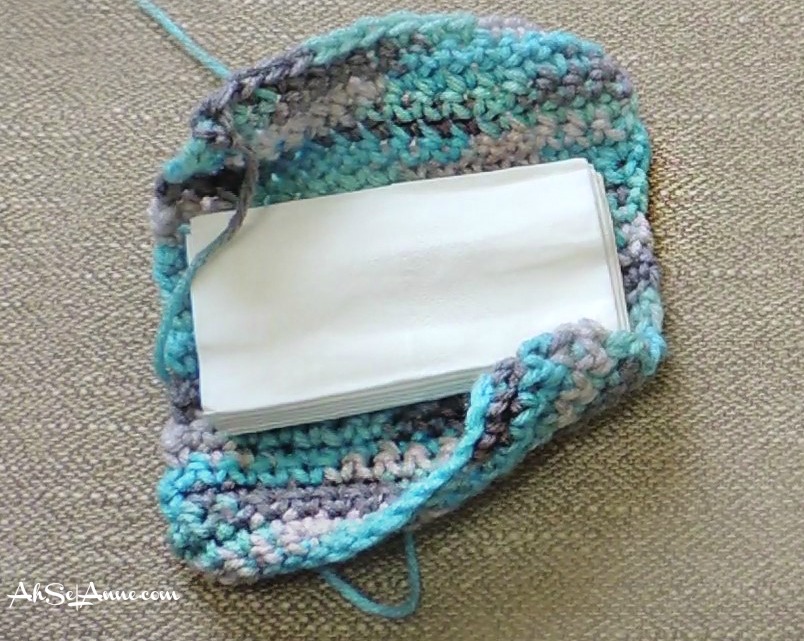
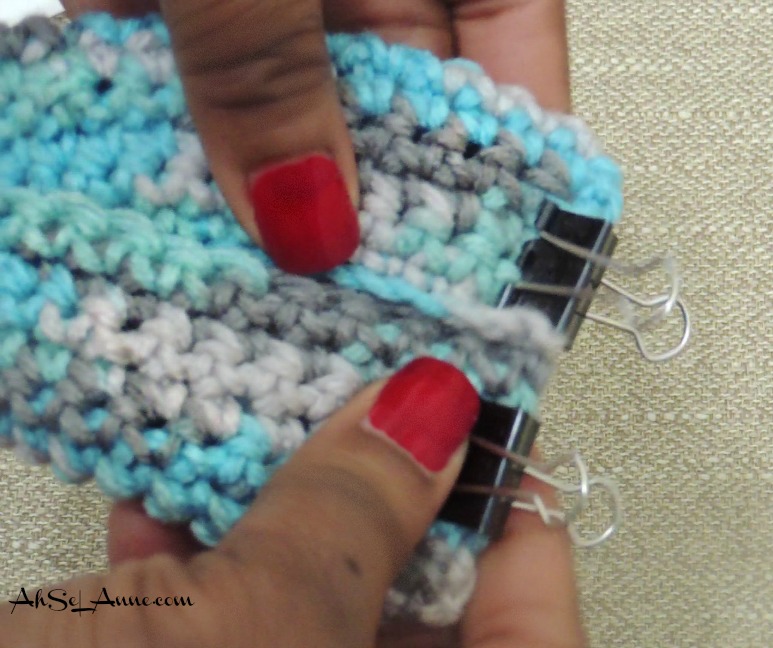
Secure the ends with a binder clip or a stitch marker (anything that will allow you to hold the sides closed while you sew the opposite end close.
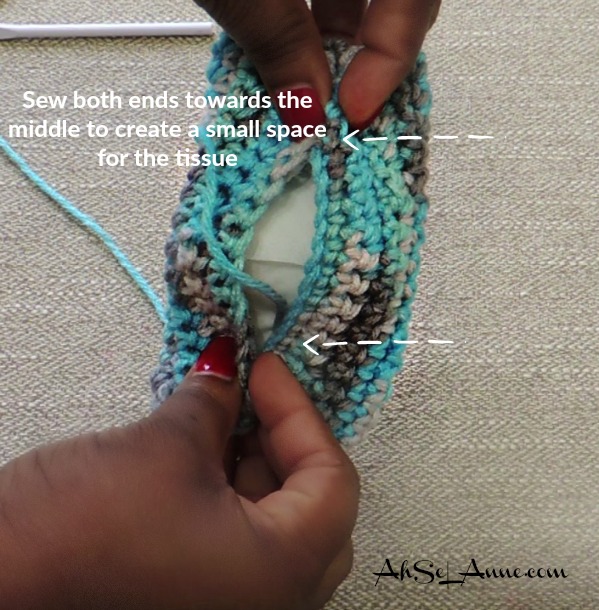
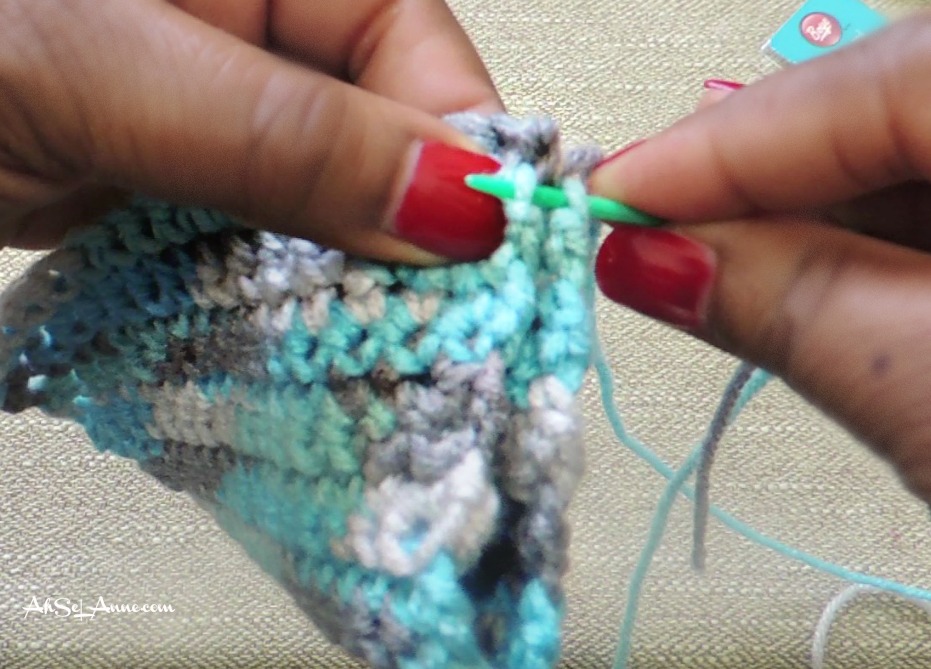
Line the stitches up and sew along the right and left side. (See Below)
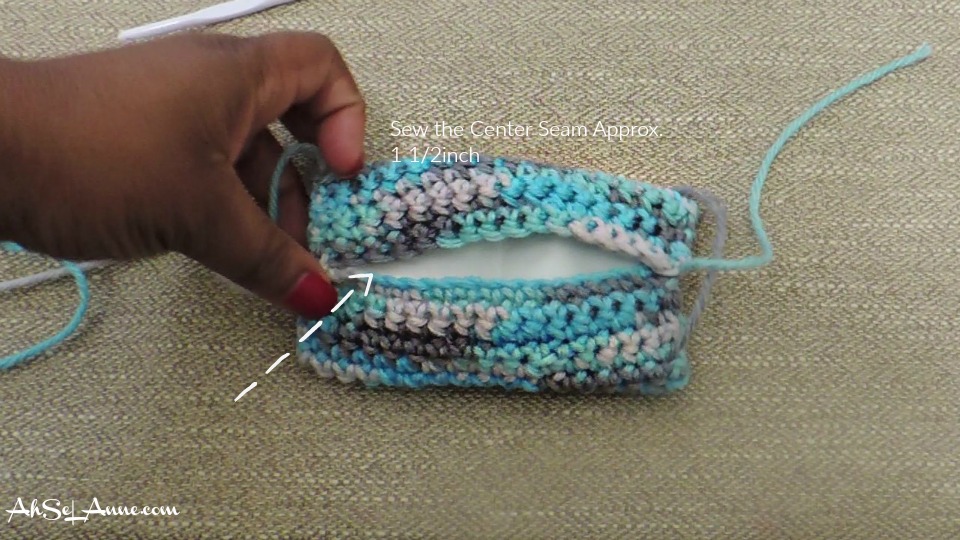
Sew along the center seam approx. 2 inches on both sides to ensure the tissue does not easily fall out of the pouch.

Tie off excess yarn and weave in any excess yarn.
For additional instruction or for a visual. Please see the video below: