


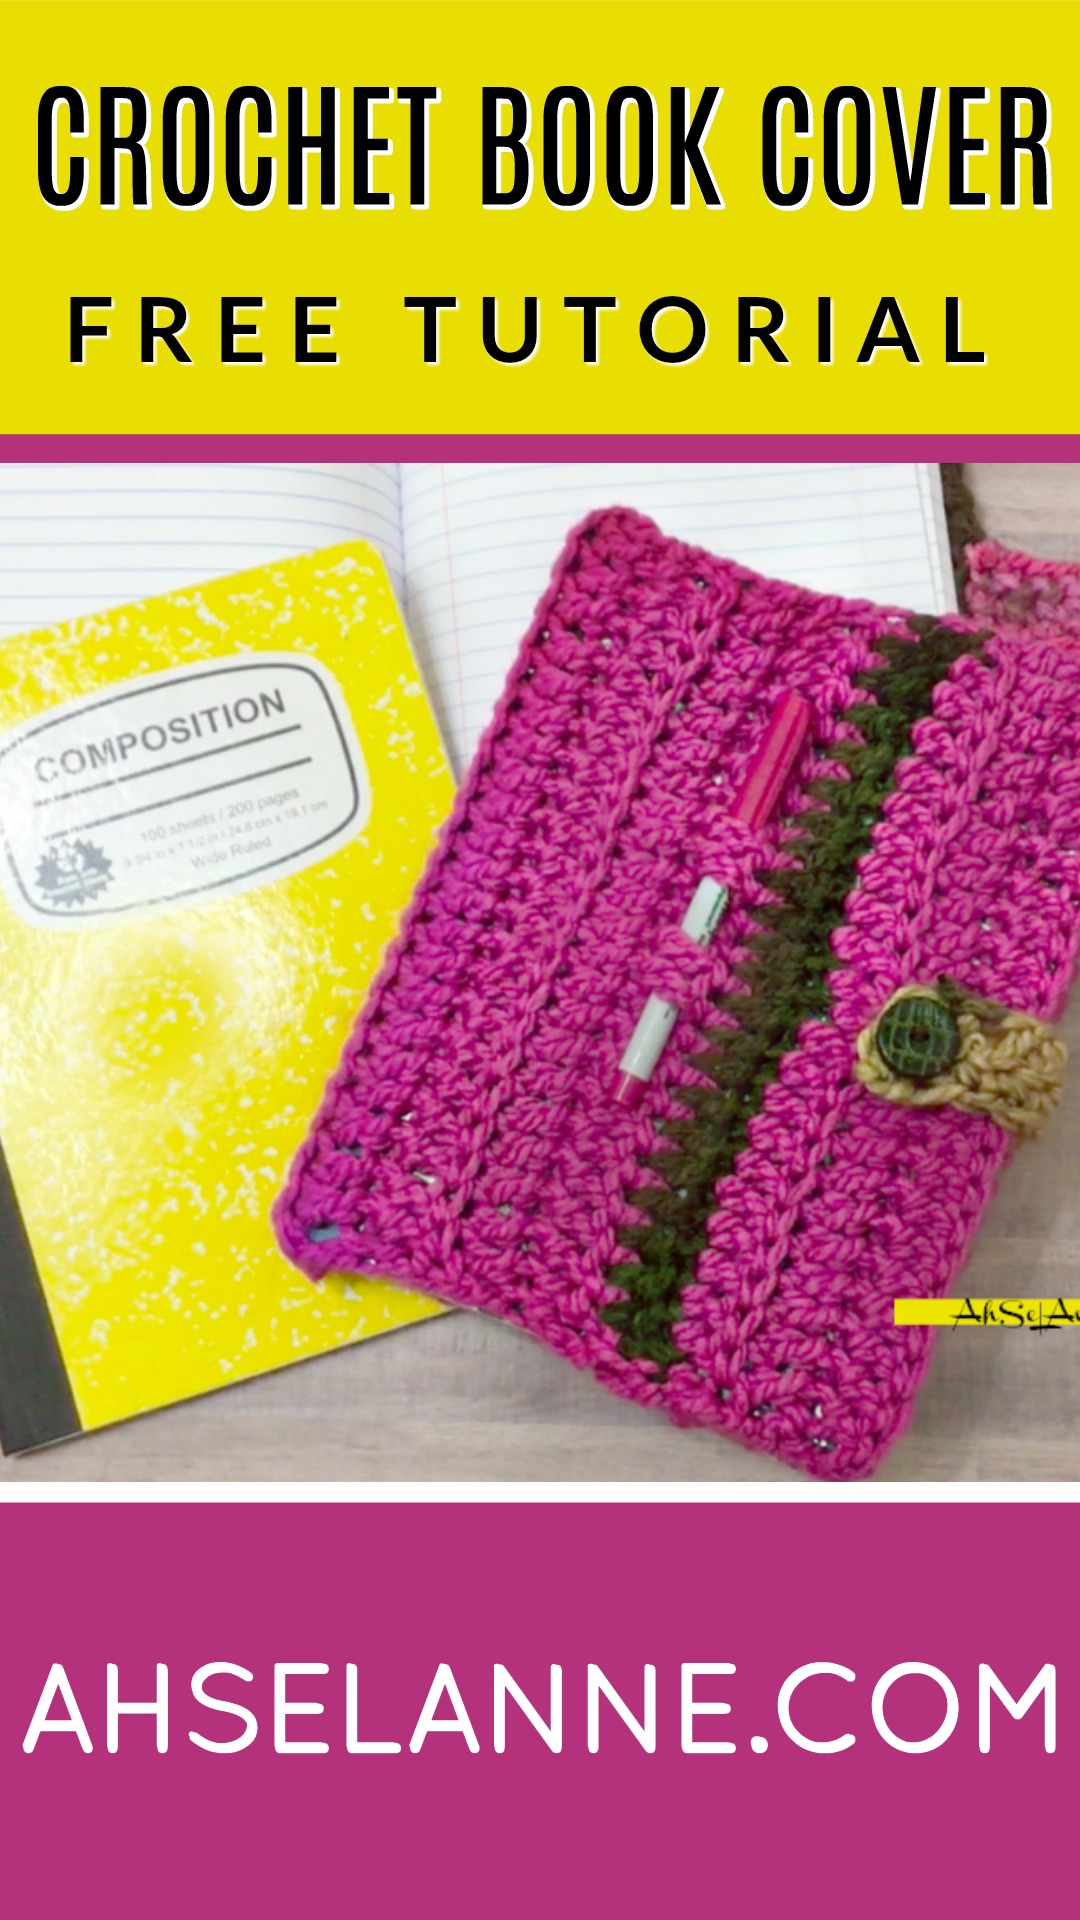
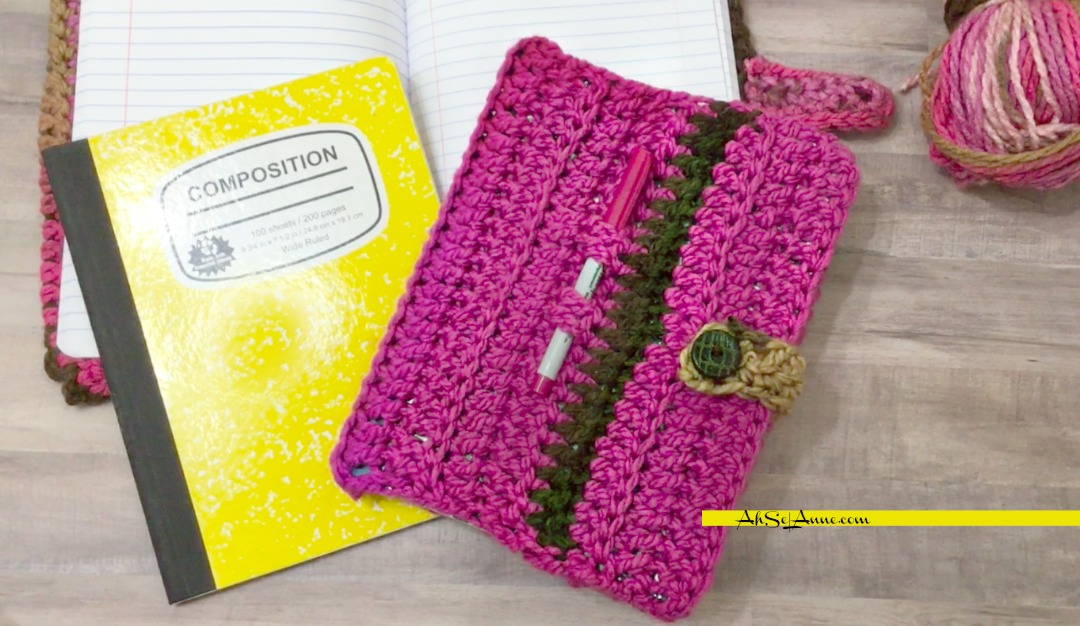
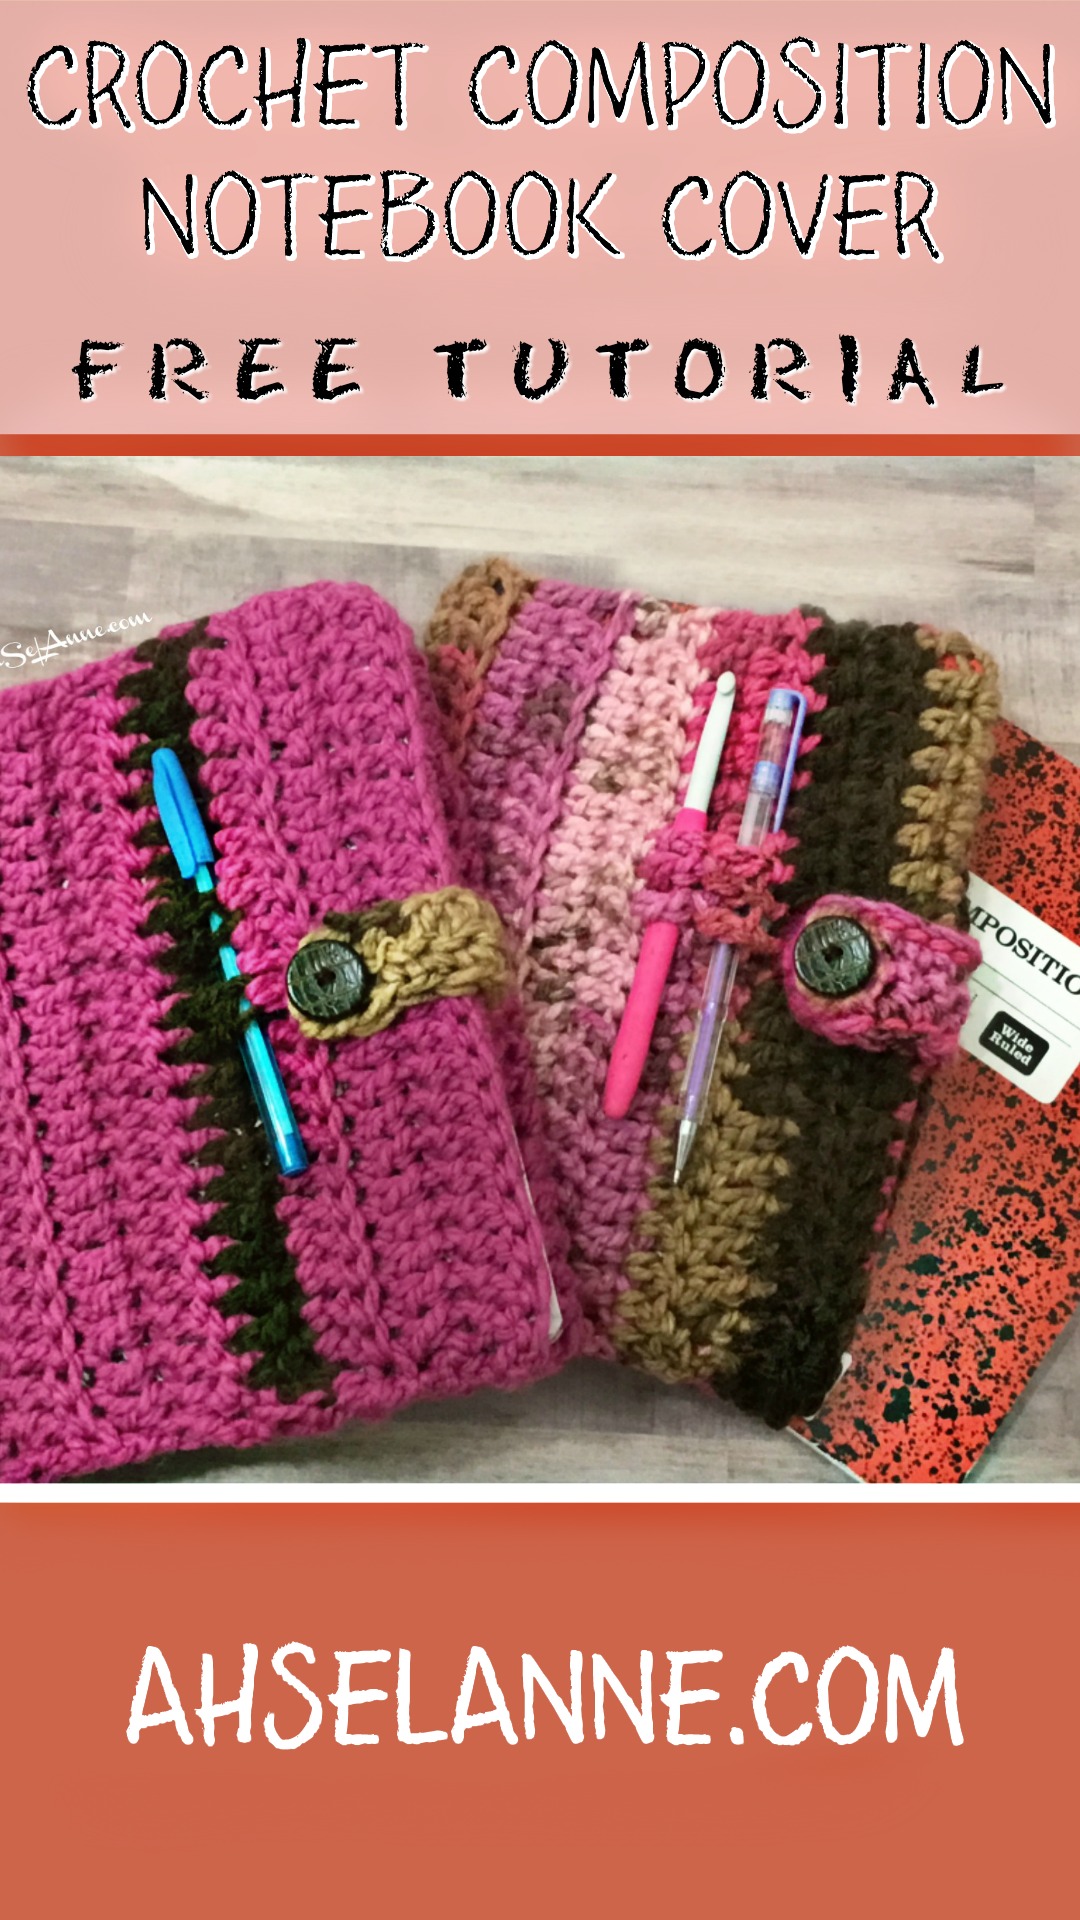
Check out this easy, fun to create, crochet book cover. This is a simple crochet book cover will add a bit of flair to your back to school supplies or bland composition notebook. A beginner-friendly crochet project that uses one stitch through the entire project. This fun crochet book cover works up really quickly so you can make several to create a variety of colors.
I’ve created a YouTube tutorial that I hope is helpful. Scroll down to view the video tutorial. The size can be easily modified based on your needs.
NOTES have been placed throughout the project for additional tips.
Ad-Free Pattern Click Here

Material for Easy Striped Crochet Blanket
- 1 skein of 5 bulk yarn, Charisma Yarn -Loops and Thread
- Size 8 mm crochet hook
- Yarn Needle
- Scissor
- Stitch Marker
Abbreviations (US Terms)
CH- Chain Stitch
DC- Double Crochet Stitch
DC BLO- Double Crochet in Back Loop Only
SL ST- Slip Stitch
TW- Turn Your Work
Yarn Color – A- Color 1
B- Color 2
PATTERN NOTES:
This project uses 1 skein of Charisma Yarn- 5 bulk, but you can use any yarn that is a bulk 5 and the pattern below will work.
If you choose to change colors then you will need 2 skeins.

If you use a smaller weight yarn (smaller size crochet hook) then you need to create your foundation chain to ensure it fits the width of the notebook (measuring up and down). You’ll also need to change the number of rows you create to ensure that crochet fabric will wrap around the book snuggly.
Written Instructions
CH 27 (odd number of stitches), Color A
NOTE: Be sure to not pull your yarn too tight around your hook or it will be difficult to work the stitches in the foundation chain.
Row 2 – 3rd stitch from hook place DC in each stitch across, CH 3 TW.
Row 3- DC BLO each stitch across, ch 3 TW.
NOTE: CH 3 will count as the first stitch in the row.
4. Row 4-7, DC BLO, each stitch across, CH 3 TW.
Change Yarn, Color B
5. Row 8, Change Yarn B (to create stripe) DC each stitch across, ch 3 TW.
Every 3 Rows, change yarn color, alternating between color A, then Color B, then Color C.
6. Row 9- Change Yarn A (return to original yarn cover) DC BLO each stitch across, ch 3 TW.
7. Row 10-23: DC BLO each stitch across, ch 3 TW.
8. Row 24: DC BLO each stitch across, fasten off, cut yarn.
NOTE: The CH stitch will NOT count as the first stitch in the row. Be sure to complete a DC in the last turning chain stitch.
Constructing Inner Flaps/Sleeve
Fold the crochet swatch over the front cover, to create a flap that is approximately 3 inches or 4 rows.
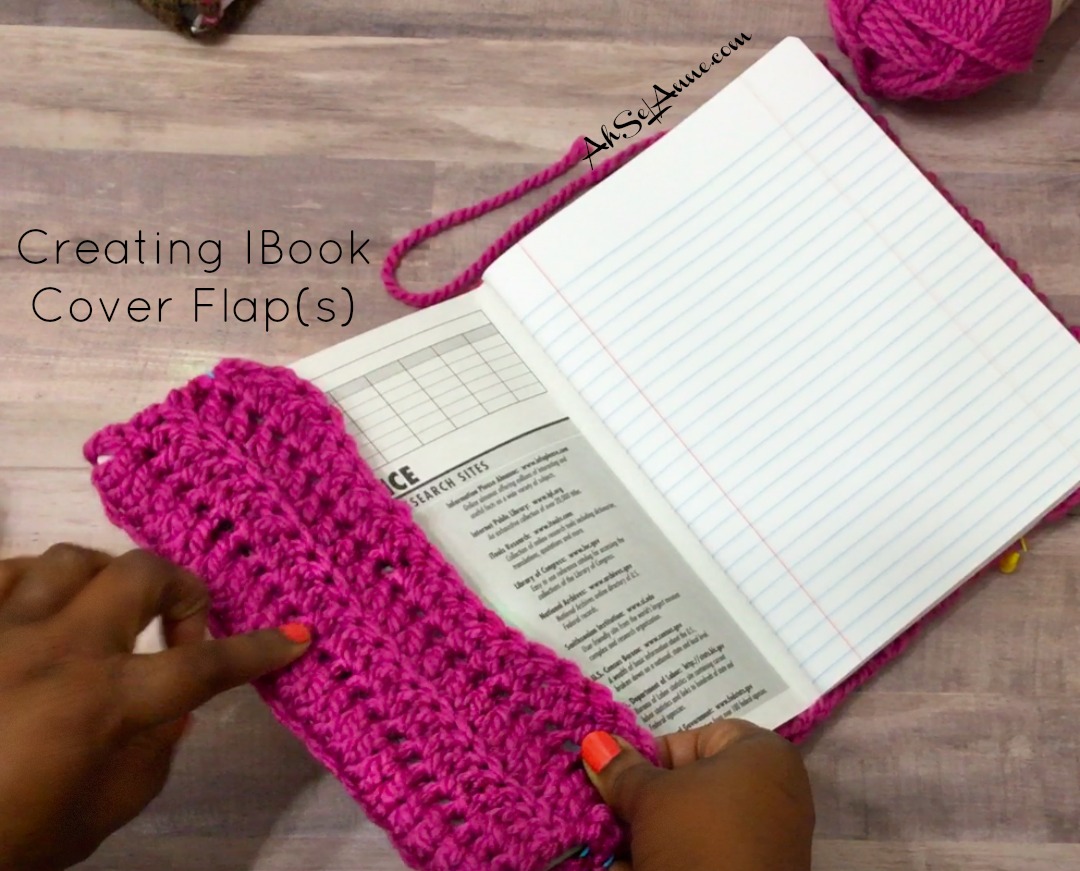
Using stitch markers, secure the flap at top and bottom to prepare for stitching.
Using the yarn and yarn needle, whip stitch along the bottom and top to close the flap and create a sleeve.

Repeat the above steps to create the back flap.
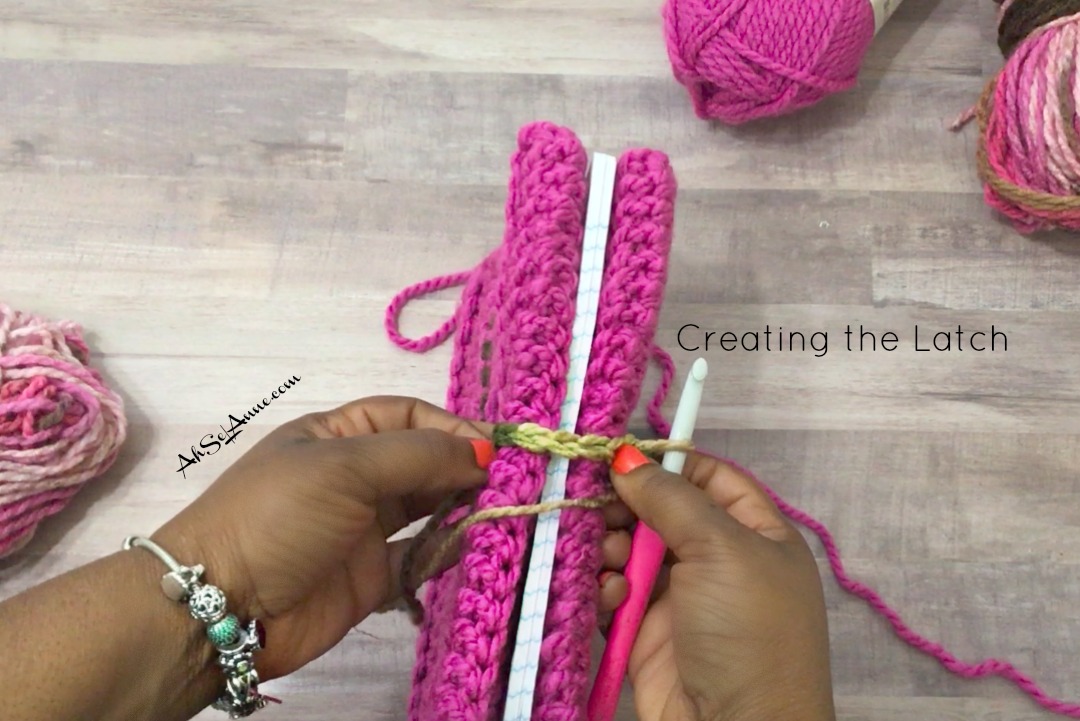
Creating the Latch/Closure (Optional Steps)
CH 10, into 2nd stitch, SC across, CH 1, TW
Check out the video for a visual tutorial:
Row 2: SC each stitch across, CH 1, TW
Row 3: SC each stitch across, fasten off, cut yarn.
NOTE: The latch closure may vary in size, based on the size of your button. If you use a larger button you may need to make your closure wider (by adding more rows).
Place closure in the middle of the sleeve and attach, using yarn and yarn needle.

Attaching the Button
Align the button with the latch and the center of the front cover. Attach the button to the front cover, using yarn and yarn needle.
NOTE: Buttonholes maybe smaller than yarn, you may need to use standard thread and needle, to attach button. The crochet stitches in the latch are wide enough for the button to slip through, creating a closure.
Additional Tips:
To further secure the cover, to the composition notebook. Open the book to the middle section.
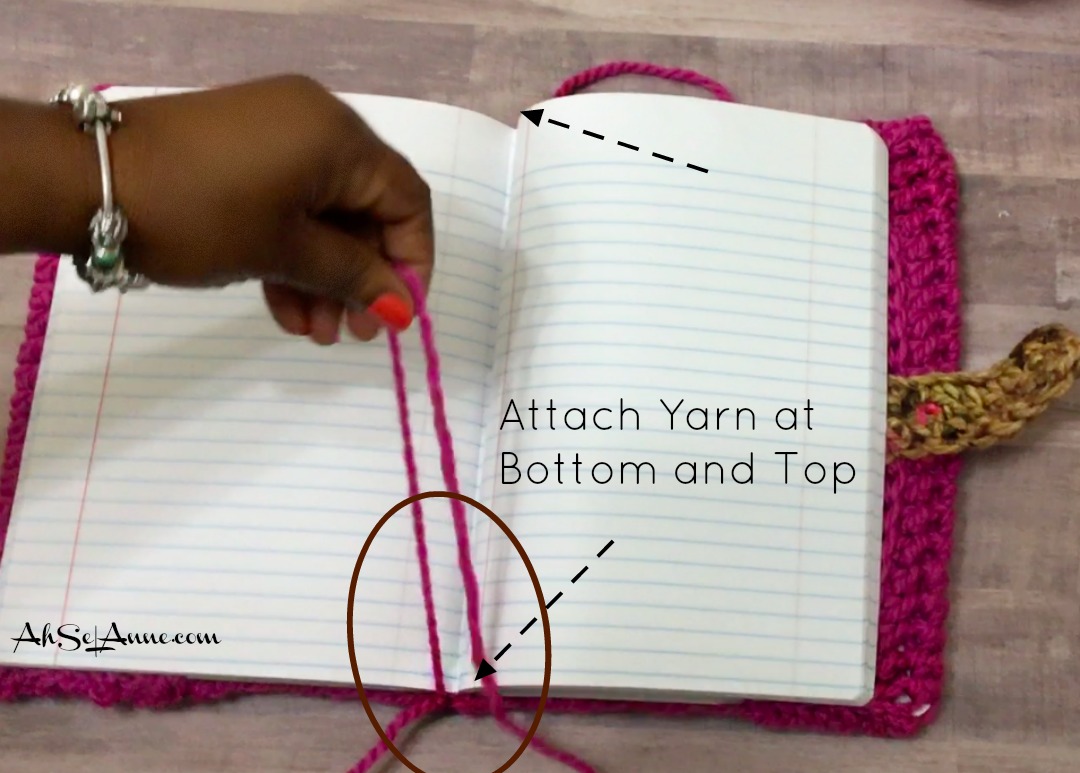
Measure a piece of yarn, two times the length of the book, approximately 20”. Attached the yarn to the bottom of the crochet cover and pull the yarn along the center seam of the notebook, until you reach the top.
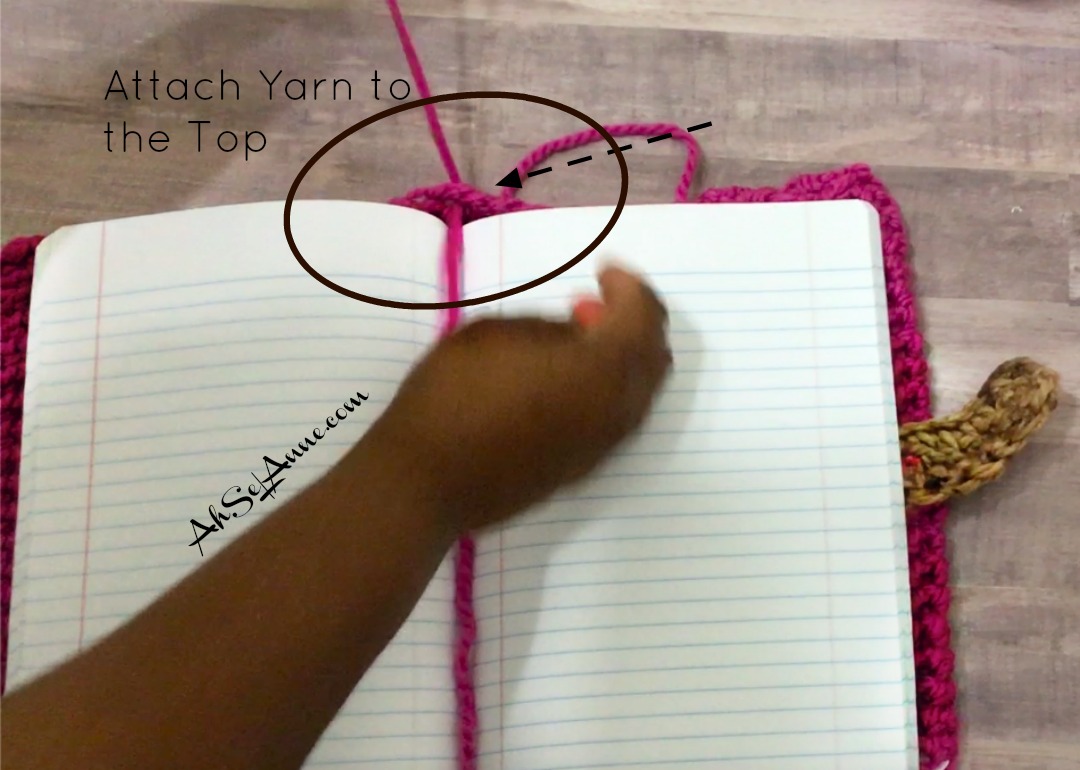
Secure the yarn to the top of the crochet section of the notebook, with a knot. This will secure the cover to the book and the extra yarn will serve as a bookmark.
I hope you enjoyed making this easy crochet book cover.
For a PDF version of this Pattern Click Here:
I hope you enjoy making this easy crochet book cover.
Beautiful! You gave me a great idea for covering my composition books identical to yours that I buy in the school supply aisle at my local grocery store for about .88 and use to keep track of where I am going to sub as a substitute teacher.