
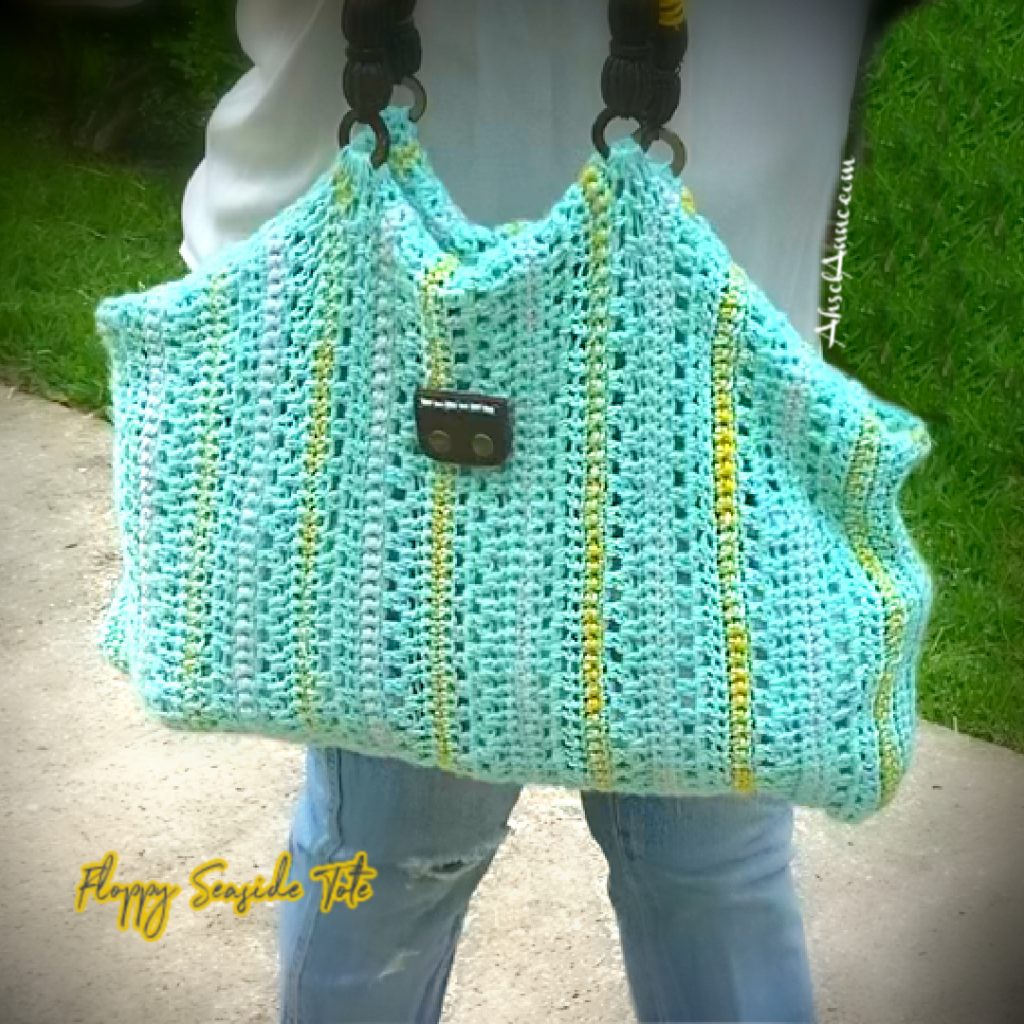

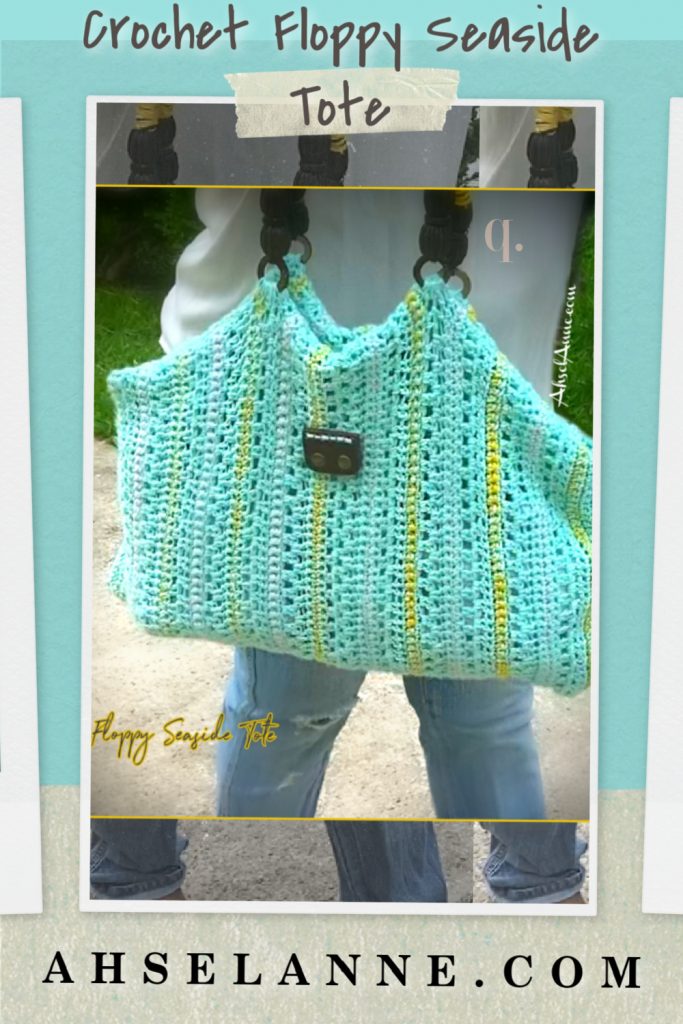
Floppy Seaside Tote
 Singing… ‘Summer, Summer, Summer-Time. It’s that time of year again, where sitting poolside or walking along the beach is one of the best past times. The Floppy Seaside Tote is the perfect addition to a hot summer’s day. This oversized crochet tote is not only stylish but can hold many of your summertime needs, perfect for beach towels, flip-flops, sunscreen, and even a few drinks.
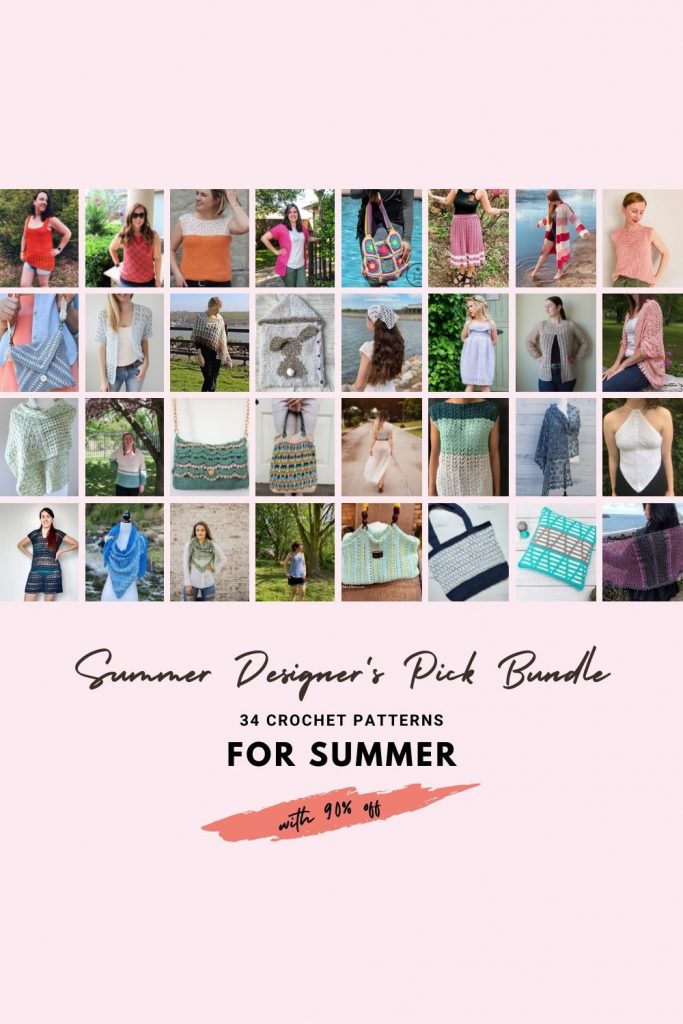
If you found this pattern for the Floppy Seaside Tote as a part of the Summer Designer Pick Blog Hop, after June 2021, don’t worry you can get still get your hands on this pattern plus the additional 30 patterns, including the bonus patterns, for 90% off the retail price.
Click the link below, to get the pattern bundle for 90% off.
I want to get the Pattern NOW- for $12,99. That’s 90% off!!! That’s over 30 patterns (That’s about $.37 per pattern)
Floppy Seaside Tote

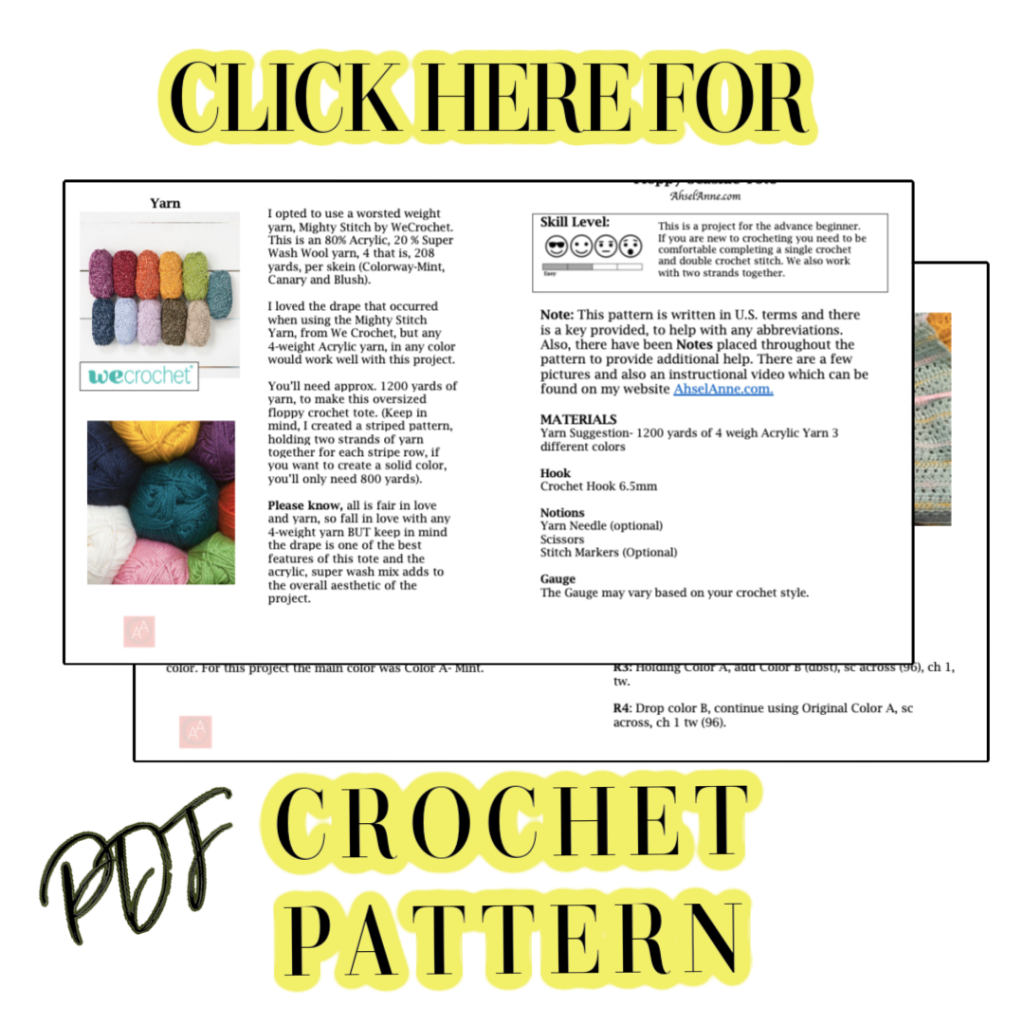
For the PDF Version of the Floppy Seaside Tote CLICK HERE
Floppy Seaside Tote Written Pattern:
Yarn used to create the Floppy Seaside Tote
I had the opportunity to partner with WeCrochet and I’ve developed this pattern with yarn support from WeCrochet.
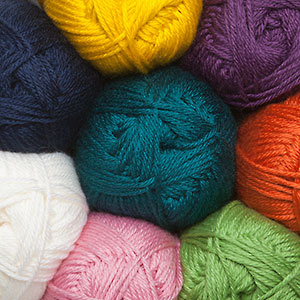
I opted to use a worsted weight yarn, Mighty Stitch by WeCrochet. This is an 80% Acrylic, 20% Super Wash Wool yarn, weight 4. It is, 208 yards, per skein (Colorway-Mint, Canary, and Blush).
I loved the drape that occurred when using the Mighty Stitch Yarn, from We Crochet, but any
4-weight Acrylic yarn, in any color, would work with this project.
You’ll need approx. 1200 yards of yarn, to make this oversized floppy crochet tote. (Keep in mind, I created a striped pattern, holding two strands of yarn together for each stripe row, if you want to create a solid color, you’ll only need 800 yards).
Please know, all is fair in love and yarn, so fall in love with any 4-weight yarn BUT keep in mind the drape is one of the best features of this tote and the acrylic, superwash mix from the Mighty Stitch Yarn Collection adds to the overall aesthetic of this project.
Skill Level:
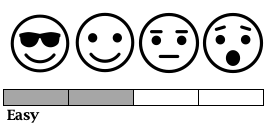
This is a project for the advanced beginner. If you are new to crocheting you will need to be comfortable completing the single crochet and the double crochet stitch. We also work with two strands of yarn held together.
Materials for the Floppy Seaside Tote
Yarn– 1200 yards of Mighty Stitch Yarn or a 4 weigh Acrylic Yarn (3 different colors)
Color A – Mint, Color B- Canary, Color C-Blush
Hook
Crochet Hook 6.5mm
Notions
Purse Handles
Yarn Needle
Scissors
Stitch Markers (Optional)
Gauge
The Gauge may vary based on your crochet style.
Finished Measurement
This is an oversize tote:
20 ½” wide x 15.5” height.
Abbreviations (US Terms)
ch- chain
dc- double crochet
dbst- double strands held together
sc- single crochet
st(s)- stitches
sp- space
sl st- slip stitch
tw- turn work
Notes
Special Stitches
The stripes in this project are created by holding two strands of yarn together, at the same time. This is illustrated in the pattern with the abbreviation dbst (double strands held together).
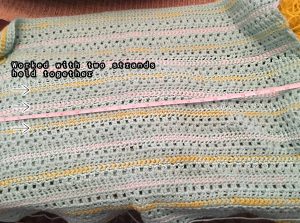
You will add a yarn color, work down the row, and then drop that color to continue working the project with the main color. For this project, the main color was Color A- Mint.
Written Pattern for the Floppy Seaside Tote
Ch 96, plus 1 to start using Color A.
R1: sc across (96), ch 1, tw.
R2: sc across (96), ch 1, tw.
R3: Holding Color A, add Color B (dbst), sc across (96), ch 1, tw.
R4: Drop color B, continue using Original Color A, sc across, ch 1 tw (96).
R5: sc across (96), ch 3 (ch 3 will count as the first dc stitch in the next row), tw.
*R6: 1 dc (next to the chain 3), skip a stitch, 2 dc into the same stitch, sk stitch], [2dc, sk stitch, 2dc*]; repeat [*] across; finish with 2dc in the last stitch; ch 3, tw.
*R7: 2 dc into first space (this is the skip 1 space from the previous row), place 2 dc in next space, repeat across row, end with 1 dc stitch (96), ch 1, tw.
*R8: sc across (96), ch 1, tw.
*R9: Holding Color A, add Color C (dbst), sc across (96), ch 1, tw.
*R10: Drop color B, continue using Original Color A, sc across, ch 3 tw (96).
Note: *R6-R10 is the repeat pattern throughout the project.
R11: 1 dc (next to the chain 3), skip stitch, 2 dc into same stitch, sk stitch], [2dc, sk stitch, 2dc*]; repeat [*] across; finish with 2dc in last stitch; ch 3, tw.
R12: 2 dc into first space (this is the skip 1 space from the previous row), place 2 dc in next space, repeat across row, end with 1 dc stitch (96), ch 1, tw.
R13: sc across (96), ch 1, tw.
R14: Holding Color A, add Color B (dbst), sc across (96), ch 1, tw.
R15: Drop color B, continue using Original Color A, sc across, ch 3, tw (96).
Note:
Remember, the pattern repeats at rows 6-10. These 5 rows repeat throughout the project.
R16: 1 dc (next to the chain 3), skip a stitch, 2 dc into the same stitch, sk stitch], [2dc, sk stitch, 2dc] *; repeat [*] across; finish with 2dc in the last stitch; ch 3, tw.
R17: 2 dc into first space (this is the skip 1 space from the previous row), place 2 dc in next space, repeat across row, end with 1 dc stitch (96), ch 1, tw.
R18: sc across (96), ch 1, tw.
R19: Holding Color A, add Color C (dbst), sc across (96), ch 1, tw.
R20: Drop color C, continue using Original Color A, sc across, ch 3 tw (96).
R21: 1 dc (next to the chain 3), skip stitch, 2 dc into same stitch, sk stitch], [2dc, sk stitch, 2dc] *; repeat [*] across; finish with 2dc in last stitch; ch 3, tw.
R22: 2 dc into first space (this is the skip 1 space from previous row), place 2 dc in next space, repeat across row, end with 1 dc stitch (96), ch 1, tw.
R23: sc across (96), ch 1, tw.
R24: Holding Color A, add Color B (dbst), sc across (96), ch 1, tw.
R25: Drop color B, continue using Original Color A, sc across, ch 3 tw (96).
R26: 1 dc (next to the chain 3), skip stitch, 2 dc into same stitch, sk stitch], [2dc, sk stitch, 2dc] *; repeat [*] across; finish with 2dc in last stitch; ch 3, tw.
R27: 2 dc into first space (this is the skip 1 space from previous row), place 2 dc in next space, repeat across row, end with 1 dc stitch (96), ch 1, tw.
R28: sc across (96), ch 1, tw.
R29: Holding Color A, add Color C (dbst), sc across (96), ch 1, tw.
R30: Drop color C, continue using Original Color A, sc across, ch 3 tw (96).
R31: 1 dc (next to the chain 3), skip stitch, 2 dc into same stitch, sk stitch], [2dc, sk stitch, 2dc] *; repeat [*] across; finish with 2dc in last stitch; ch 3, tw.
R32: 2 dc into first space (this is the skip 1 space from previous row), place 2 dc in next space, repeat across row, end with 1 dc stitch (96), ch 1, tw.
R33: sc across (96), ch 1, tw.
R34: Holding Color A, add Color B (dbst), sc across (96), ch 1, tw.
R35: Drop color B, continue using Original Color A, sc across, ch 3 tw (96).
R36: 1 dc (next to the chain 3), skip stitch, 2 dc into same stitch, sk stitch], [2dc, sk stitch, 2dc] *; repeat [*] across; finish with 2dc in last stitch; ch 3, tw.
R37: 2 dc into first space (this is the skip 1 space from previous row), place 2 dc in next space, repeat across row, end with 1 dc stitch (96), ch 1, tw.
R38: sc across (96), ch 1, tw.
R39: Holding Color A, add Color C (dbst), sc across (96), ch 1, tw.
R40: Drop color C, continue using Original Color A, sc across, ch 3 tw (96).
R41 1 dc (next to the chain 3), skip stitch, 2 dc into same stitch, sk stitch], [2dc, sk stitch, 2dc] *; repeat [*] across; finish with 2dc in last stitch; ch 3, tw.
R42: 2 dc into first space (this is the skip 1 space from previous row), place 2 dc in next space, repeat across row, end with 1 dc stitch (96), ch 1, tw.
R43: sc across (96), ch 1, tw.
R44: Holding Color A, add Color B (dbst), sc across (96), ch 1, tw.
R45: Drop color B, continue using Original Color A, sc across, ch 3 tw (96).
R46: 1 dc (next to the chain 3), skip stitch, 2 dc into same stitch, sk stitch], [2dc, sk stitch, 2dc] *; repeat [*] across; finish with 2dc in last stitch; ch 3, tw.
R47: 2 dc into first space (this is the skip 1 space from previous row), place 2 dc in next space, repeat across row, end with 1 dc stitch (96), ch 1, tw.
R49: sc across (96), ch 1, tw.
R50: Holding Color A, add Color C (dbst), sc across (96), ch 1, tw.
R51 Drop color C, continue using Original Color A, sc across, ch 3 tw (96).
Want another fun crochet project just in time for the Summer? Check out the Crochet Swimsuit Cover-Over.
R52: 1 dc (next to the chain 3), skip stitch, 2 dc into same stitch, sk stitch], [2dc, sk stitch, 2dc*]; repeat [*] across; finish with 2dc in last stitch; ch 3, tw.
R53: 2 dc into first space (this is the skip 1 space from previous row), place 2 dc in next space, repeat across row, end with 1 dc stitch (96), ch 1, tw.
R54: sc across (96), ch 1, tw.
R55: Holding Color A, add Color B (dbst), sc across (96), ch 1, tw.
R56: Drop color B, continue using Original Color A, sc across, ch 3 tw (96).
R52: 1 dc (next to the chain 3), skip stitch, 2 dc into same stitch, sk stitch], [2dc, sk stitch, 2dc*]; repeat [*] across; finish with 2dc in last stitch; ch 3, tw.
R53: 2 dc into first space (this is the skip 1 space from previous row), place 2 dc in next space, repeat across row, end with 1 dc stitch (96), ch 1, tw.
R54: sc across (96), ch 1, tw.
R55: Holding Color A, add Color C (dbst), sc across (96), ch 1, tw.
R56: Drop color C, continue using Original Color A, sc across, ch 3 tw (96).
R57: 1 dc (next to the chain 3), skip stitch, 2 dc into same stitch, sk stitch], [2dc, sk stitch, 2dc*]; repeat [*] across; finish with 2dc in last stitch; ch 3, tw.
R58: 2 dc into first space (this is the skip 1 space from previous row), place 2 dc in next space, repeat across row, end with 1 dc stitch (96), ch 1, tw.
R59: Holding Color A, add Color B (dbst), sc across (96), ch 1, tw.
R60: Drop color B continue using Original Color A, sc across, ch 1 tw (96).
R61: sc across (96), ch 1 (ch 3 will count as the first dc stitch in the next row), tw.
R62: sc across (96).
Finish off, tie off ends. Weave in tails.
Block-To Create a straight edge along the top.
Turn crochet fabric vertically, to block the area that will be the opening.
R1: Attach yarn to corner, along the top, sc along top edge ch 1, tw. (Using Color A)
R2: sc each stitch across.
Finish off, Weave in end.
Construction:
Special Instructions:
The bag is created wide (horizontally).
Turn the bag vertically to sew along the sides. (This will allow the stripes to run vertically).
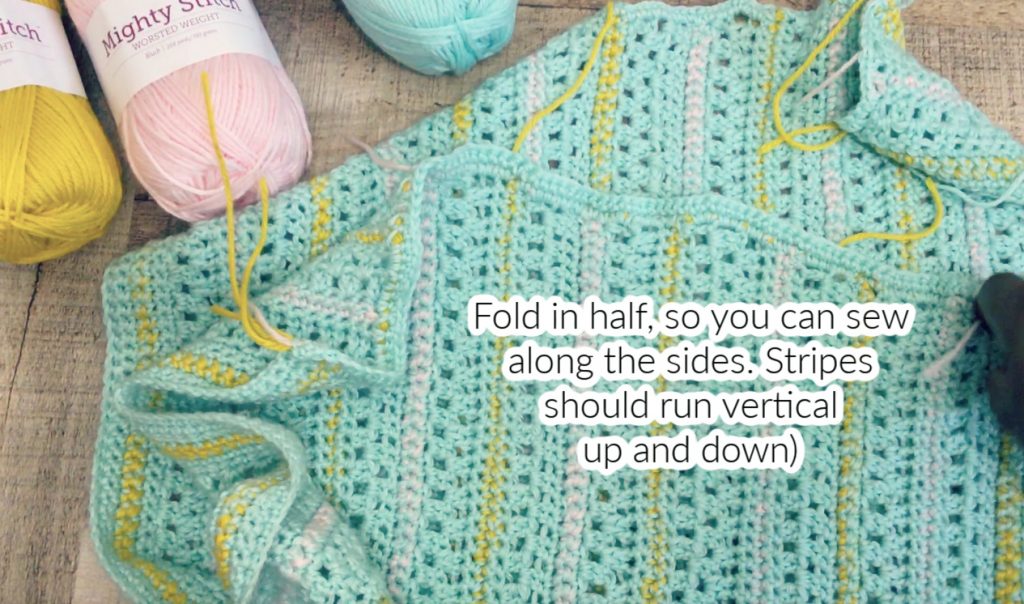
Fold the crochet fabric in half and align to make sure the top edge is even with the back edge, (the back and front should meet along the top).
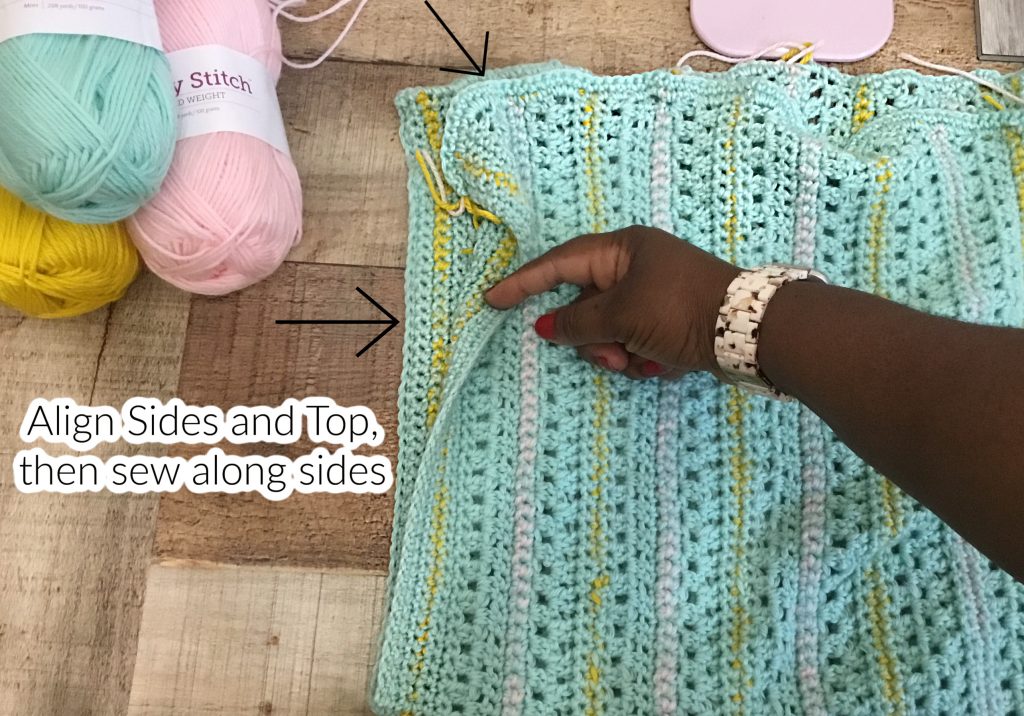
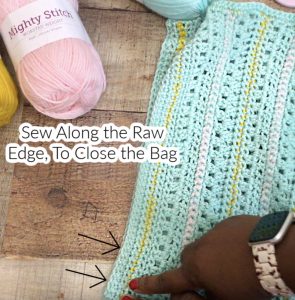
Using the main color yarn (Yarn A). Attach yarn to corner, sew along the raw edge, along the left and right side. This will seal the bag, creating the tote.
Sew along the side, twice, to ensure the seam is secure.
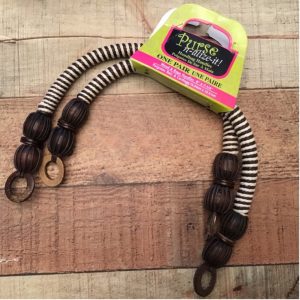
Handles
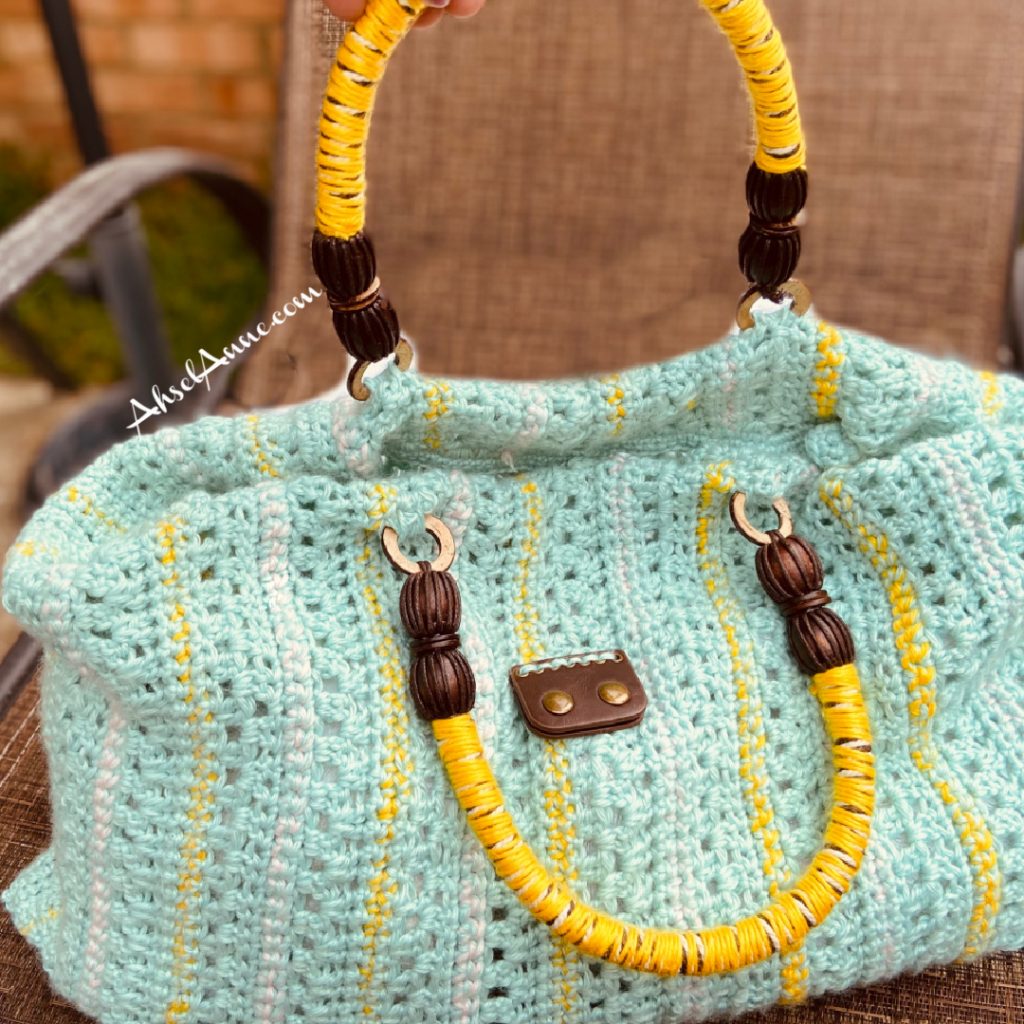
I purchased a stylish set of handles for my Floppy Seaside Tote. These handles not only added a bit of flair, but they also created a nice store-bought appeal to the tote.
The handles, in the photo below, were purchased from Joann’s Fabric but you can also get a nice design on Amazon.
 .
. Attaching Handles
Measure approx. 7” in from the right side and then approx. 7” from the left side.
This should leave approx. 6” in the middle.
Using yarn and a sewing needle, attach the handle.
Note:
The spacing is an approximation. Your tote may be a little larger or smaller based on your gauge.

There is also a faux button added. This is an added embellishment that is not necessary for the construction of the Floppy Seaside Tote. (Check Amazon.com, or local fabric stores for button ideas)
For a PDF Printable Version of this Pattern Click Here
Feel free to make and sell products from my patterns but please give credit to AhselAnne for the pattern. Please do not copy and post this pattern and claim it as your own. Please do not re-publish photos as your own. Distribution or sharing of this pattern pdf in any way is not permitted – if you like, please share the free version of this pattern from my blog, ahselanne.com. Thanks!
One thought on “Floppy Seaside Tote”