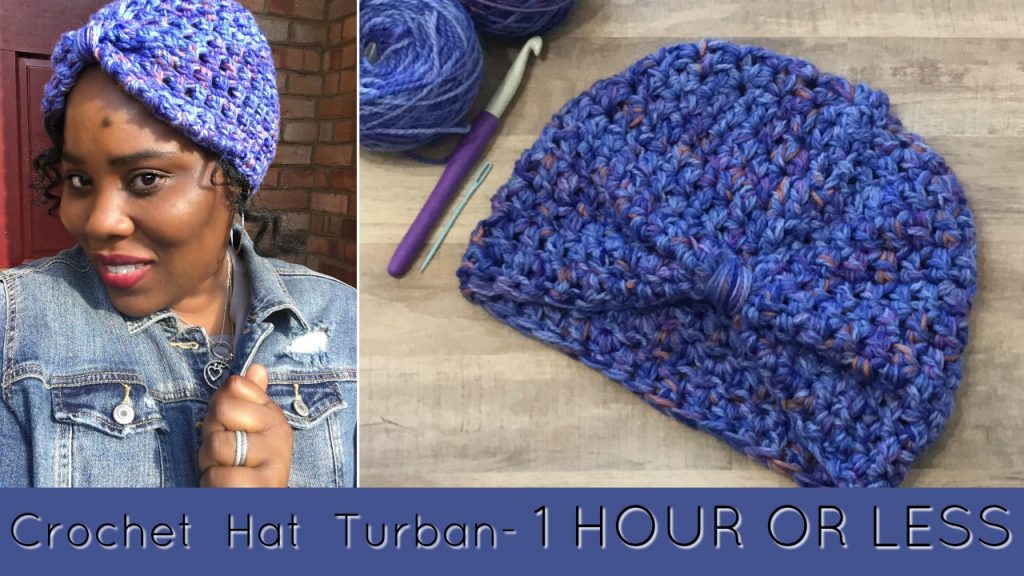
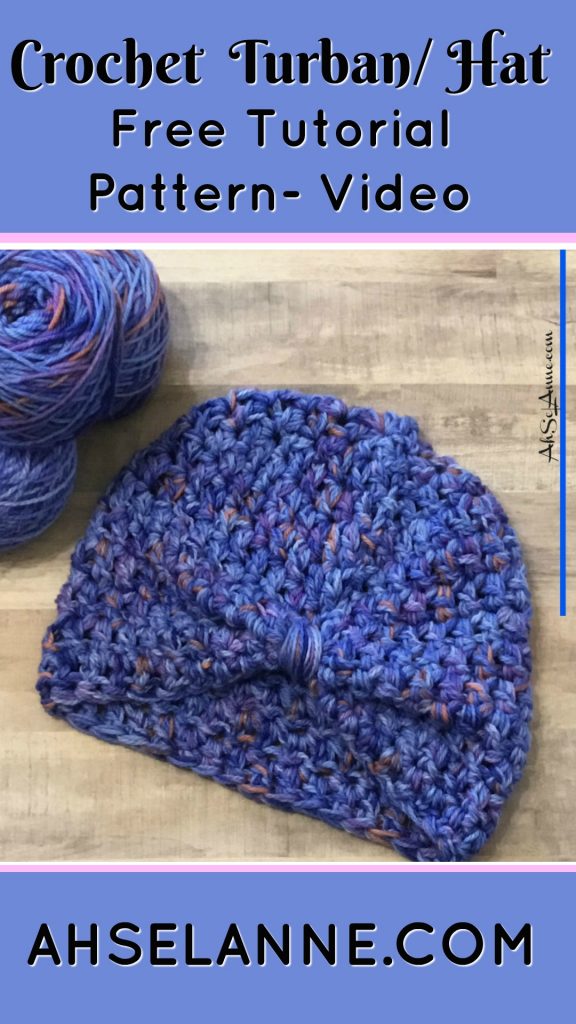
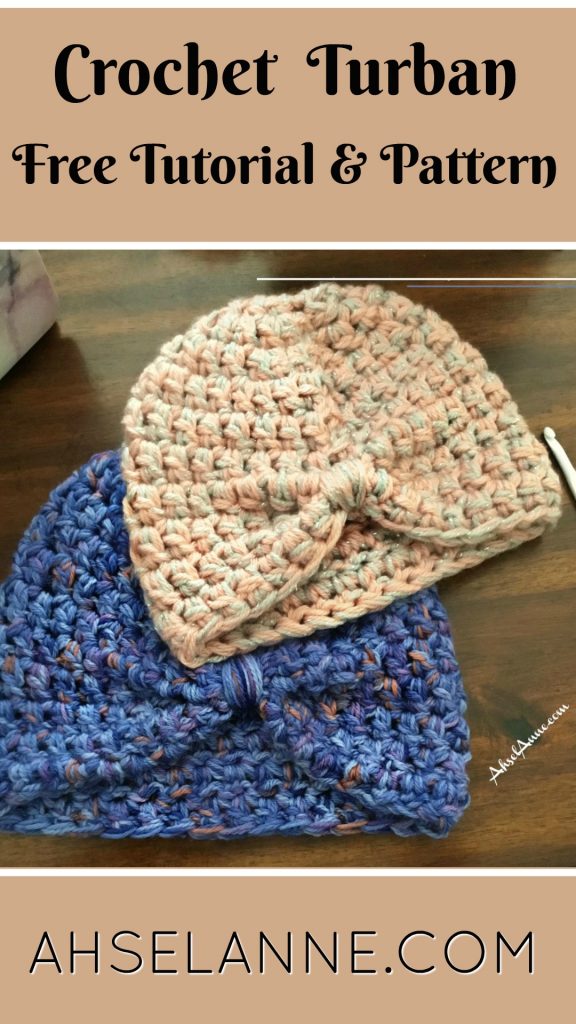
The Turban is fabulous head accessory that can complement many wardrobe styles. Crochet Turbans can be an easy and fun crochet project. I love that this particular crochet hat works up in less than 1 hour. The hat can be completed in many different ways but this tutorial will allow you to create a chunky style hat by using 3 strands of yarn at once.
As with many of my projects, creating can be done in many different ways. Learning how to crochet should be a relaxing process but it can take time to develop a technique that works best for you. My goal is to show you how to create beautiful crochet projects from a beginner’s perspective.
This is for the beginner/advance beginner. Creating a magic circle may be the most difficult part of this project, but check out this tutorial if you need additional assistance with the magic circle.
Note:
This pattern is written in US terms and there is a key provided, to help with any abbreviations. Also, there have been Notes placed throughout the pattern to provide additional help. There are a few pictures and also attached is an instructional video.
In addition to this begin a quick and easy crochet project, the crochet turban can be customized to fit anyone.
This pattern is written for a large/xl size head 22”-23”.
Materials Needed for the Messy Bun Crochet Hat
- *Yarn Suggestion- Bulky Yarn or 2 to 3 strands used together of 4 weight yarn
- Crochet Hook- 10mm
- Yarn Needle
- Scissors:
- Stitch Markers (optional)
Note:
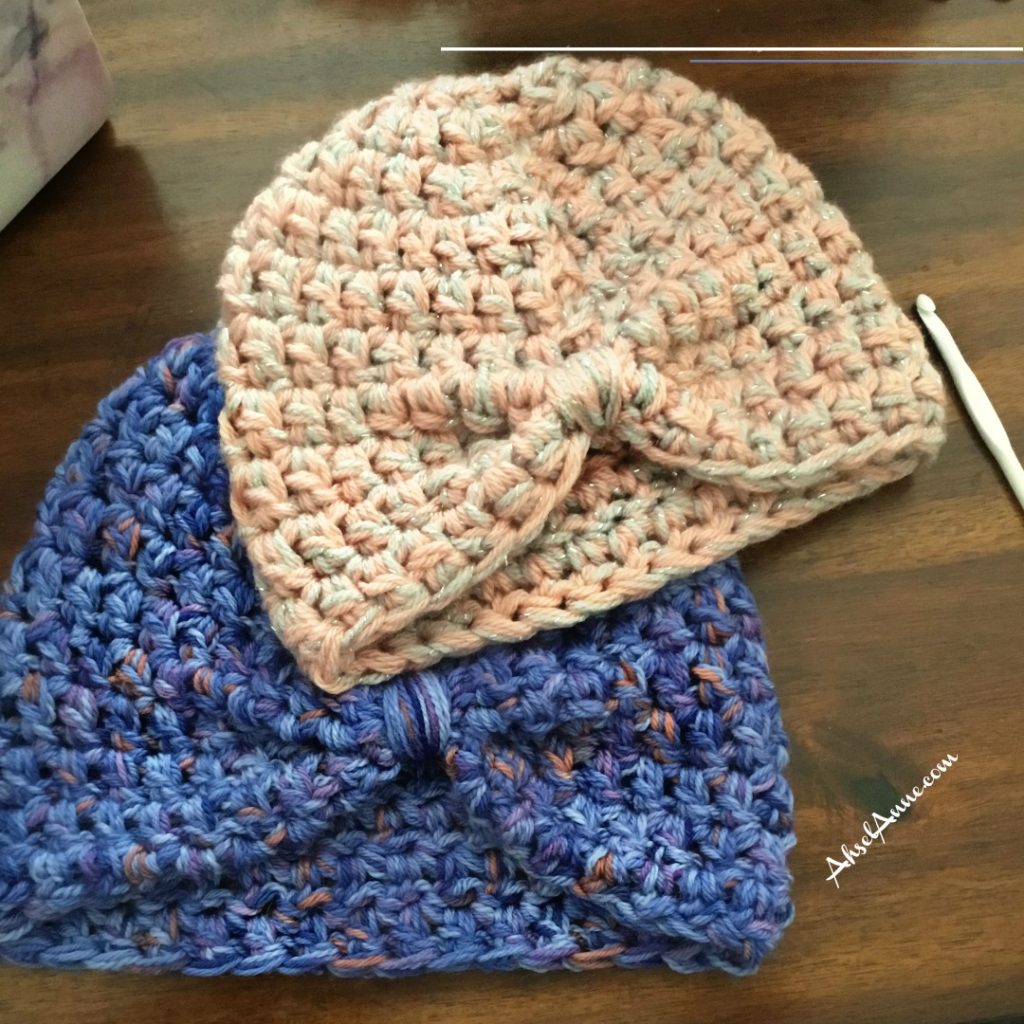
I used knitcrate yarn for the turban featured below but you can use any of the suggestion yarn to create this hat.
https://ahselanne.com/2018/07/09/knitcrate-monthly-subscription-box/
Ad-Free Pattern:
Abbreviations (US Terms):
ch- chain
dc- double crochet
rnd- round
sl st- Slip Stich
To Adjust Size:
Measure the circumference of your head. Start in the middle of your forehead, wrapping the measuring tape around your head about 1/8 inch above your ears to determine the measurement of your head. When you create your project you will want it to be an inch or two smaller, depending on the yarn stretch.
The hat will be approx. 2 inches smaller than your head size in order for the hat to fit snuggly on your head.
Written Pattern
Magic Circle, ch 3
1. Round 1: Place 7 dc into the magic circle (ch 3 will count as your first dc), sl st, ch3
2. Round 2: [Increase Round] into the same stitch as the ch 3, 1 dc, (ch 3 will count as 1st dc stitch) 2 dc into next stitch, 2 dc, in the next. Repeat 2dc in each stitch around, sl st to join ch 3 (16 DC).
3. Round 3: [Increase Round] into the same stitch as the ch 3, create 1 dc (ch 3 will count as 1st dc stitch), [1 dc in next stitch, 2 dc next stitch], repeat [1 dc, 2dc], (24 dc).
4. Round 4: [Increase Round] into the same stitch as the ch 3, create 1 dc. (ch 3 will count as 1st dc stitch), 1 dc in next stitch, 2 dc next stitch, 1 dc, 2dc Repeat 1dc, 2 dc, each stitch around, sl st to join ch 3 (36 dc)
5. Round 5: 1 dc stitch into each stitch around, sl st to join round, ch 3 (Remember the ch 3 will count as your first dc stitch) (36)
6. Round 6-12: 1 dc stitch into each stitch around, sl st to join round, ch 3 (Remember the ch 3 will count as your first dc stitch) (36)
Finish off, leaving a long tail approx. 16” to create the turban knot.
Creating Turban Knot
Determine where you want the turban knot to be placed on the hat. Scrunch hat by pinching the brim and approx. 2 inches of the hat up.
Using the long tail and a sewing needle, insert the yarn at the bottom of the pinch and pull through, to allow the hat to gather or chinch together. Begin wrapping the yarn around the designated turban knot area.
Wrap yarn until the desired size knot is achieved approx. 8 to 10 times.
Fasten the yarn off using a, cut any excess yarn, weave in ends.

For an ad-free pdf pattern click here:
Check out the video below for visual instructions:
For Small/Medium hat:
Written Pattern:
Magic Circle, ch 3
1. Round 1: Place 7 dc into the magic circle (ch 3 will count as your first dc), sl st, ch3
2. Round 2: [Increase Round] into the same stitch as the ch 3, 1 dc, (ch 3 will count as 1st dc stitch) 2 dc into next stitch, 2 dc, in the next. Repeat 2dc in each stitch around, sl st to join ch 3 (16 DC).
3. Round 3: [Increase Round] into the same stitch as the ch 3, create 1 dc (ch 3 will count as 1st dc stitch), [1 dc in next stitch, 2 dc next stitch], repeat [1 dc, 2dc], (24 dc).
4. Round 4: [Increase Round] into the same stitch as the ch 3, create 1 dc. (ch 3 will count as 1st dc stitch), 1 dc in next stitch, 1 dc next stitch, 2dc Repeat 1dc, 1dc, 2dc each stitch around, sl st to join ch 3 (32 dc)
5. Round 5: 1 dc stitch into each stitch around, sl st to join round, ch 3 (Remember the ch 3 will count as your first dc stitch) (32)
6. Round 6-10: 1 dc stitch into each stitch around, sl st to join round, ch 3 (Remember the ch 3 will count as your first dc stitch) (32)
This is approx. you may need to add additional rows if the hat does fit around ears.
Finish off, leaving a long tail approx. 16” to create the turban knot.
Return to original instructions to finish completing crochet turban




Thanks, Felicia. This is what I have been looking for to make some chemo caps to donate.
I love your beautiful name! It was my grandmother’s. Best wishes.
Thank you! Such a wonderful and sweet gesture. Many Blessing to you.