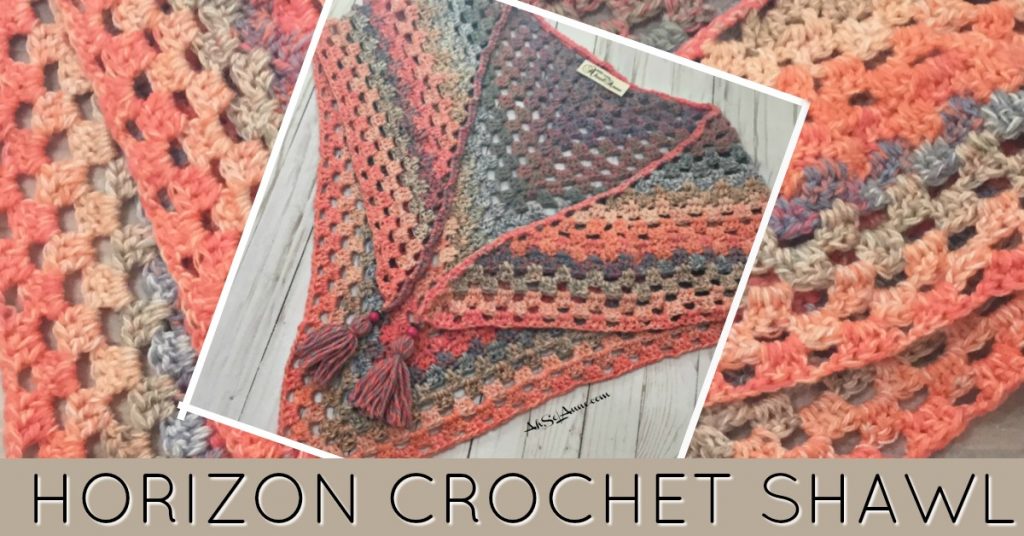

The Crochet Shawl is a time honor tradition in the crochet world. It really is, trust me on this one. Every respectable crocheter should learn to make a shawl. Seriously, the shawl is right up there with the granny square blanket.
The basics of a crochet shawl are knowing how to create a double crochet stitch. However, if you can master this stitch, then the rest is just counting and creating.
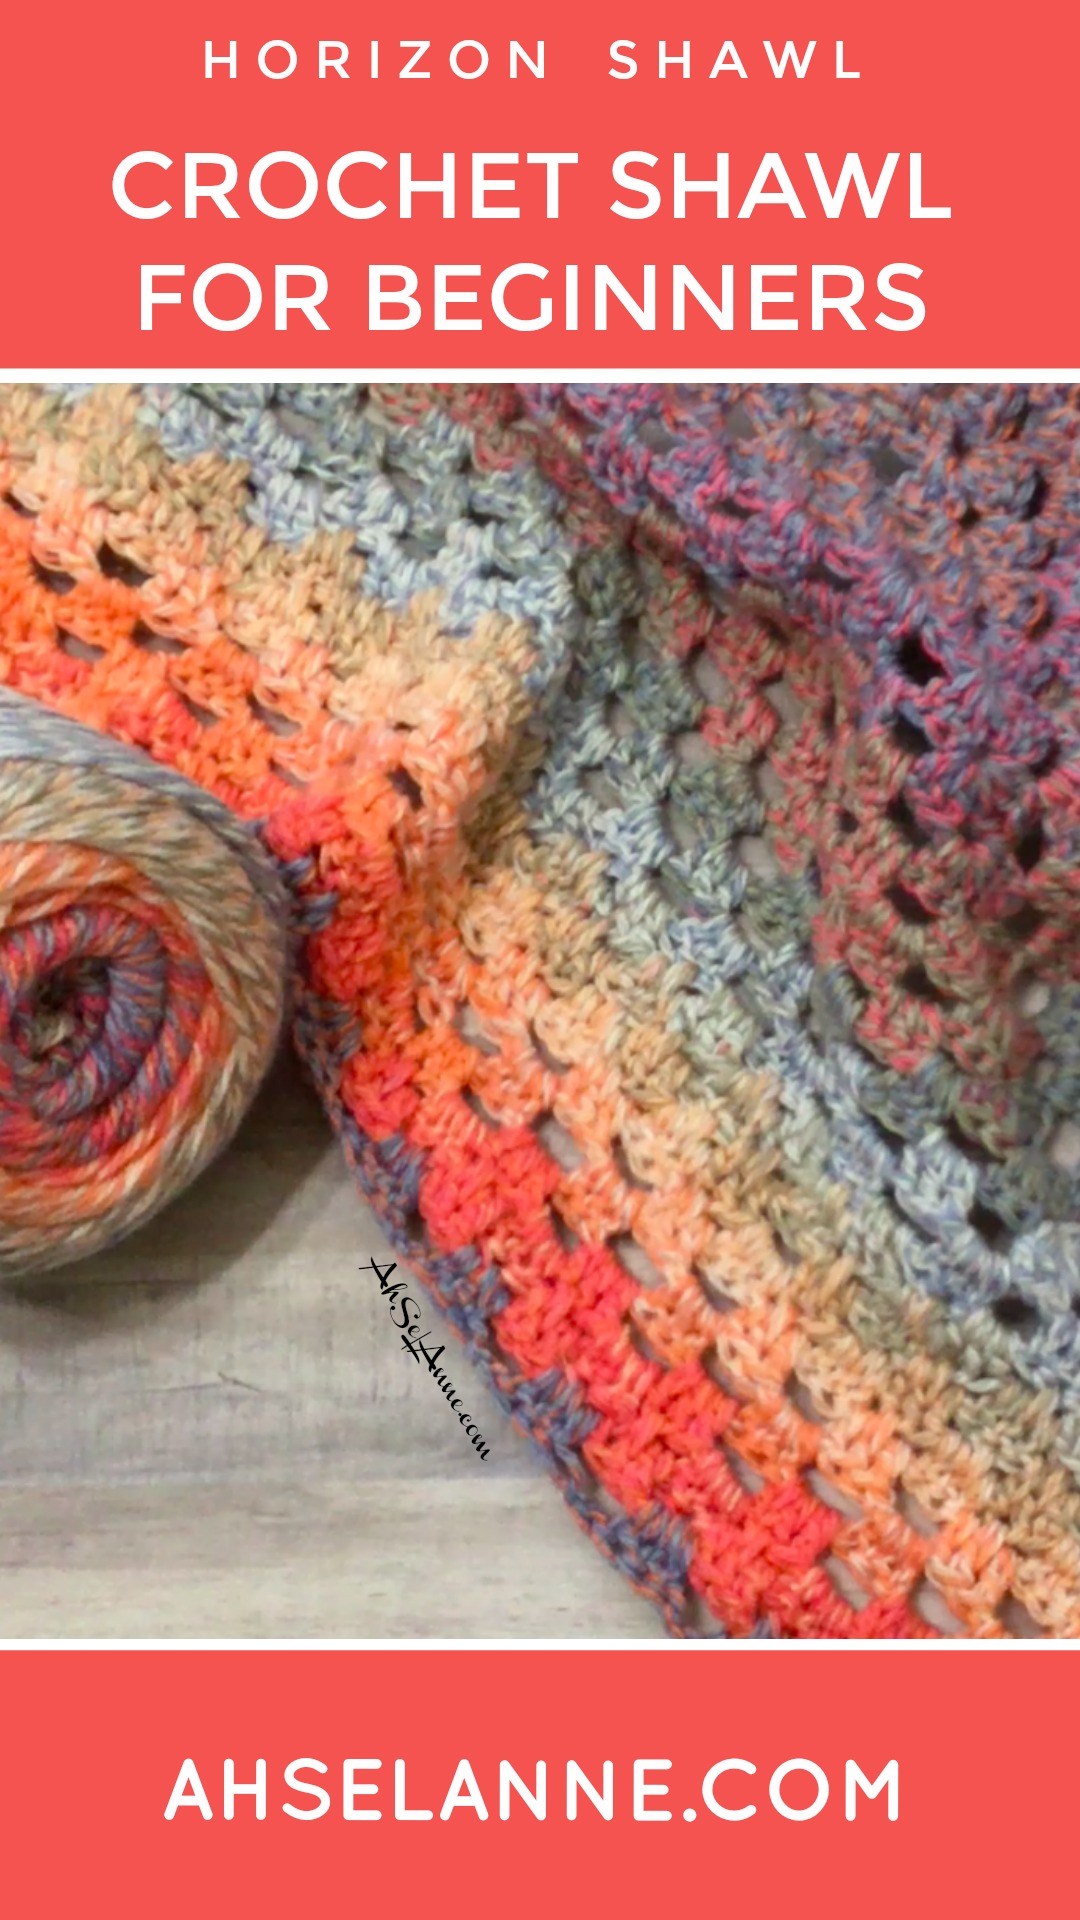
I used REDHEART –Roll With it Tweed Yarn. This is a three-ply yarn of contrasting colors that are combined to create a unique tweed-like fabric. This yarn is a modern twist on a classic pattern perfect for this shawl and other crochet accessories.
There is a broad color range that includes bright contemporary tones and neutral which are perfect for creating the horizon crochet shawl.

As with many of my projects, creating can be done in many different ways. Learning how to crochet should be a relaxing process; however, it can take time to develop a technique that works best for you. My goal is to show you how to create beautiful crochet projects from a beginner’s perspective.
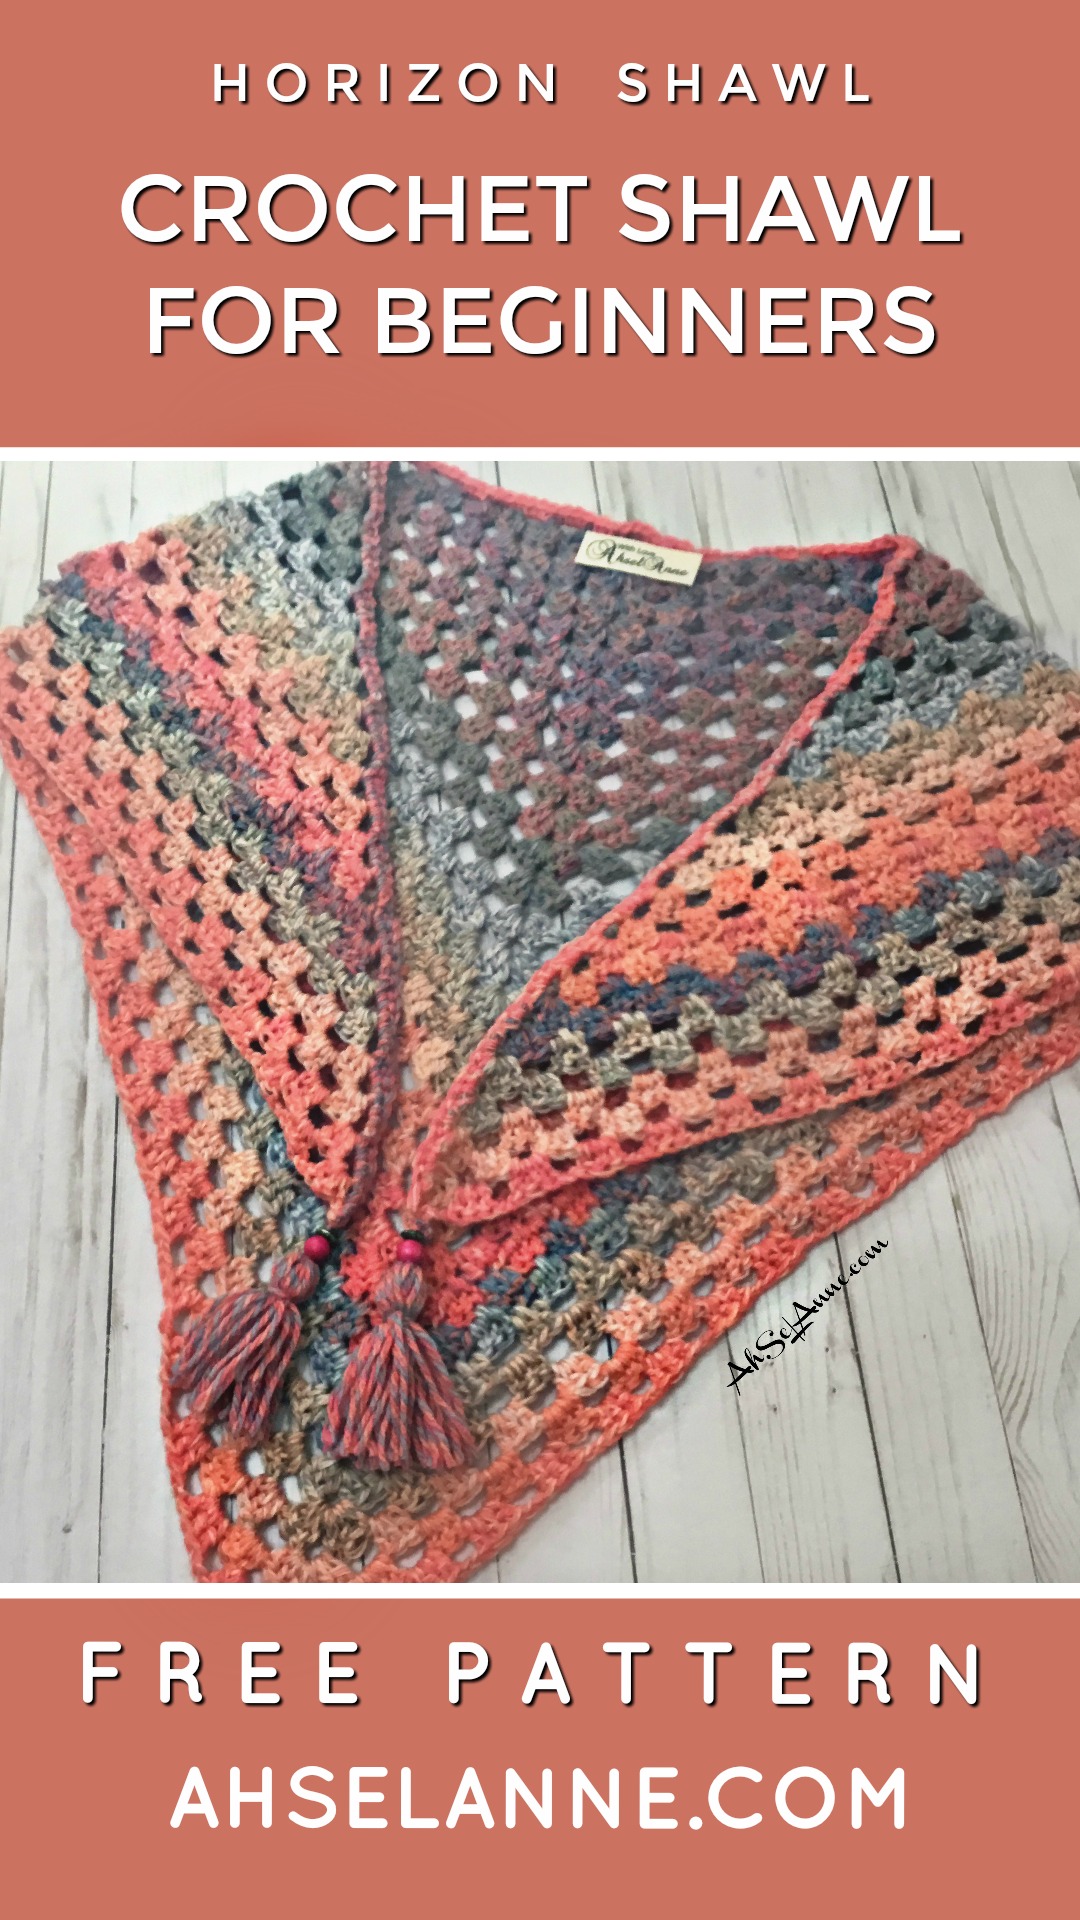
This is for the beginner/advanced beginner
Don’t want to scroll or you want an ad-free pdf printout, click here for Printable PDF Pattern

Note:
This pattern is written in US terms and there is a key provided, to help with any abbreviations. In addition, there have been Notes placed throughout the pattern to provide additional help. Further, there are a few pictures and also attached is an instructional video.
In addition to this begin a quick and easy crochet project, the Horizon crochet shawl can be customized to fit anyone.
This shawl measurement: 98 cm (38.5 inches) from middle top to middle bottom point.

Materials Needed for Horizon Crochet Shawl
- Yarn Suggestion- 2 skeins Red Heart Roll With it Tweed Yarn
- Hook- 6mm
- Yarn Needle
- Scissors
- Stitch Markers (optional)
- Beads (for Tassels) Optional
Abbreviations (US Terms)
ch- chain
dc- double crochet
dsdc- *drop stitch double crochet
R- row/round
st(s)- stitches
sp- s pace
sl st- Slip Stich
tw- turn work
Stitches for Pattern Change:
* dsdc- drop stitch double crochet. Drop to the stitch below, from the previous round.
The cluster of three dc sts will have 1 drop stitch double crochet in the middle. [dc, dsdc, dc ] into chain 2 space. You will complete 1 dc, 1 dsdc, 1dc in the same space. The dsdc is the new cluster pattern.
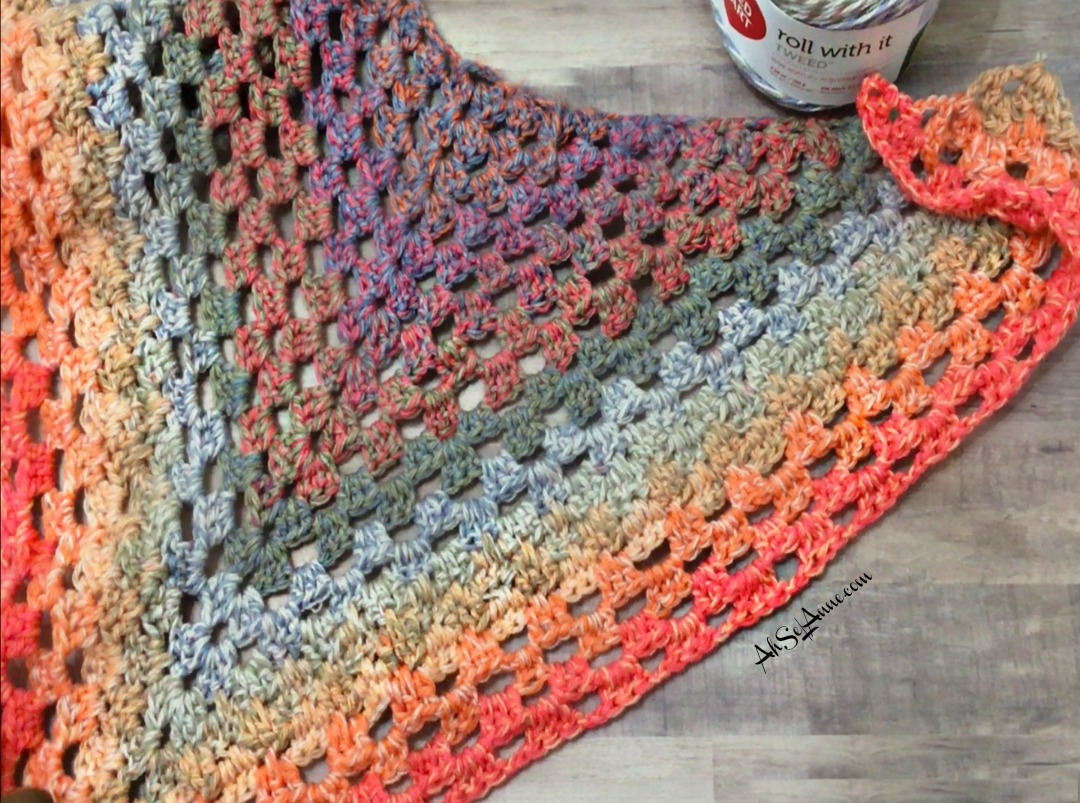
The horizon crochet shawl pictured was worked until R30, as a result, it measures 28.5 inches from middle top to middle bottom point and 60 inches across.
If you would like a larger shawl continue working until R36 following the pattern. This shawl will measure approx 38.5 inches from middle top to point.
Note:
The chain 5 that begins each new row counts as double crochet (dc) and a chained 2 space.
Written Pattern
Ch 5, join with a sl st to the first ch, to make a circle
R1: ch 5 (this will count as a double crochet and chain 2 space, 3 dc into the circle, ch 2, 3 dc into circle, ch 2, 1 dc. tw, Ch 5
R2*: 3dc in the ch 2 sp, ch 2, sk 3 sts, (3dc ,ch 2, 3dc into the ch 2 sp) this will create the peak or point, ch 2, sk 3, 3dc into ch 2 sp, ch 2 1dc. In the same sp. tw, Ch 5.
Note: Round 2 Written Out
I’ve written Round 2 of the pattern out for further explanation. However, if you need additional clarity, check out the video below.
Place 3 double crochet in the chain 2 space. Chain 2 and skip 3 (the cluster of 3dc that was created in the first round) place 3 double crochet stitches into the space, then chain 2, in the same space, place 3 more double crochet stitches. This will create a peak or a corner. Chain 2, skip 3 stitches, place 3 double crochet stitches into the space, chain 2 complete 1 double crochet stitch. Turn your work, Chain 5.
R3: 3dc in the ch 2 sp, ch 2, sk 3 sts, 3dc, ch2 sk 3 sts, (3dc ,ch 2, 3dc into the ch 2 sp) this will create the peak, ch 2, sk 3, 3dc [into ch 2 sp], ch 2,sk 3, 3 dc. ch 2, 1dc, tw, ch 5.
Repeat R3 until R15, each round will increase by 2 clusters.
Note:
R3 is the pattern for the next 13 rounds (total of 15 rounds). The clusters of 3 double crochet stitches will increase by 2 each time around.
Also, the pattern will change slightly at R16 but you can continue this original pattern to complete shawl at R36 or you can switch to the new pattern at R16
Optional PATTERN CHANGE :
R16: 3dc in the ch 2 sp, ch 2, sk 3 sts, [1 dc, 1 *dsdc, 1dc]* in the ch 2 sp, ch2 , sk 3 sts, [1 dc, 1 dsdc, 1dc ]*, continue [ * ] until peak (3dc ,ch 2, 3dc into the ch 2 sp) , ch 2, sk 3, [1 dc, 1 dsdc, 1dc ] continue [ * ] until last cluster , 3 dc. ch 2, 1dc tw, ch 5.
Repeat R16 until R26
R26 Repeat the original pattern using steps in R3 until R36 or the desired length is achieved.
Final Row- complete sc stitch across the top edge or around the shawl to finish.
Optional Tassels
Create tassels and attach to the points of the shawl
Good morning! I purchased this pattern on Etsy. One question: at the end of the row, where exactly should the one double crochet be? I’m quite a ways into the pattern, and I fear I’m doing it incorrectly. Thank you for your time!!!
Hi Michele,
Thanks for purchasing the pattern, you would put the double crochet stitch in the same space as the cluster of 3. So you would complete the cluster of 3 and then chain 2 and then place the last dc into the same space. I hope that’s clear (if not let me know). Are you able to watch the video on the website or on youtube? I think I mention it around 7 minutes into the video. I know with me I’m also a visual learner so the video may also help a bit.
Thank you so very much for the reply! I was pretty far into the pattern before I realized I had messed it up completely! I ended up doing a different shawl because I was disgusted with myself!! So I just saw this!! Thank you!! I’m going to use the video!!! It helps tremendously!!!
i love this pattern. i am 10 years old and trying to crochet a shawl for a order a friend placed. They loved it and they ended up paying extra! i love this pattern and just want to say thank you for posting this.
Thank you! I’m glad you were able to follow the pattern and cool is it that you got paid that’s even extra special. Have a wonderful day!