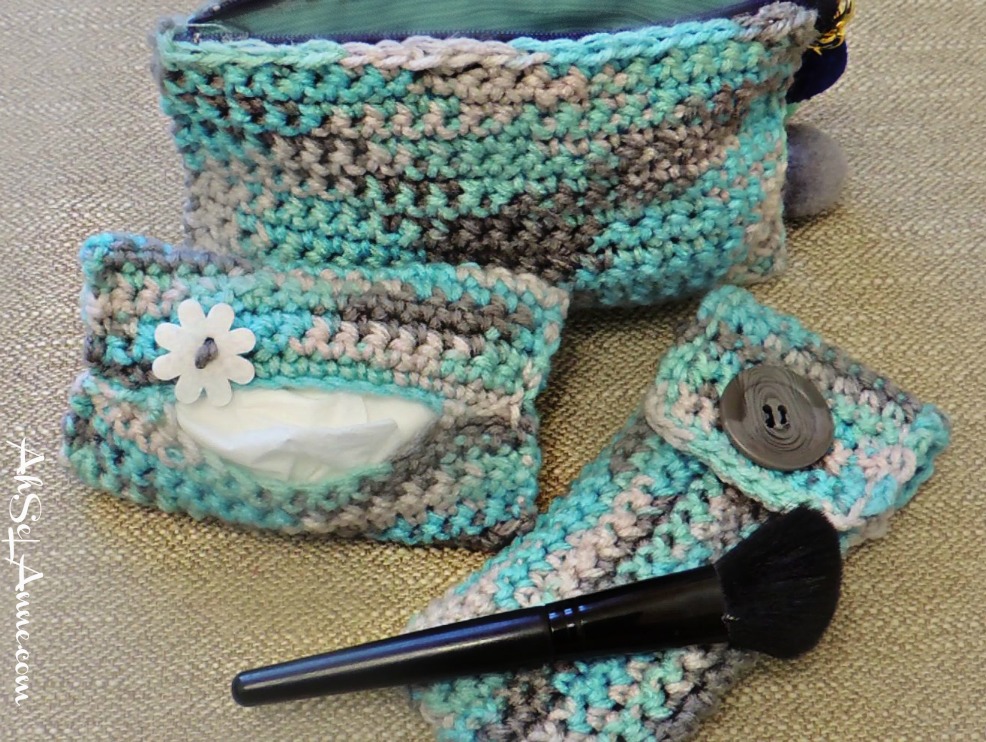
Crochet Make-up Brush Pouch, is another easy crochet project that helps keep your purse or make-up bag organized.
This project is relatively easy but you will need to be comfortable with making a single crochet stitch, with a smaller crochet hook. Also, I designed this one to only hold a few make-up brushes but you can customize the size to accommodate more brushes.
As with many of my projects, creating a crochet make-up brush pouch can be done in many different ways. Learning how to crochet should be a relaxing process but it can take time to develop a technique that works best for you. My goal is to show you how to create useful crochet projects from a beginner’s perspective.
Crochet Purse Organization Pouches:
This tutorial/pattern will allow you to create a crochet make-up brush pouch using a basic crochet stitches.
This pattern is written in basic terms, overall. There is a key provided, to help with any abbreviations. Notes have been placed throughout the pattern to provide additional help.
A few pictures along with an instructional video are included in the blog post.
Material Needed Crochet Make-up Brush Pouch:
• Yarn- Red Heart- 'Icelandic' 4 worsted weight yarn • Hook- 6.0mm
• Scissors
• Velcro (for pouch closure)
• Button (Optional)
• Yarn Needle
• Sewing Needle
• Thread
Legend:
CH-Chain
SC- Single Crochet
SL ST- Slip Stich
Written Instruction Crochet Make-up Brush Pouch:
tCreate a CH 14 inches long approx. 50 stitches (this number can vary based on the longest size make-up brush)
Note: The chain will be length of your project.
Note: Be sure to not pull your yarn too tight around your hook or it will be difficult to work the stiches in the foundation chain.
1) Row 1- place SC stitches in the first stitch from the crochet hook and continue a SC down the foundation CH until you get to the end of the row.
2) Row 2 -CH 1 turn your work (TW) place SC across (stitch down the row making sure to you place the same number of stitches into each row).
3) Row 3 -10- Repeat Row 2 until you get a crochet swatch approx. 6”
4) Row 11- CH 1 SC stitch down the row until the end SL ST, fasten off
Note: The rows will be the width of your project. The more brushes you have, the wider your make-up brush pouch will need to be. *This project measured approx. 3 inches wide.
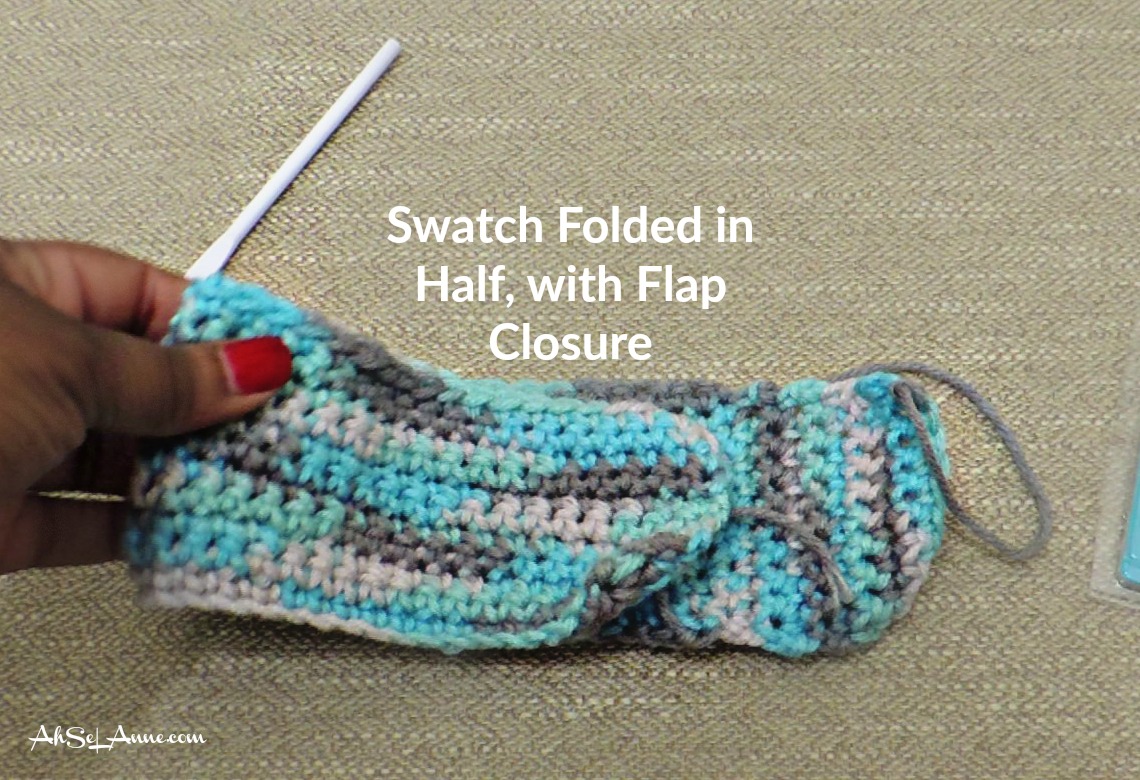
Flap/Closure for Pouch
Turn the pouch to the side and crochet along the side of the pouch (the shorter side). Insert crochet hook into corner stitch along the side to complete Row 1.
1) Row 1: Complete a row of 10 stitches; ch 1 tw (this number can change based on the width of your project).
Note: Complete a row until you reach the end of the width of the crochet project
2) Row 2: Place SC stitches in the first stitch from the crochet hook and continue a SC down the foundation CH until you get to the end of the row.
3) Row 3: Repeat Row 2 until you reach the desired width for the flap or closure.
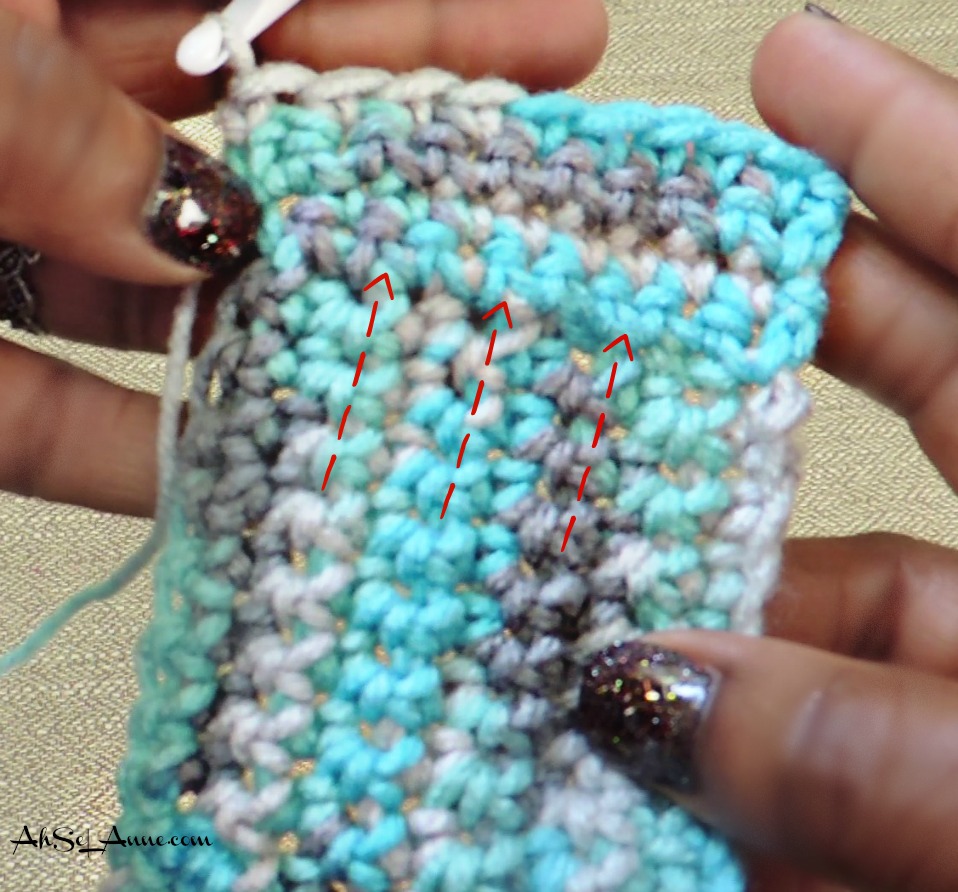
Constructing the Pouch
Place your brushes towards the top of the crochet swatch to ensure that you have created a swatch long enough for the bottom to fold over the brushes.
Note: The swatch should be double the size of the largest brush
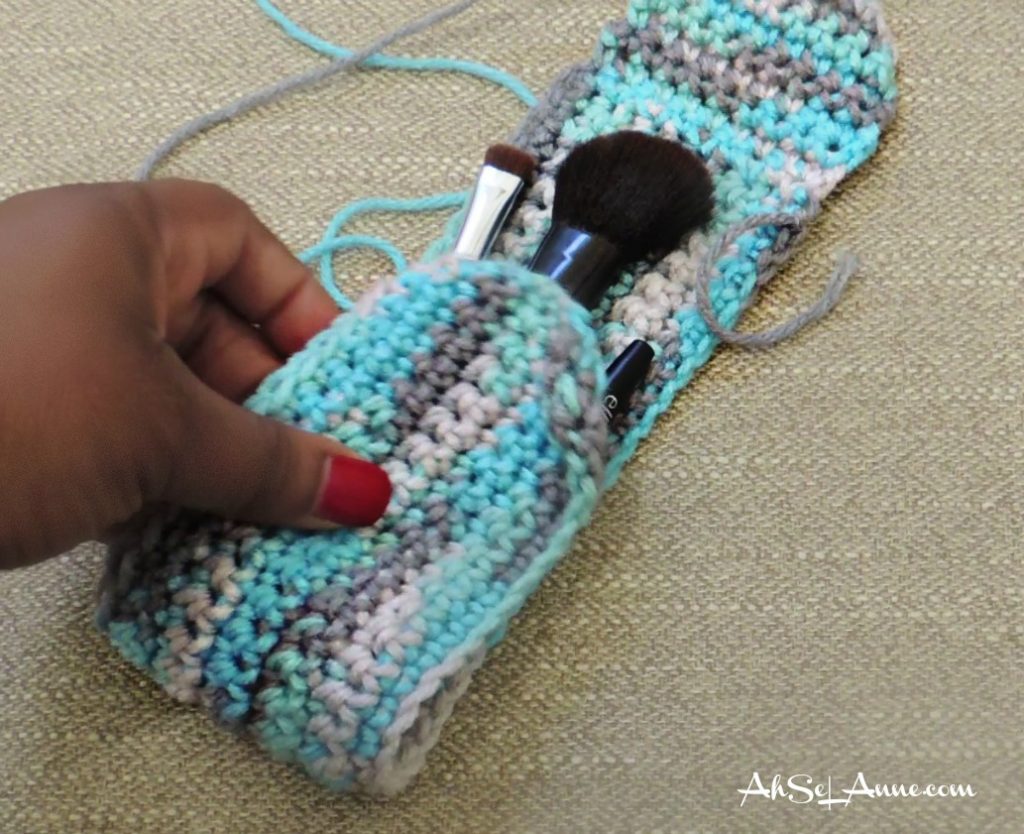
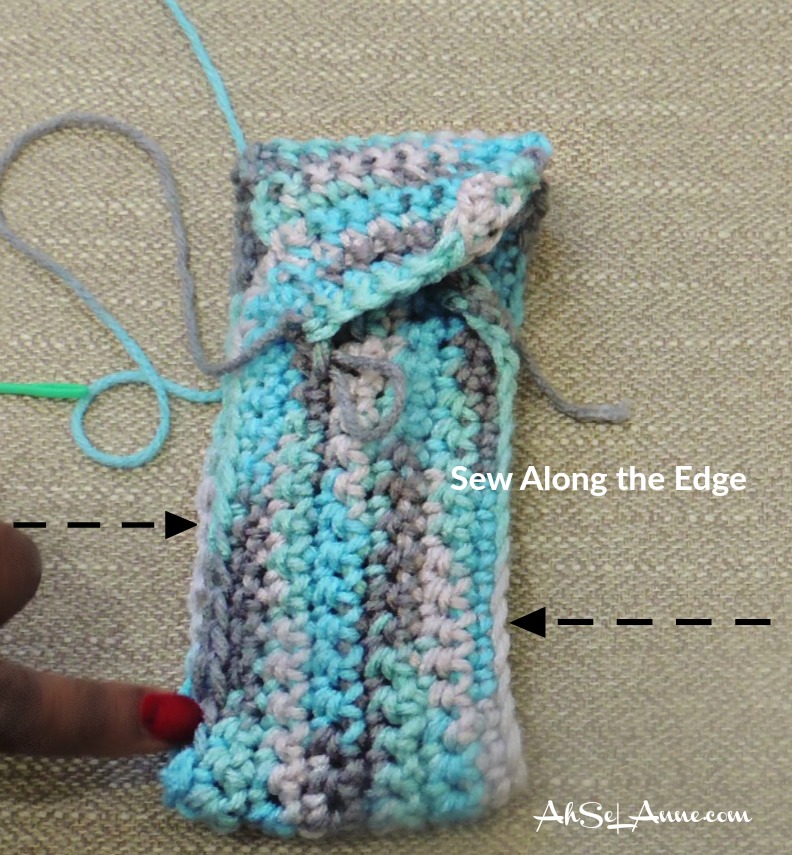
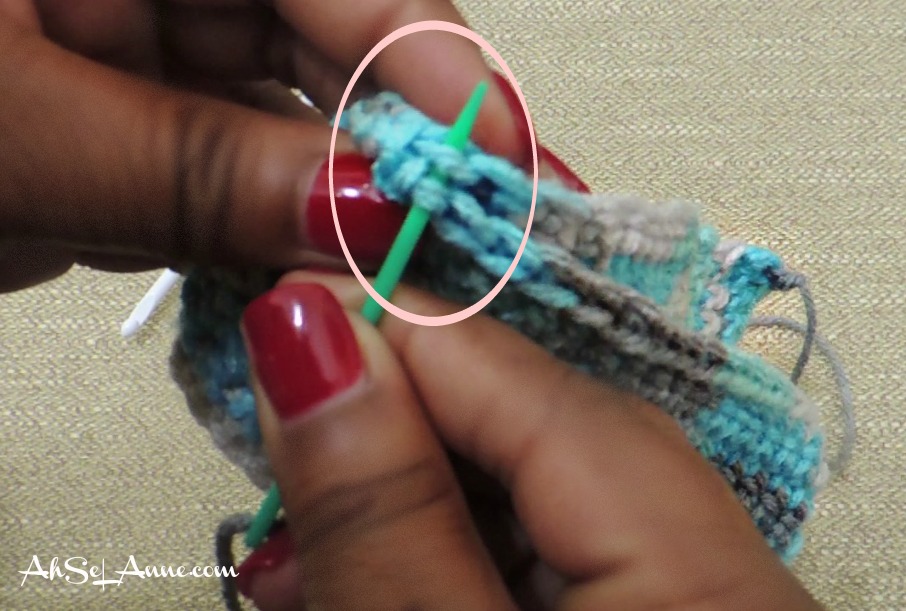
Once you get the desired length (long enough to cover the largest makeup brush). Fold the swatch in half, line the stitches up and sew along the right and left side.
Tie off excess yarn and weave in any excess yarn.
Velcro Closure
Sew on Velcro Closure using needle and thread or you can also use a fabric glue. I find that sewing it down is better to ensure that it will not come apart under everyday use.
Optional Button-
As a faux decorative embellishment, I added a button. This not a functional button and is not necessary in the overall design of the make-up brush pouch.
