
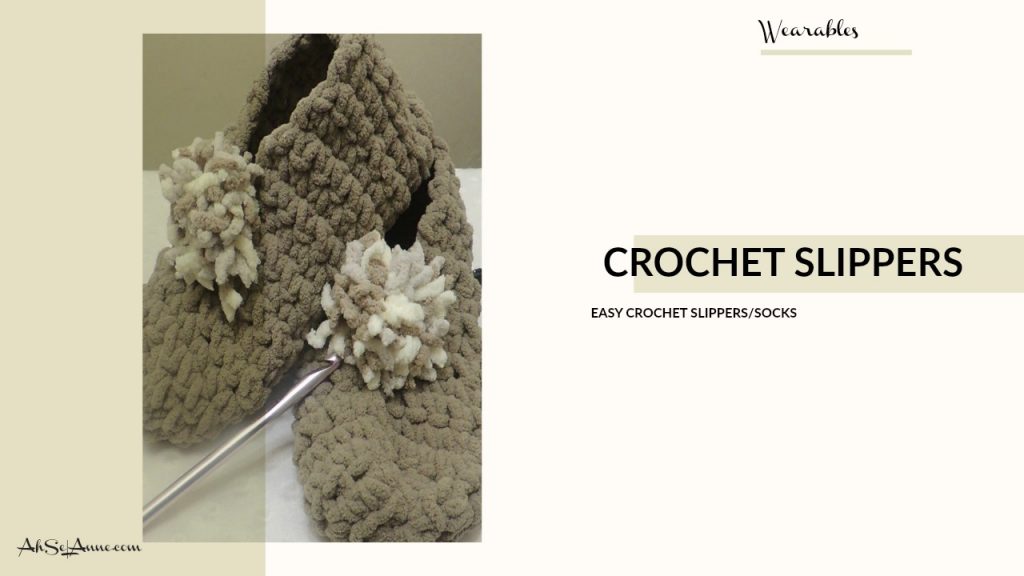

Crochet slippers are an easy to create beginner crochet project. Using a basic crochet stitch, along with a yarn needle you can create a cozy pair of socks that are perfect to keep your feet warm. I love to make these for my family and friends and they are so easy to make you’ll find yourself making a few pair for yourself. This is a simple crochet project uses the Bernat Blanket Yarn, a chenille yarn, that is so plush. The cozy slipper socks are a great compliment to the cozy throw blanket.

As with many of my projects, creating crochet slippers can be done in many different ways. Learning how to crochet should be a relaxing process but it can take time to develop a technique that works best for you. My goal is to show you how to create beautiful crochet projects from a beginner’s perspective.
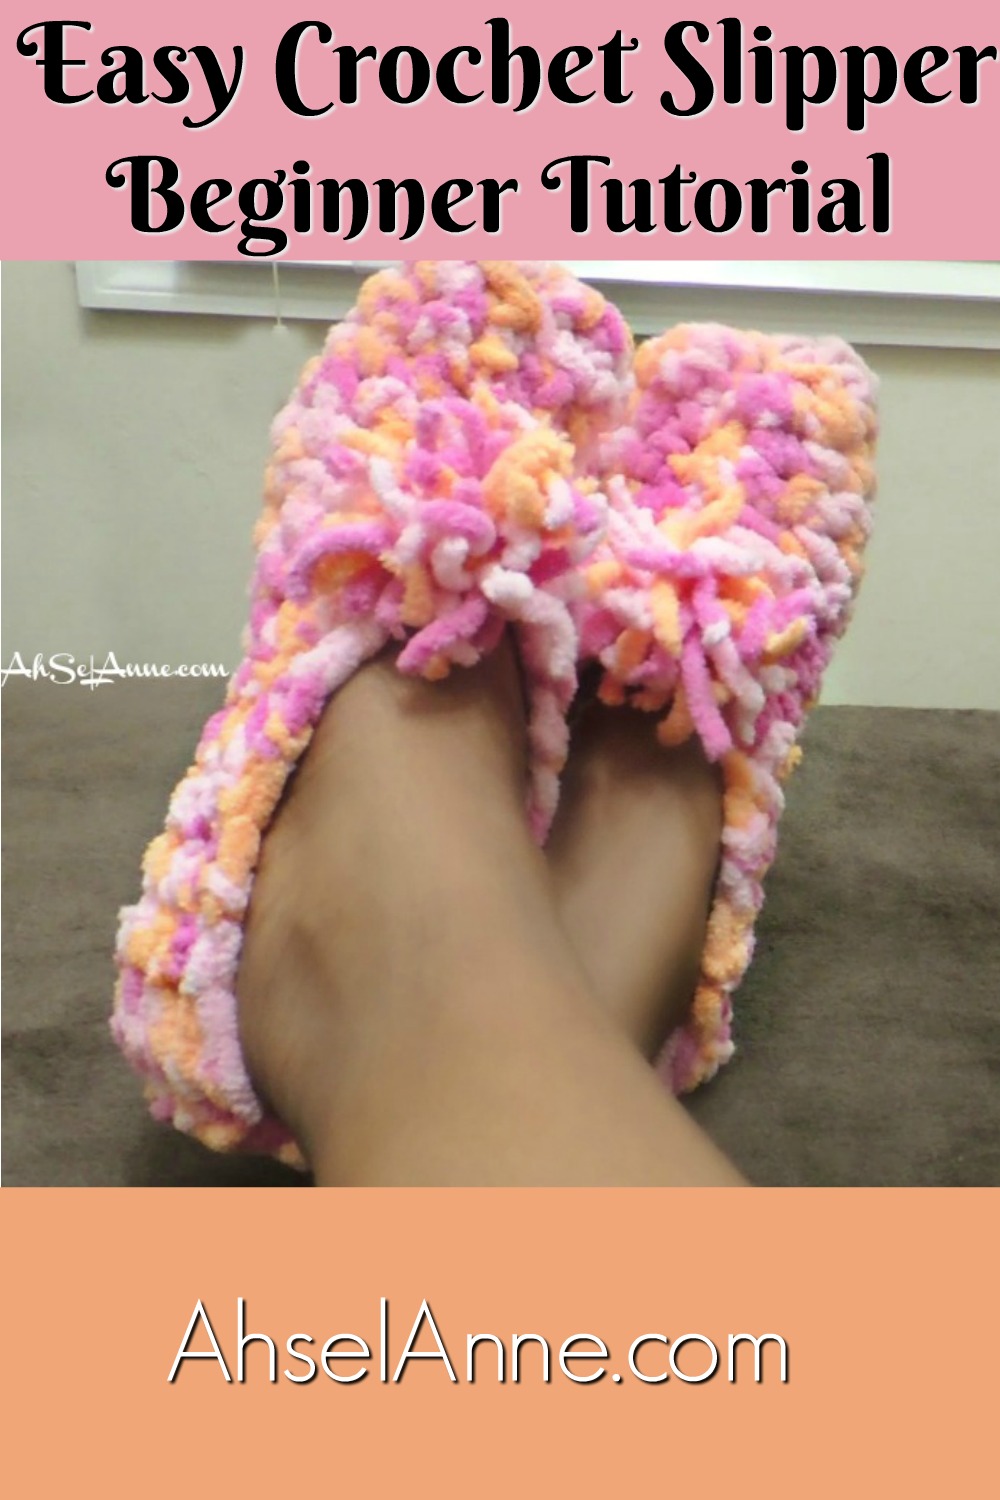
This tutorial/pattern will allow you to create a crochet slipper socks using a basic crochet stitch.
This pattern is written in basic terms, overall. There is a key provided, to help with any abbreviations. Notes have been placed throughout the pattern to provide additional help. A few pictures along with an instructional video are attached.
MATERIALS NEEDED FOR crochet slippers
• Yarn Suggestion- Bernat Blanket Yarn (2 small skeins or 1 large) – This is a 6 Bulk Yarn
• Hook- 8mm crochet hook
• Measuring Tape
• Yarn Needle
• Scissors
Legend:
ch- chain
sc- single crochet
tw-turn work

Note:
These crochet slipper socks are created for a size 7-9 foot; however, the size can be easily adjusted by adding a few stitches to the row.
Check the below article if you need help with any of these areas:
Determining Size:
Measure your foot or know your foot size, if you measure 9” you want to make your foundation chain 1” shorter. The yarn will have a lot of give and you want the slipper socks to fit snugly on your foot.
Written Instruction:
ch 17
1. Row 1: Place single crochet (sc) in the first stitch from the hook and then in each stitch across the foundation, ch 1 and then turn your work (tw)
2. Row 2: Place sc in the first stitch from the hook. Crochet into the stitch. Continue down the row until you get to the end of the row, ch 1 tw
3. Row 3-17: Repeat Row 2 until the end
Finish off the project. Leave a long tail (approx. 18 inches)
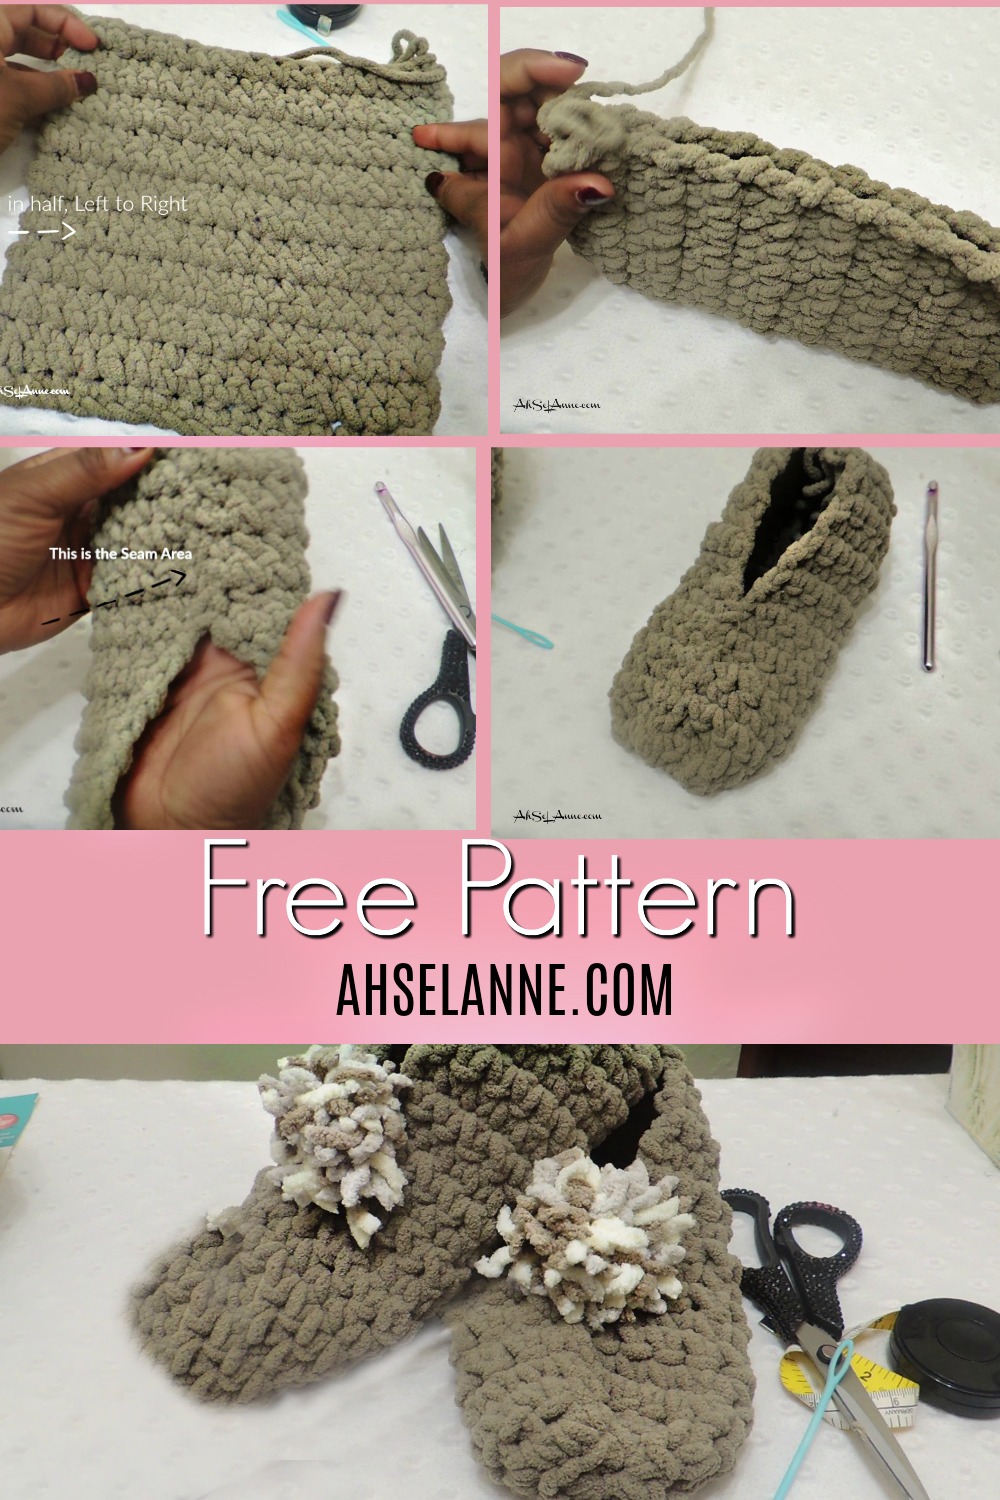
Constructing the Slipper:
Toe Area:
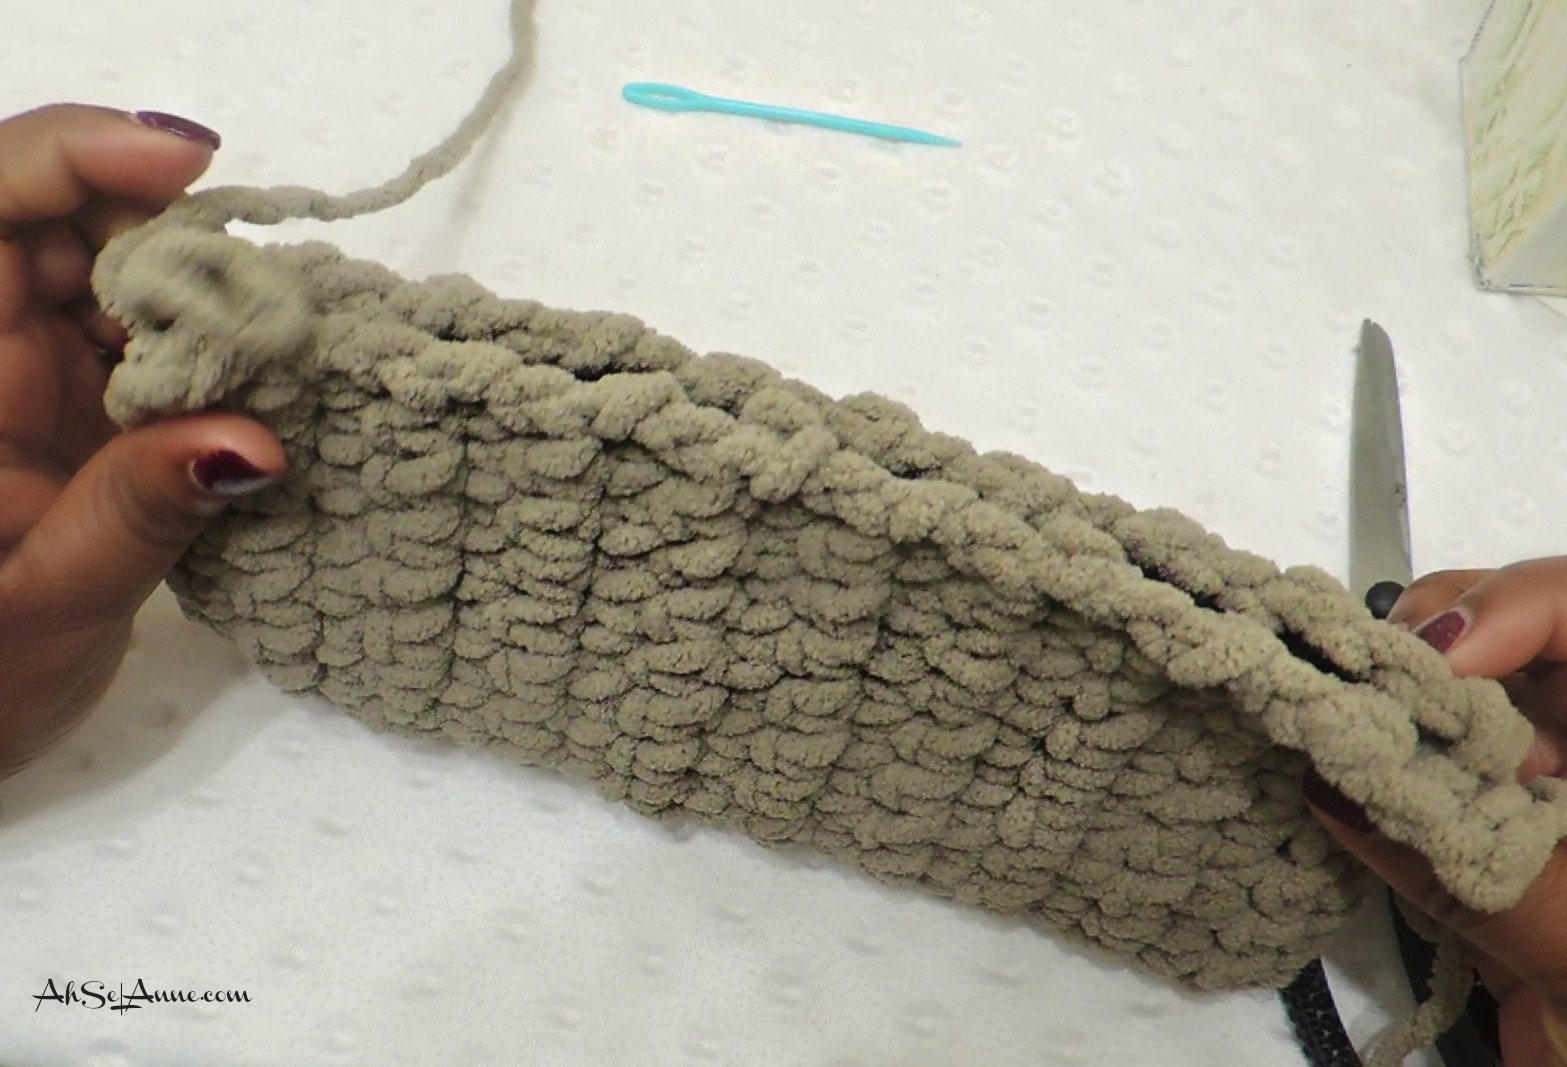
Once you have your crochet square (swatch).
There are a couple of ways to create the toe area of your crochet slipper sock
Option 1:
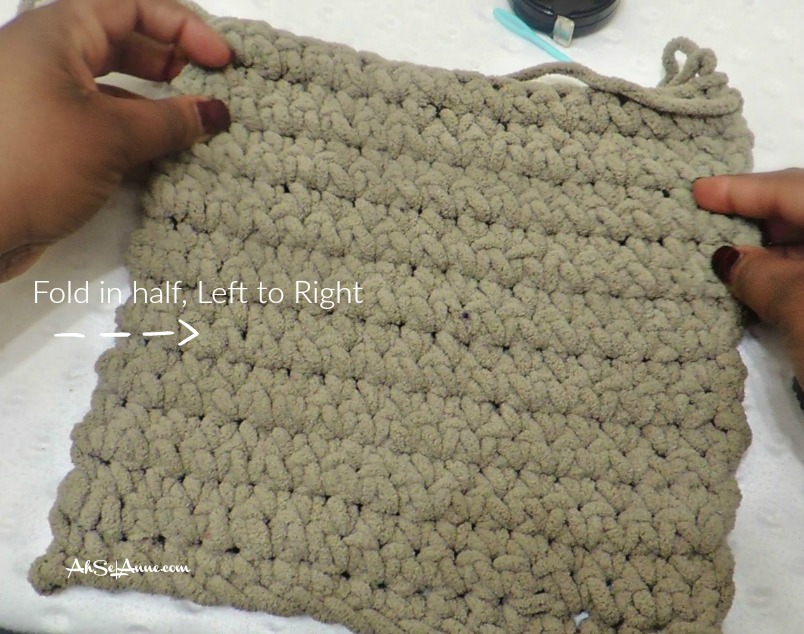
Fold the swatch, left to right, sew along the top portion of the swatch using the long tail
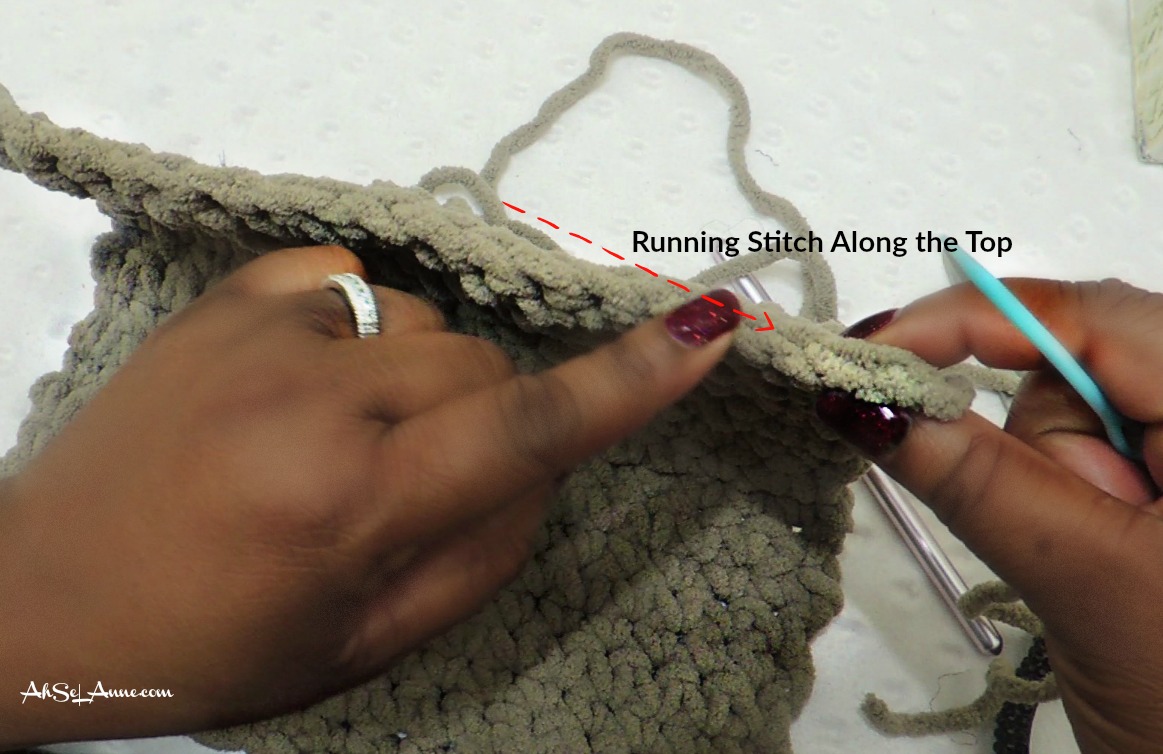
Option 2:
Complete a running stitch along the top portion of the swatch. A running stitch is created by passing the needle in and out of the crochet stitches. I have demonstrated this approach in the video at the bottom of these instructions.
When the yarn has been run through the swatch, pull the yarn tight and it will create a gathering at the top of the swatch, essentially creating the toe area of the slipper sock.
With the toe area is sewed together, work the yarn back to the center of the toe area (While working the yarn to the middle make sure there are no large holes in the toe area). Begin to work on the center seam.
The slipper sock should be folded in half, at this point with the toe area cinched together. Create a seam by sewing the ends together, approximately 4 inches, see below.

Secure the yarn with a knot and fasten off.
Back Area of Slipper Sock
Once you have the toe and center seam complete sew up the back, heel, area of the slipper sock. I sew up and down twice just to ensure the slipper does not come apart.

Embellishments (Optional)
You can add a bow, button, or a pom-pom to the top or back of the slipper to add a little flair.

Check out the video below for visual instruction on how to create this slipper
;
This was so much fun to do and didn’t have to focus with counting and joining. Easy as pie.
Love it. Thank you for sharing.
I just made 4 pairs for Xmas gifts for my kids and my Mom.
I’ll be checking out some more of your projects.
Thank you! I’m so glad they worked out perfectly. I love making these little footies.
What size do you wear? And what size did you make the tan pair in? How many yards?
Hi Penny, sorry for the delay in responding. I wear a size 8 1/2 to 9. I had a large skein of Bernat yarn the 300g one and I had a lot left over, so approx. 200 yard for a pair of slippers. Thank you.
I want to make these for my granddaughter…she is 3 how many do I chain for her?
I just happened across your slipper socks pattern and I absolutely love it!!! Can’t wait to dig into your other patterns. Thank you so much for a pattern so easy.
Thank you, I hope you enjoy your crochet socks. They were fun to make 🙂
Thanks
Thank you! I can’t wait to make these! I received some Bernat Blanket Yarn remnants and was looking for something to do with them. These slippers are perfect! Your video is a great compliment to your pattern too!
Thank You! This is a fun project. I hope your slippers turn out great 🙂
Thank you so much
I found these so easy to make
I can’t follow written instructions very well I had a mild stroke 5 years ago but your vid was awesome for me to learn. Easy to follow
You’re Welcome! I’m so glad the video could help. 🙂
Email
I have hardwood flooring is this slipper slippery when walking and is there something I can add to the underfoot to avoid this. I will try this pattern and let you know my thoughts. Thank you
Hi. I haven’t tried this but I saw where some people put a bead of glue or puff paint on the bottom of the sock to create a Barrier between floor and the sock. I may try that with mine. If I do I’ll let you know. Thanks for the question 💚
I use either puff paint or hot glue on all my slipper socks it works wonderfully
That’s a great idea. Thanks for sharing
Thanks for the pattern, my wrote out the exact pattern on paper, now I have it saved in my phone thanks so much
Hello and Thank you!
Cousin
Thanks so much! Finally a slipper I can make!!!!!
Awesome! Thank you.
Great video on the beginner slipper socks.
Thank you!
Well thank you, finelly a slipper pattern I can understand. I will be making this for sure. Being a beginner it was hard. Thank you again Ahsel Anne.💕
Thank you 🙂
Hello! Can these slippers be made on worsted yarn (4) and if so do I follow the same instructions for the size?
Hello, I included instructions, in the pattern, if you use a 4 weight yarn. The pattern will change slightly with the 4-weight yarn, please refer to the note placed throughout the pattern to assist you with the change in yarn weight. Thanks for reaching out. 🙂
Sorry, my friend and I both read & reread instructions, no mention of using 4 weight yarn to make these slippers…🤔😒. Otherwise we really liked the pattern. You are an impressive teacher. Blessings to you.
Hi, this is not a 4-weight yarn. I used the Bernat Blanket Yarn which is actually bulky yarn 6. Thanks so much for mentioning this. I’ll go add this to the pattern. Have a wonderful evening!
I love the slippers! how many single crochet beginner chain do i make for
a size 10 and 11?
Thanks!
Thank you for the slipper pattern. It’s the only pattern I’ve been able to do with thicker yarn. Looking for a easy child pattern for thicker yarn.
Love the slippers! Making them now. How do you make the pompom on top?
I love this pattern. I’ve made it several times for relatives. Thank you for the pattern.
Thank you! 🙂