
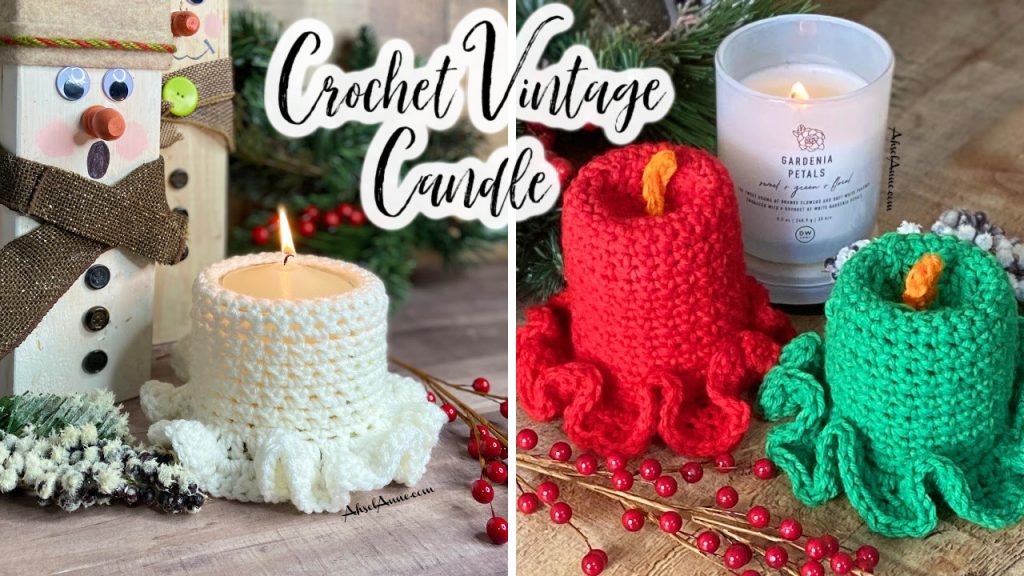

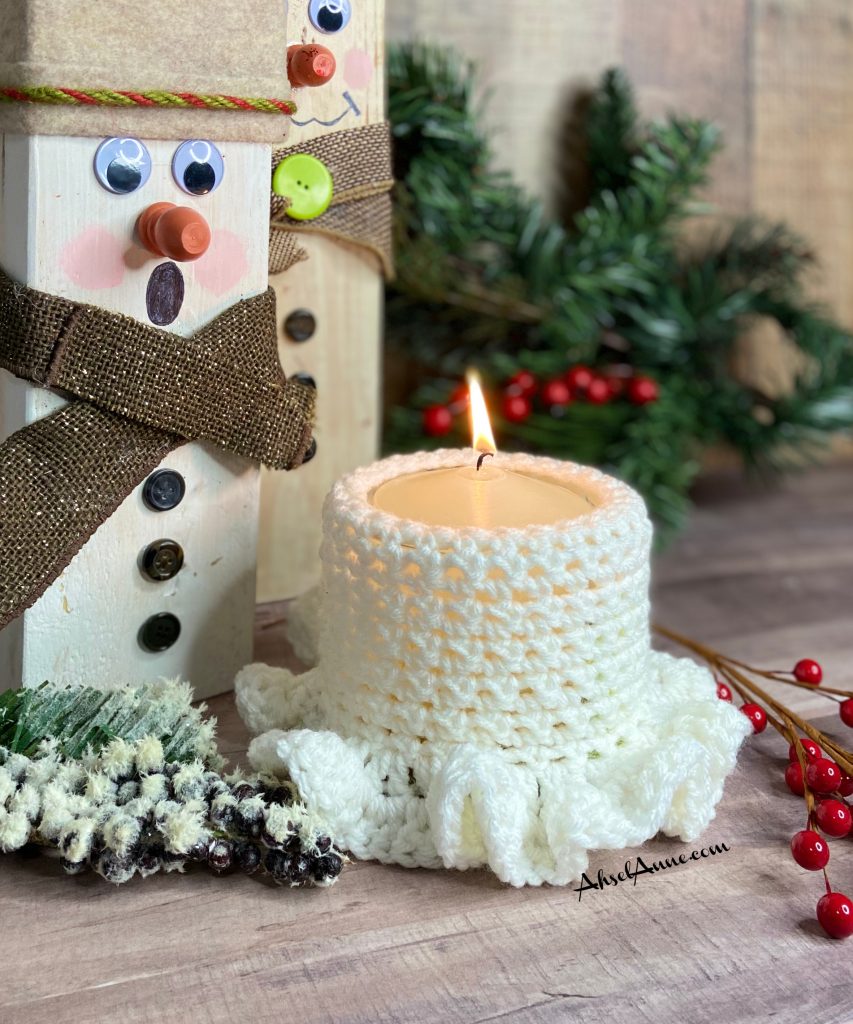
The Crochet Vintage Candles mimic pillar-style candles. The frilly skirt, around the candle’s bottom, adds to the vintage design. This is an easy-to-follow crochet design that can be easily customized.
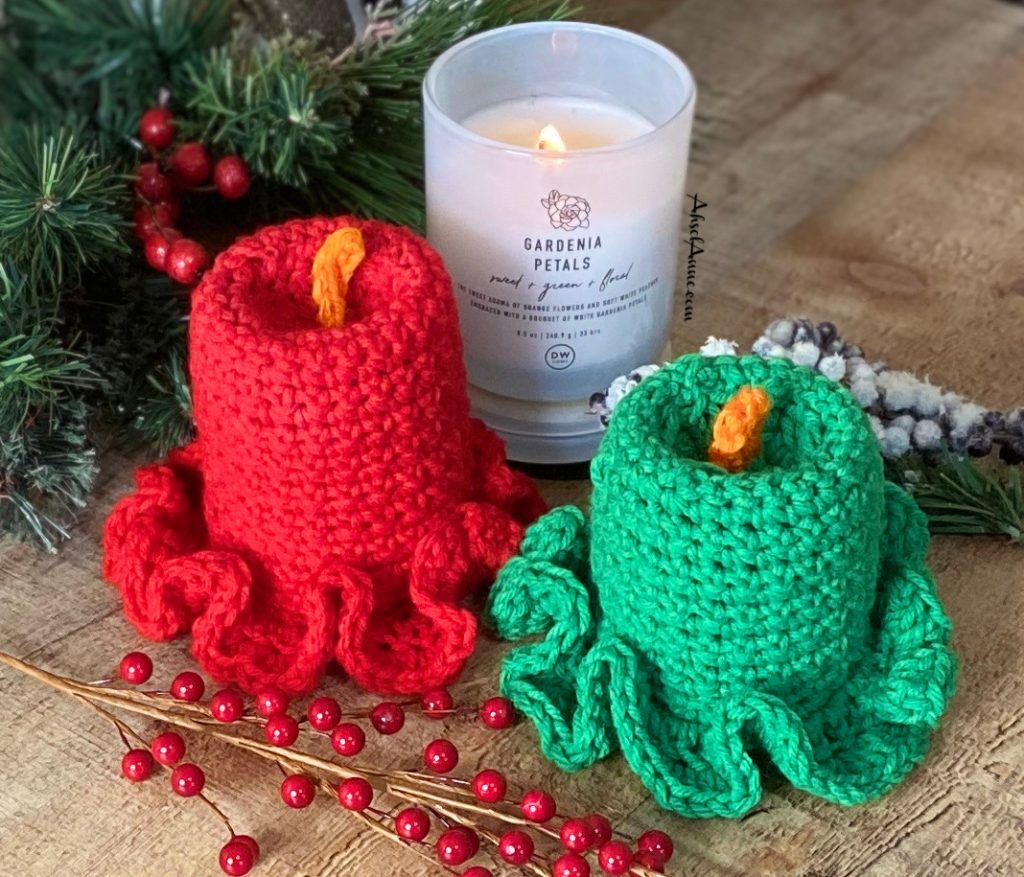
The crochet vintage candles can be paired nicely with real candles to add a nice ambiance to your holiday décor. They can be staged alone or in a cluster, which can make for a beautiful table centerpiece.
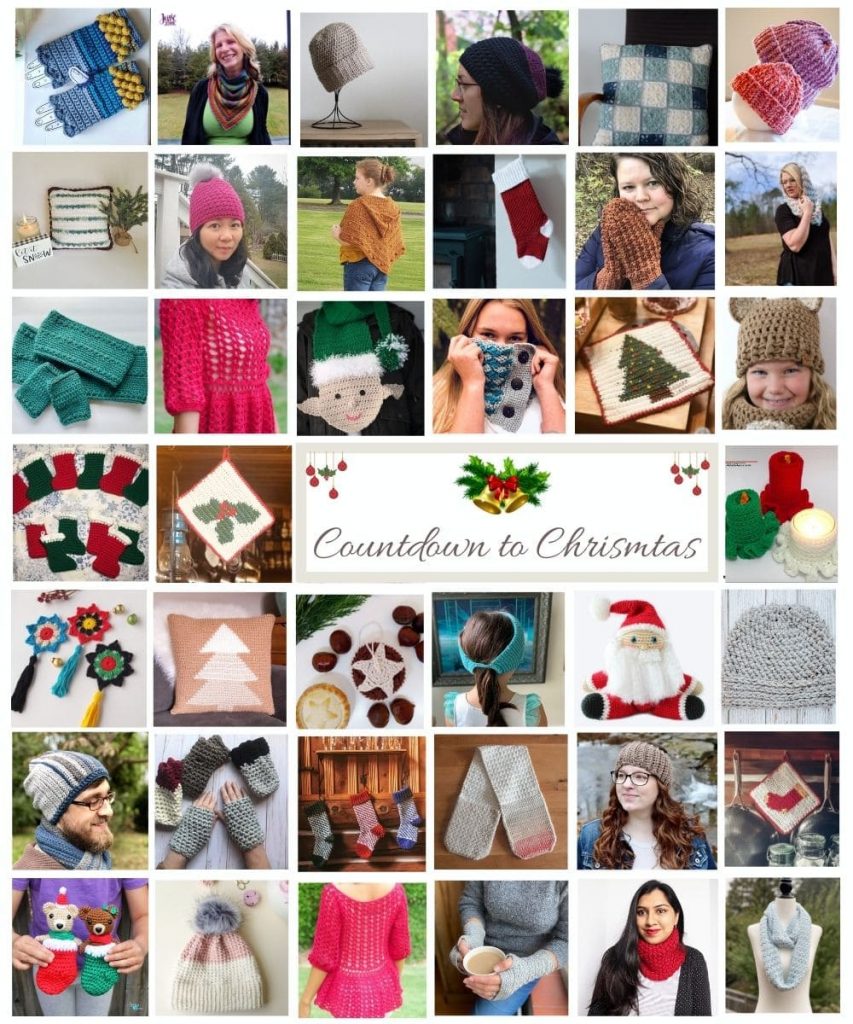
Do you want some super creative PDF Holiday Themed Patterns? CHECK OUT these beauties. There are 32 crochet patterns in all 90% off discount on the retail value… YEP, for $12.99! get a pattern bundle <—- Click Here.
 PATTERN for Crochet Vintage Candles
NOTE:
This pattern is written in US terms and there is a key provided, to help with any abbreviations.
MATERIALS
– Any 4 weight Acrylic Yarn- Red heart Supersaver
– Orange Yarn for flame (Optional)
– Scissors
– Toilet Paper Roll (inner cardboard tube) or Craft Rolls
This project uses a small amount of yarn, less than 131yd, pending on the size candle created. You can use any festive yarn color to create a solid candle or you can use multiple colors to change the design. You may need a small amount of orange yarn to create the flame.
ABBREVIATIONS (US TERMS):
ch- chain
dc- double crochet
2dc- two double crochet into the same stitch
3dc- three double crochet into the same stitch
sc- single crochet
sl st- slip stitch
st(s)- stitch(es)
tw- turn your work
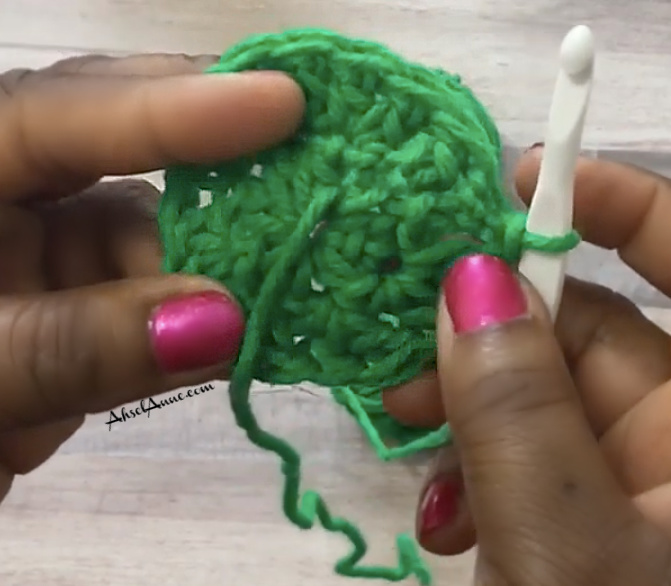
CANDLE TOP
Round 1: Create a Magic Circle or Magic Ring, ch 3, Place 7 dc into the magic circle (total 8), sl st to join. Pull circle closed, Ch 3 (will count has 1st dc).
Round 2: 1dc, 2dc in each st around (16), fasten off, leaving a long tail (approx. 6”).
Note: The tail will be used to attach the circle to the candle.
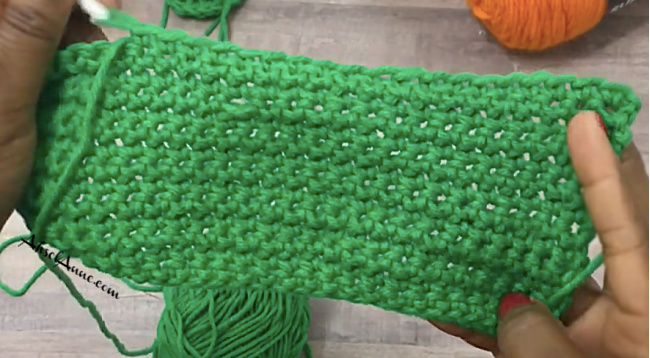
Candle
Ch 25+1
1.Row 1: sc across, ch 1, tw (25).
2. Row 2: sc across, ch 1, tw (25);
3. Row 3-7: (Repeat row 2) sc across, ch 1 tw (25)
4. Row 8: sc across ch 2, tw (25). The ch 2 will count as the first dc in the next row.
Note:
The candle size can be customized. If you want a taller candle, make more rows. For a shorter candle make fewer rows.
Candle Skirt
Row 9: 1dc, 2dc each stitch across, ch 3, tw (50). The ch 3 will count as the first dc in next row.
Row 10: 2dc, 3dc each stitch across (150), fasten off, leaving a long tail. The tail should be long enough to sew up the side of the candle.

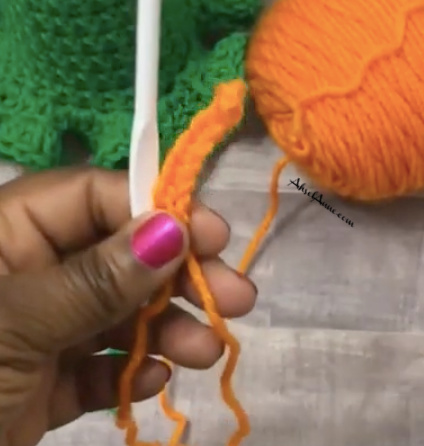
Flame
Using Orange Yarn, ch 8,
1. Row 1: sc across, ch 1, tw (7)
2. Row 2: sc across, fasten off. Leave a tail to attach flame to the center circle, created above.
Note: If the flame is too long fold in half before you attach. This is an optional step. The flame can vary based on your preference. To increase the thickness, create another row. To increase the height, make a longer foundation chain.
Construction of Candle
Using a yarn needle and the long tail from the circle, attach the circle to the top edge of the candle, there should be enough stitches to evenly attach the circle.
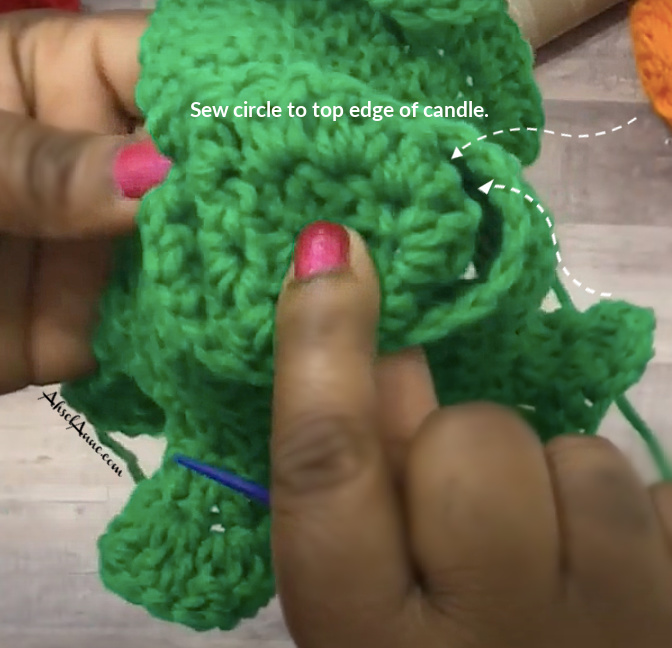
Note: Once the circle is attached it may pucker some, this is normal. You will push the circle down to form, the appearance of a well. (The flame will attach to the center of the circle).
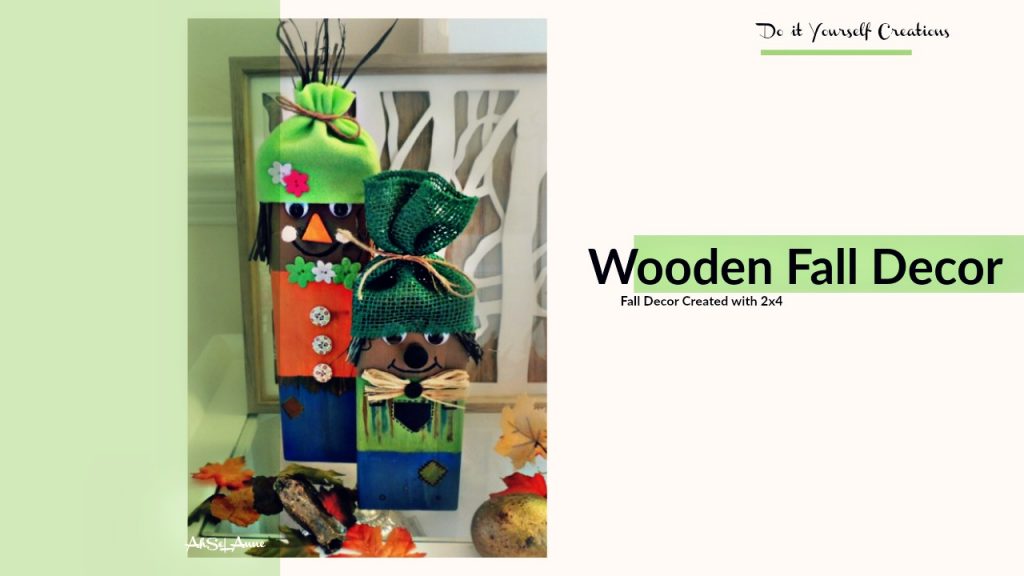
Take your home from boring to festive with these cute little Wooden ScareCrows
– Sew along the side of the candle creating a cylinder. At this point, the candle will have a top but the bottom will remain open.
– Attach the flame to the center of the circle, using the long tail. Insert yarn needle, into the center of the circle, pulling through. Tie to the underside so the flame sticks up

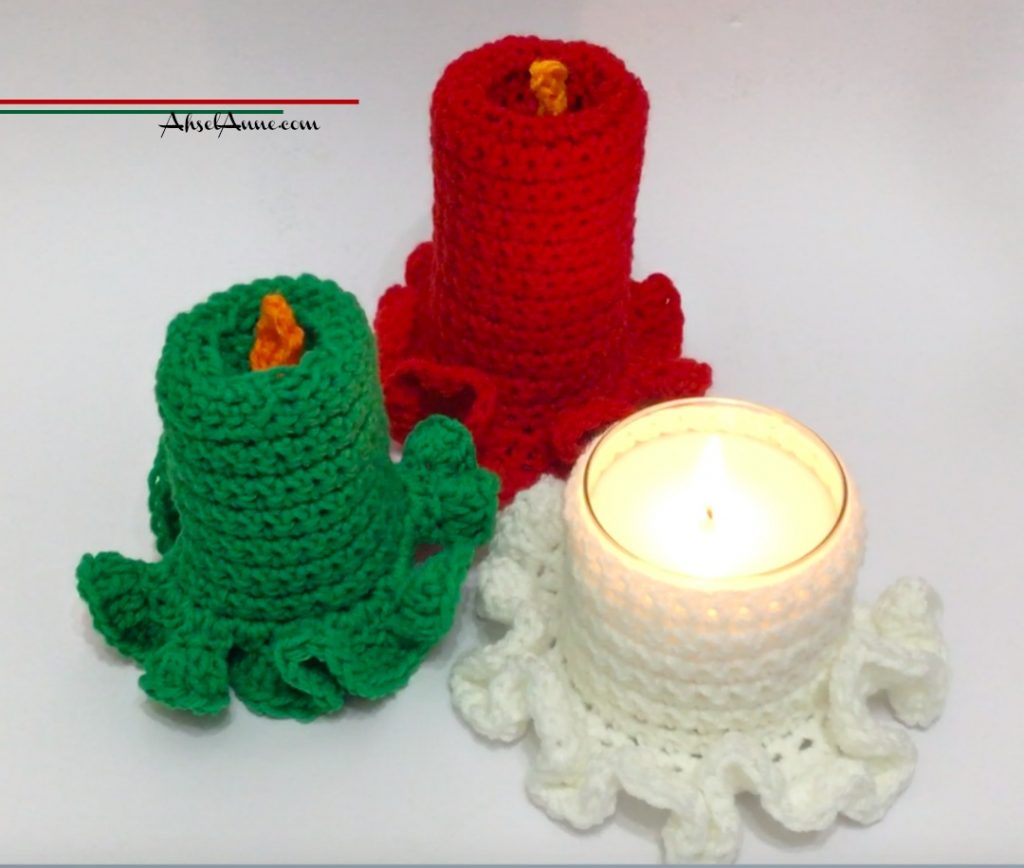
Optional Pattern Change:
To use with a real candle.
– Complete the candle and skirt as instructed above. Leave the circle top off. Insert a jarred candle.
– Your foundation chain will need to be customized to wrap firmly around your candle jar.
Enjoy your vintage crochet candle.
Check out the video Tutorial For additional instructions:
Hi, Felicia, I saw (I think) on your video that one of these had a double ruffle? Would you please tell me how that was done, like where it could be attached? Thank you for sharing your patterns!
Never mind, my mistake. Delete these comments. Sorry!
:-). It’s all good. I hope you found what you were looking for on the candle pattern.